
Accent decals and emblems for the Indian Challenger and Pursuit
52 products
52 products
Sale
Quick view

Sale
Quick view

Sale
Quick view

Sale
Quick view


Sale
Quick view

Sale
Quick view

Sale
Quick view


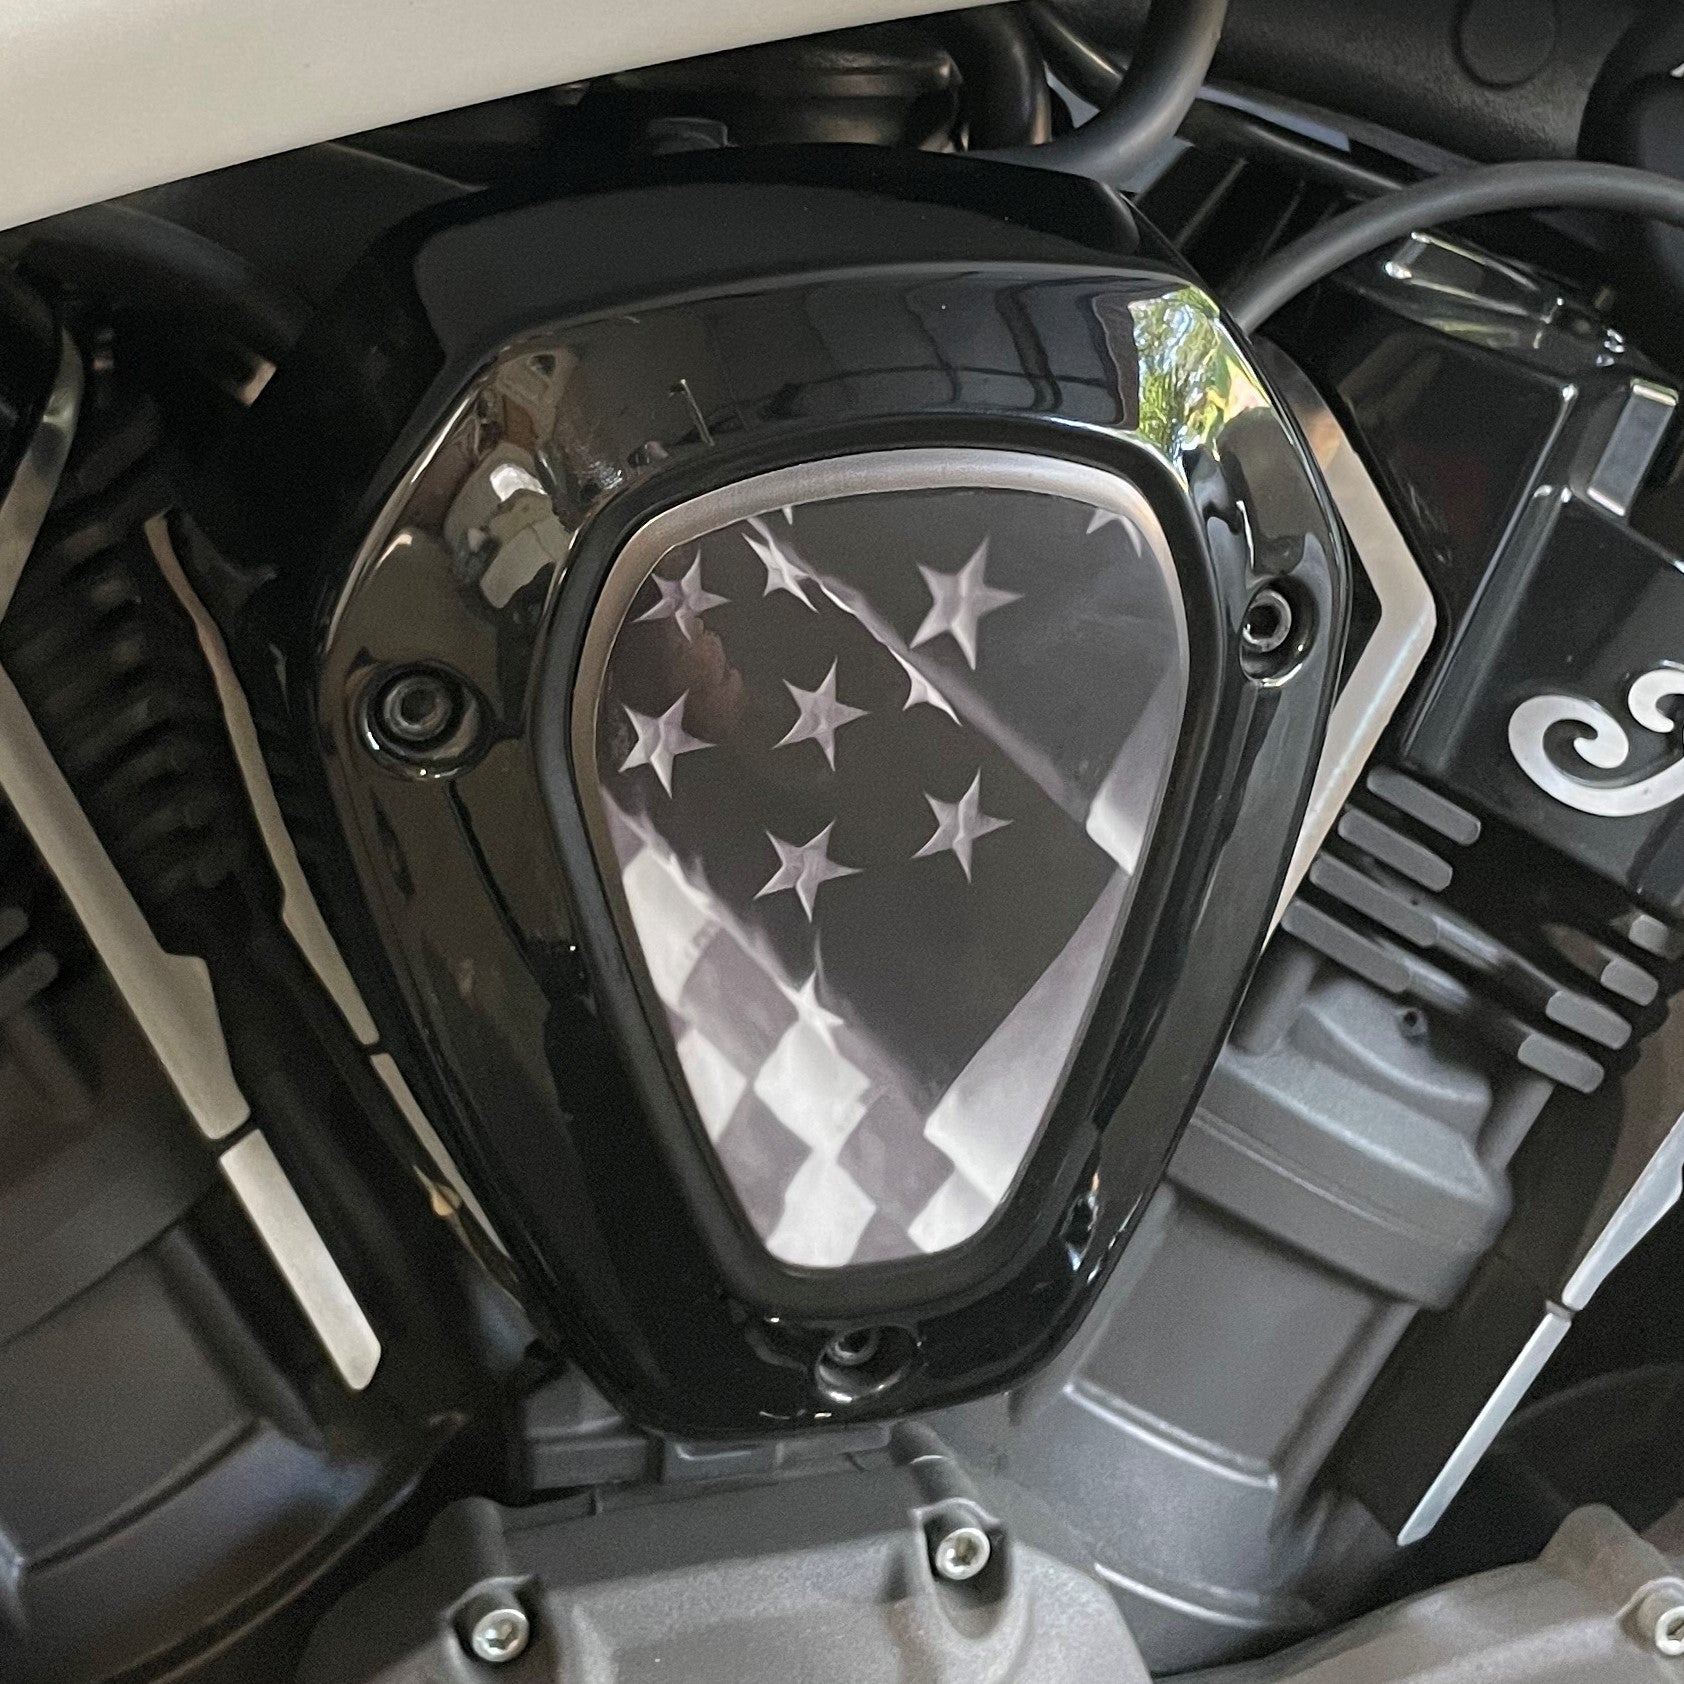
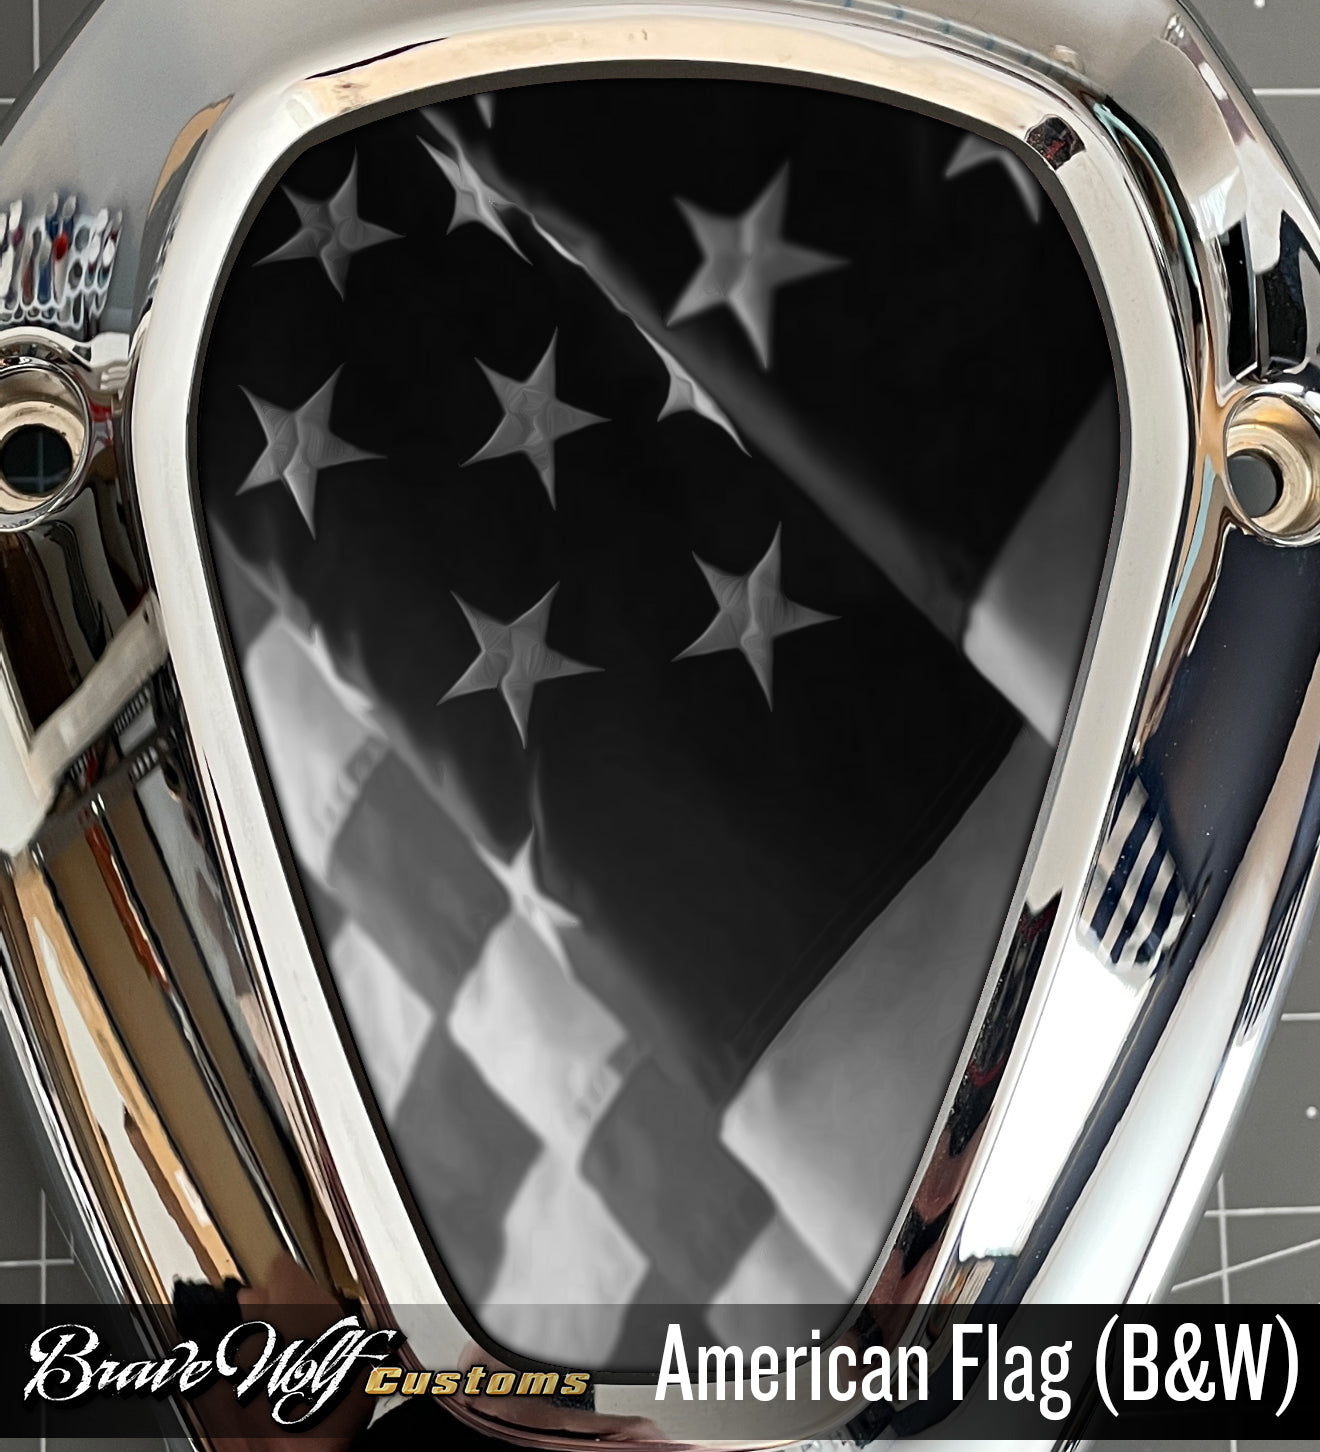


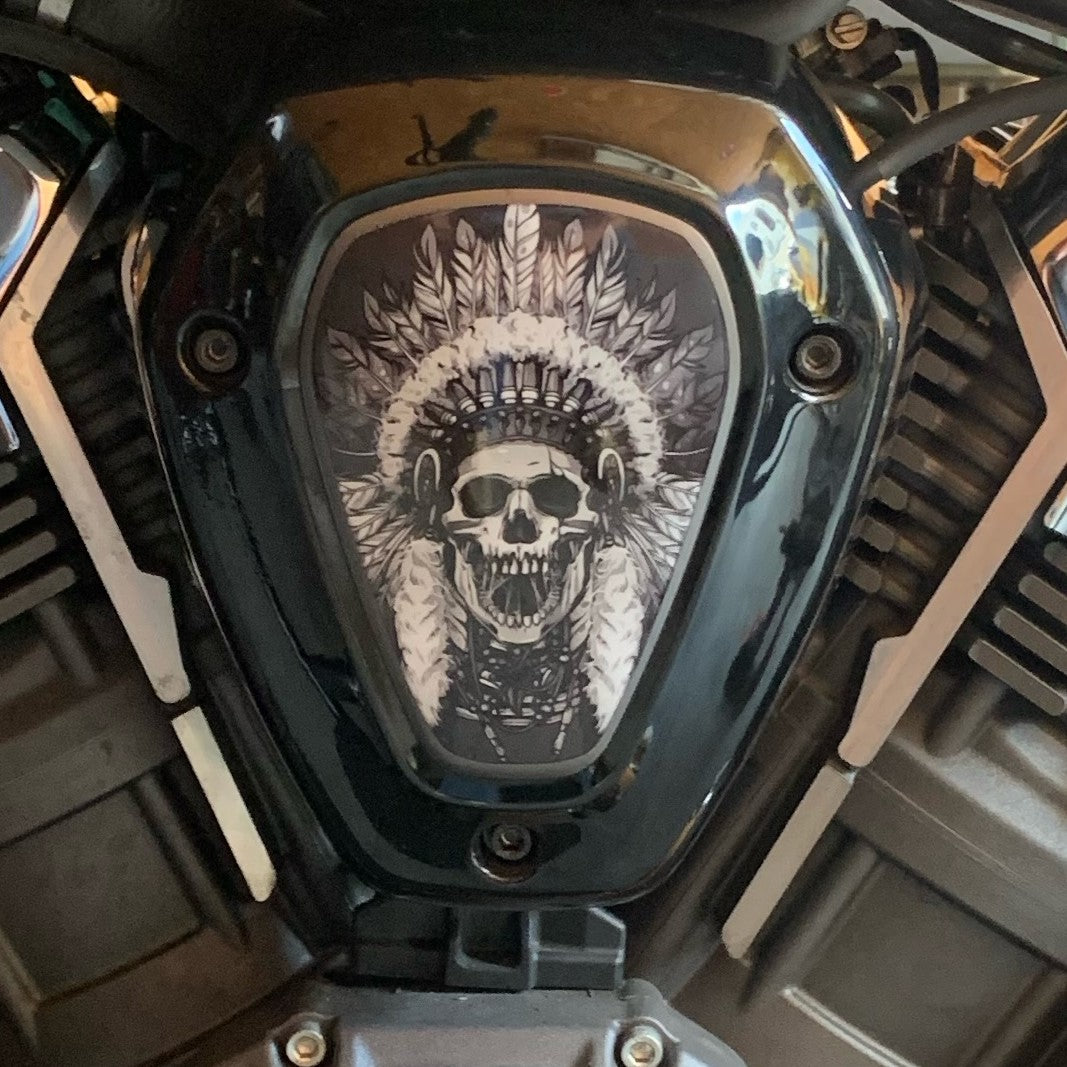
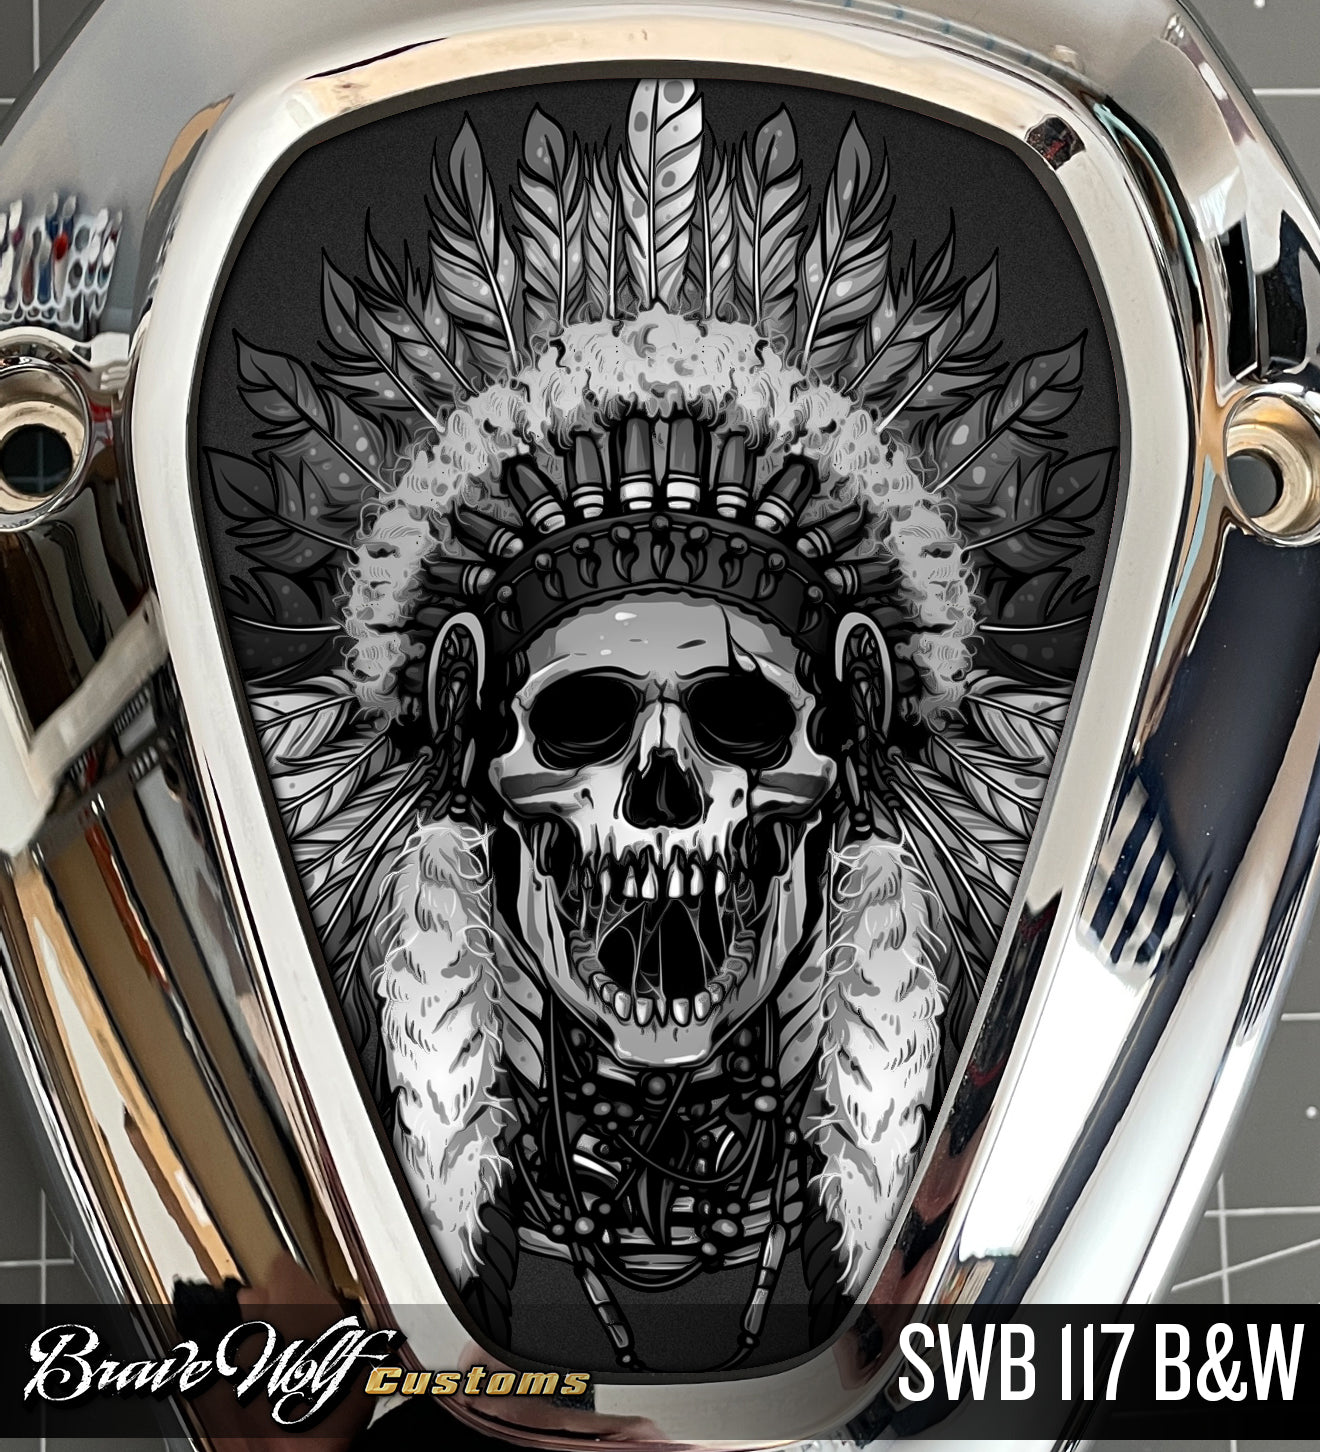


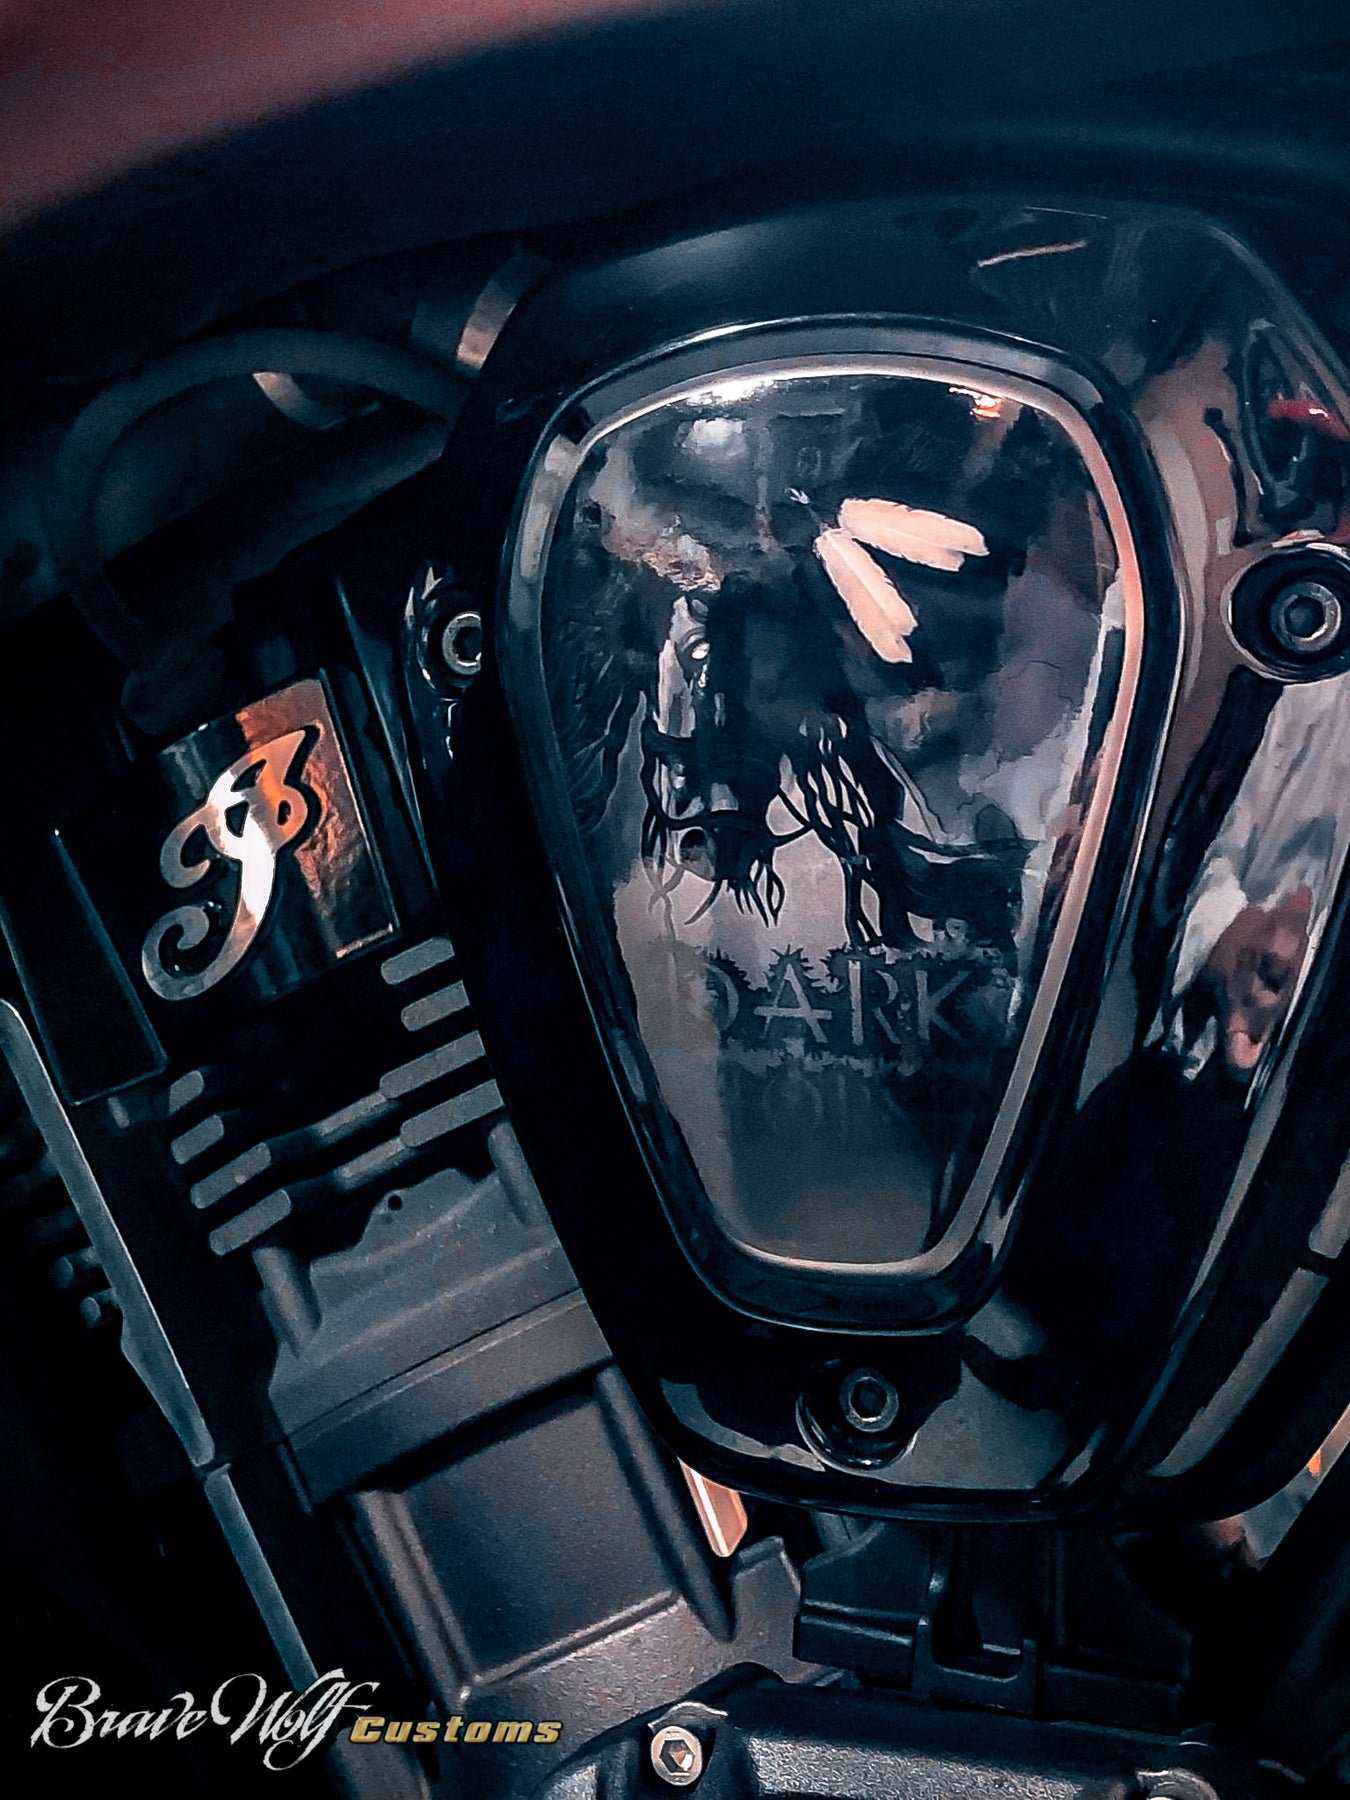
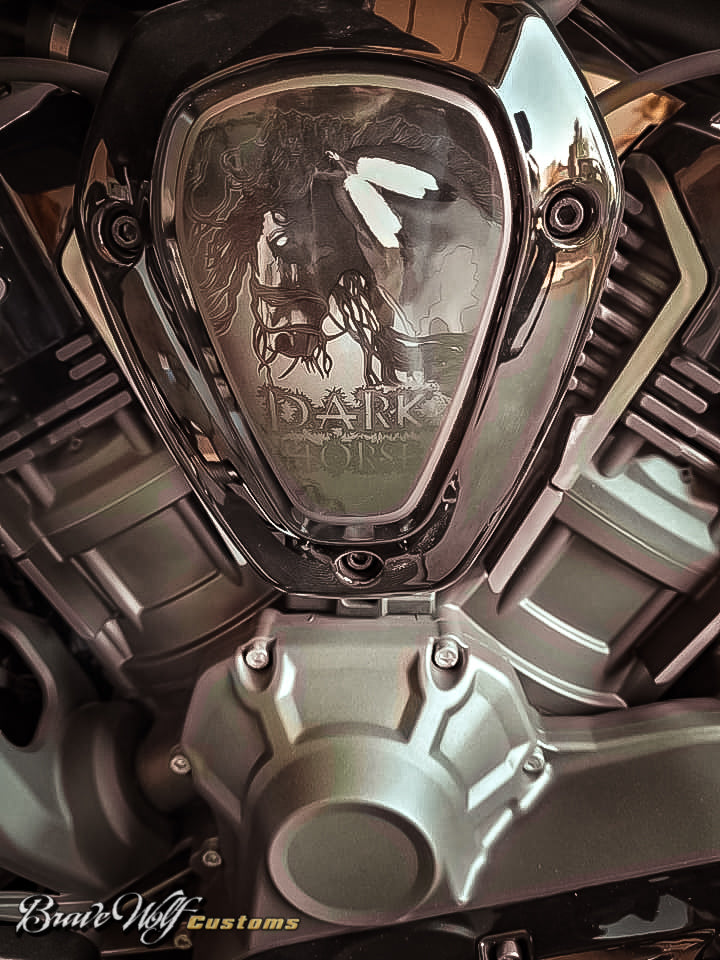
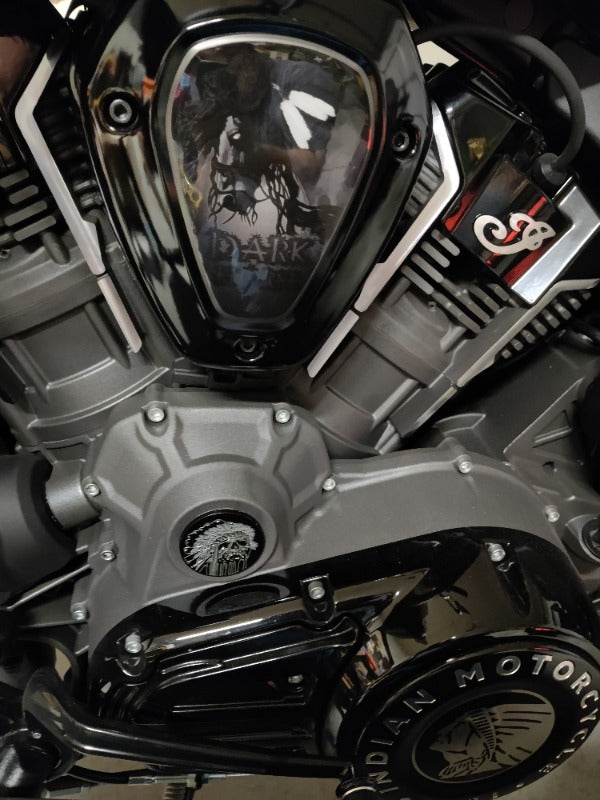


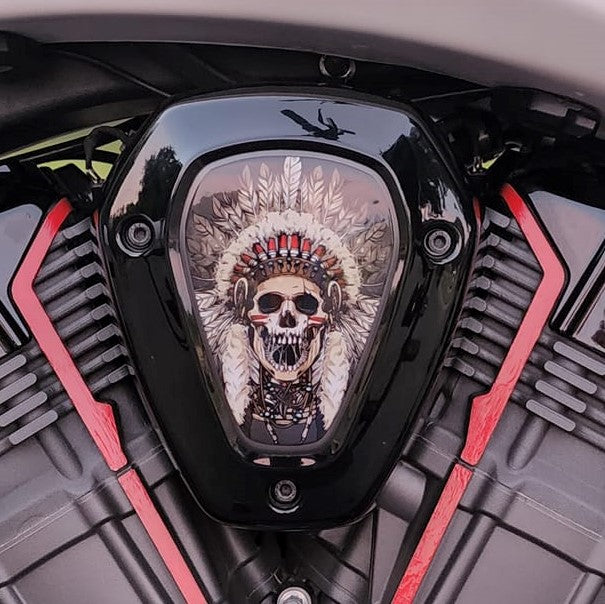
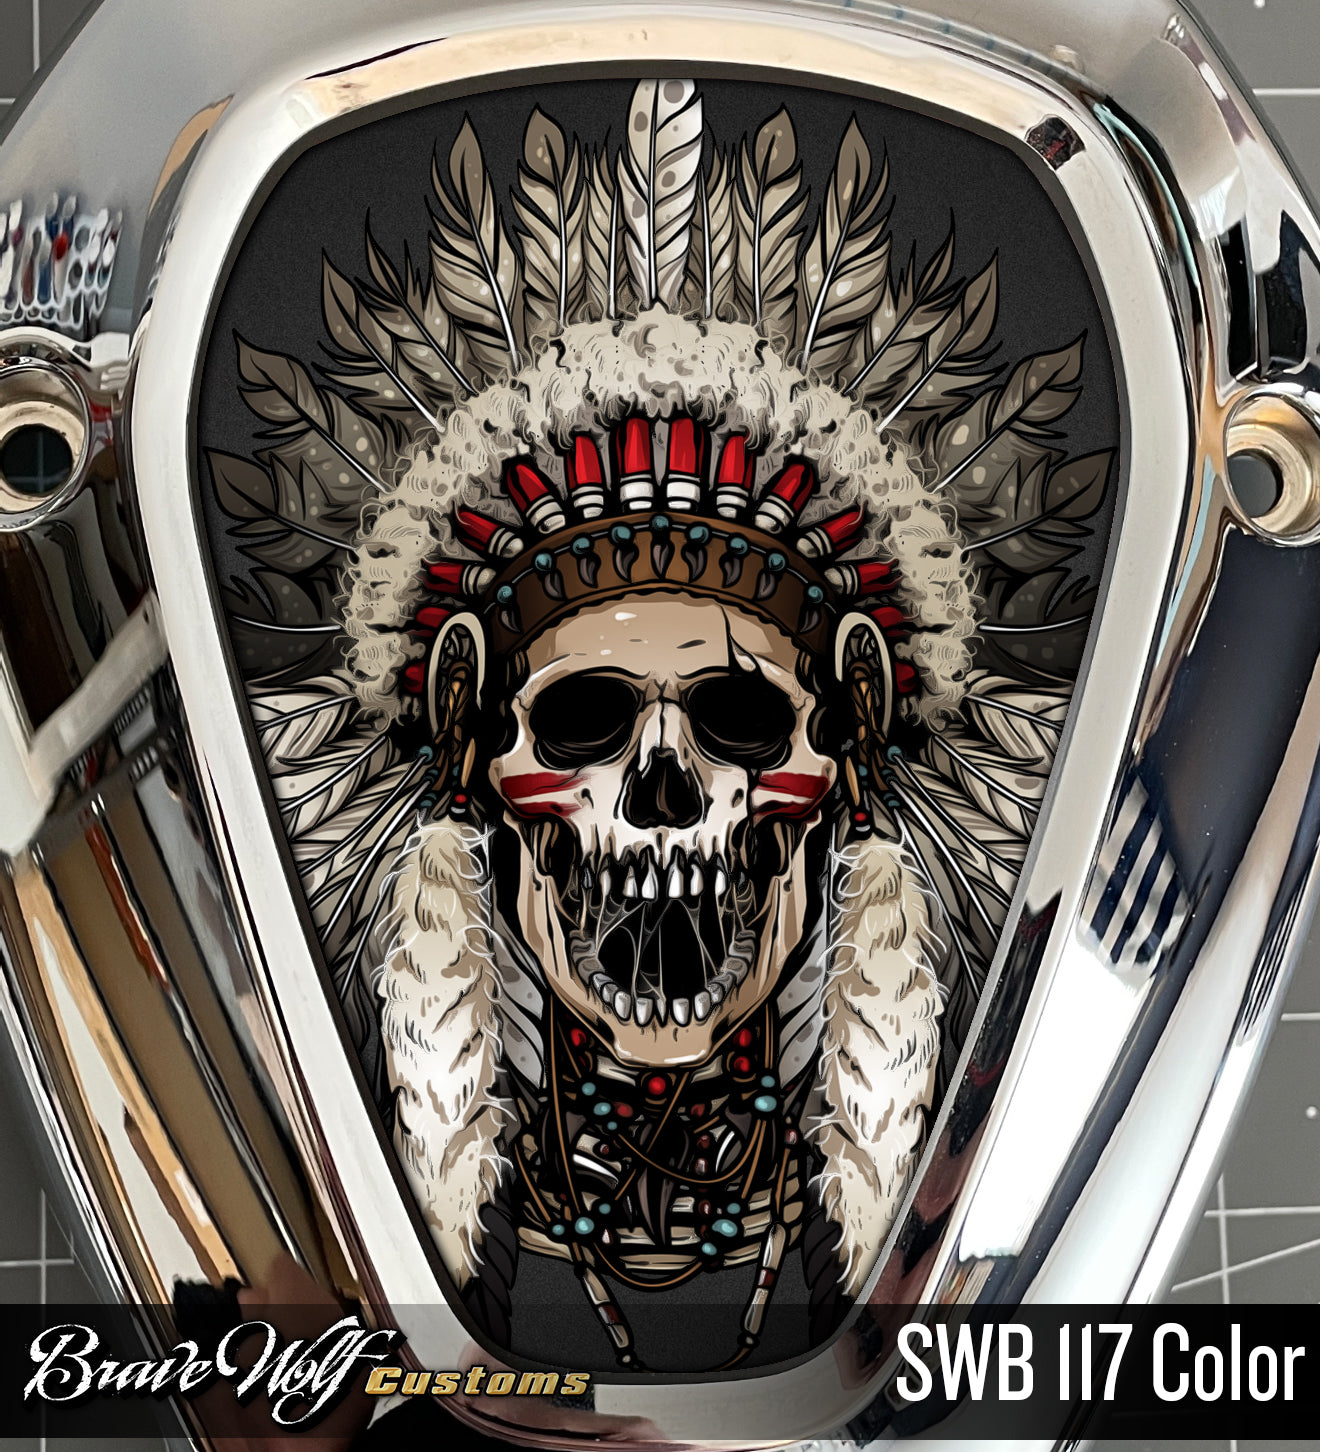
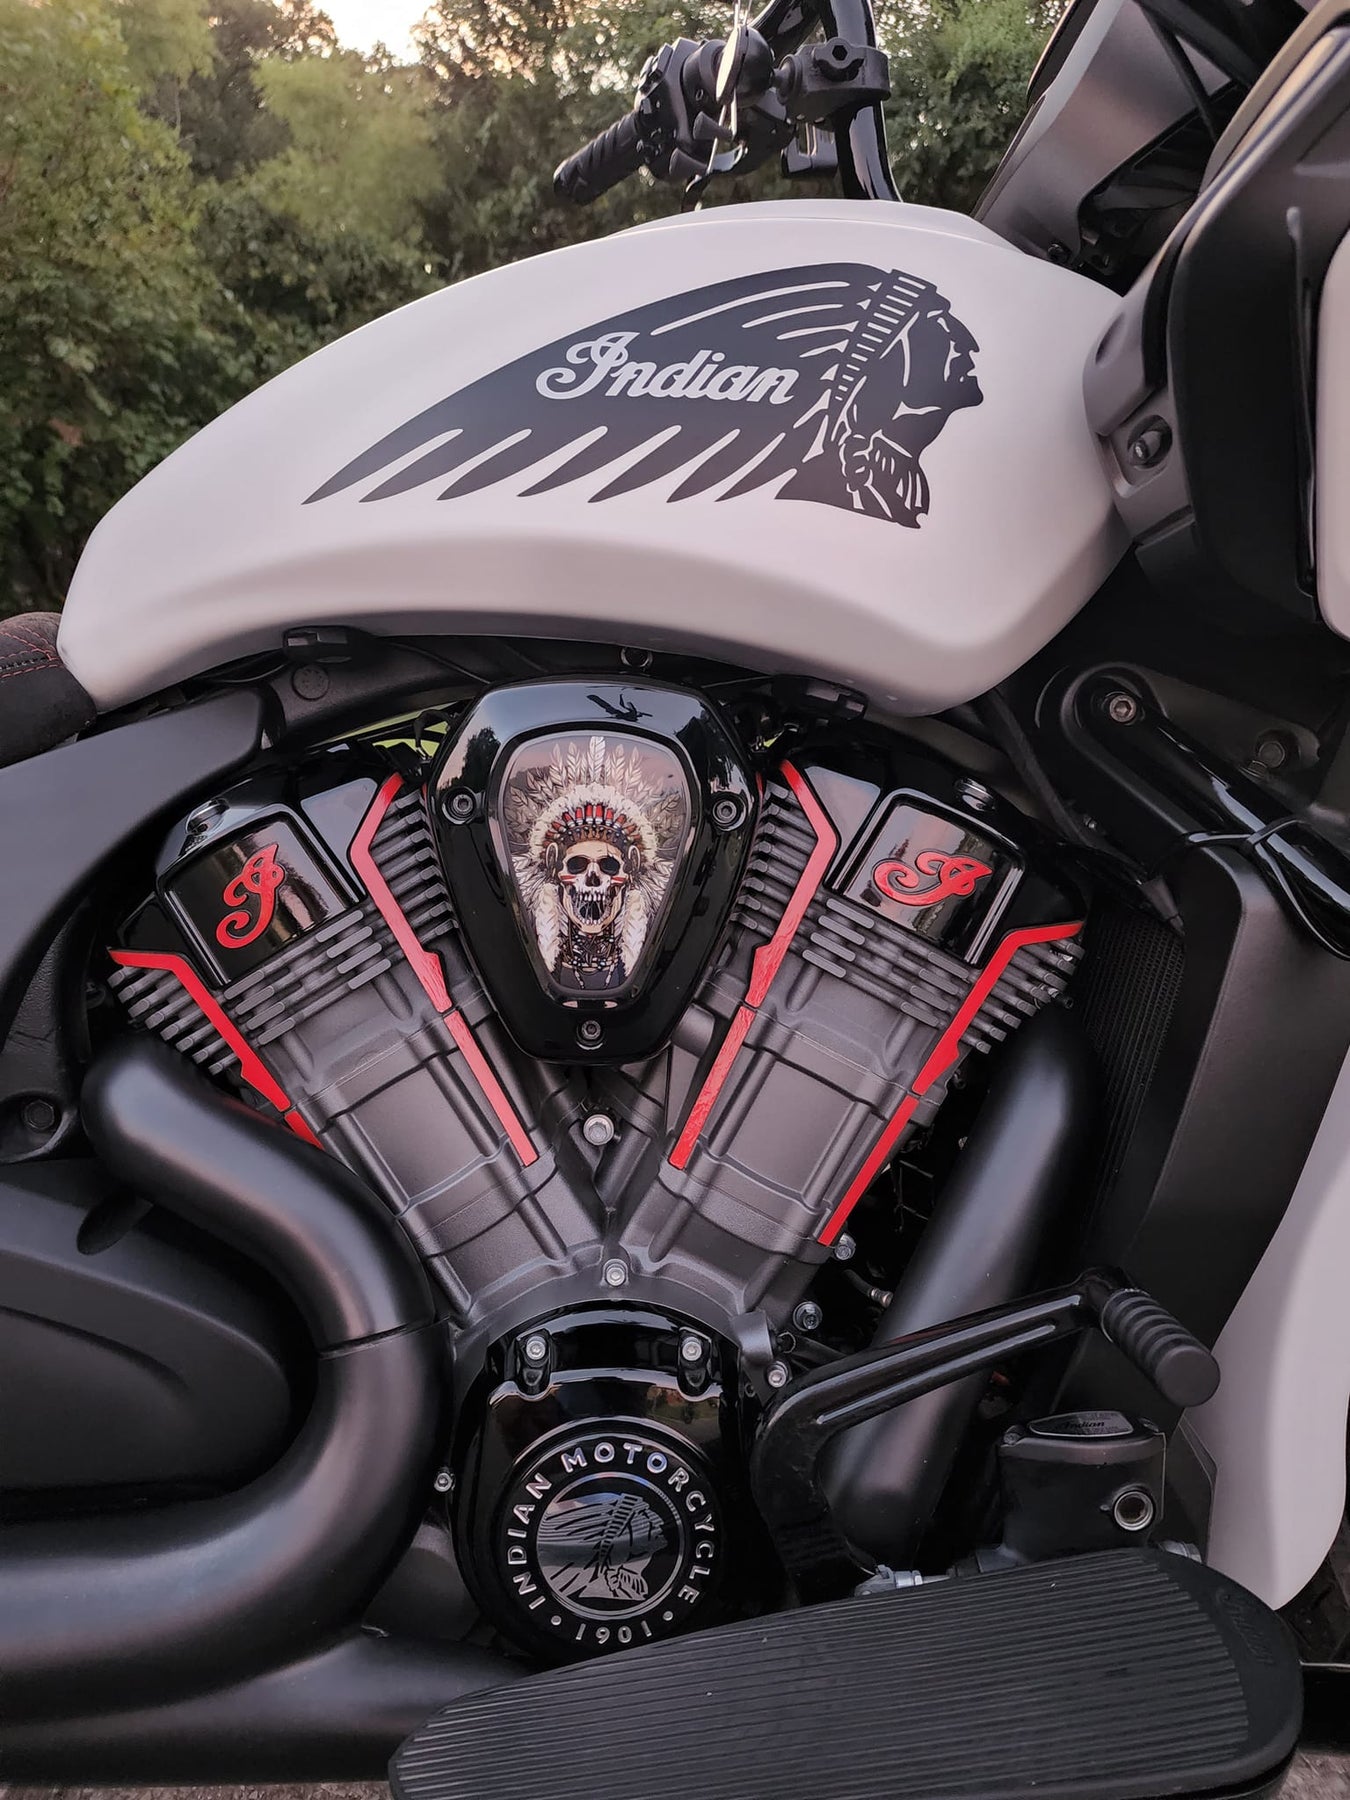


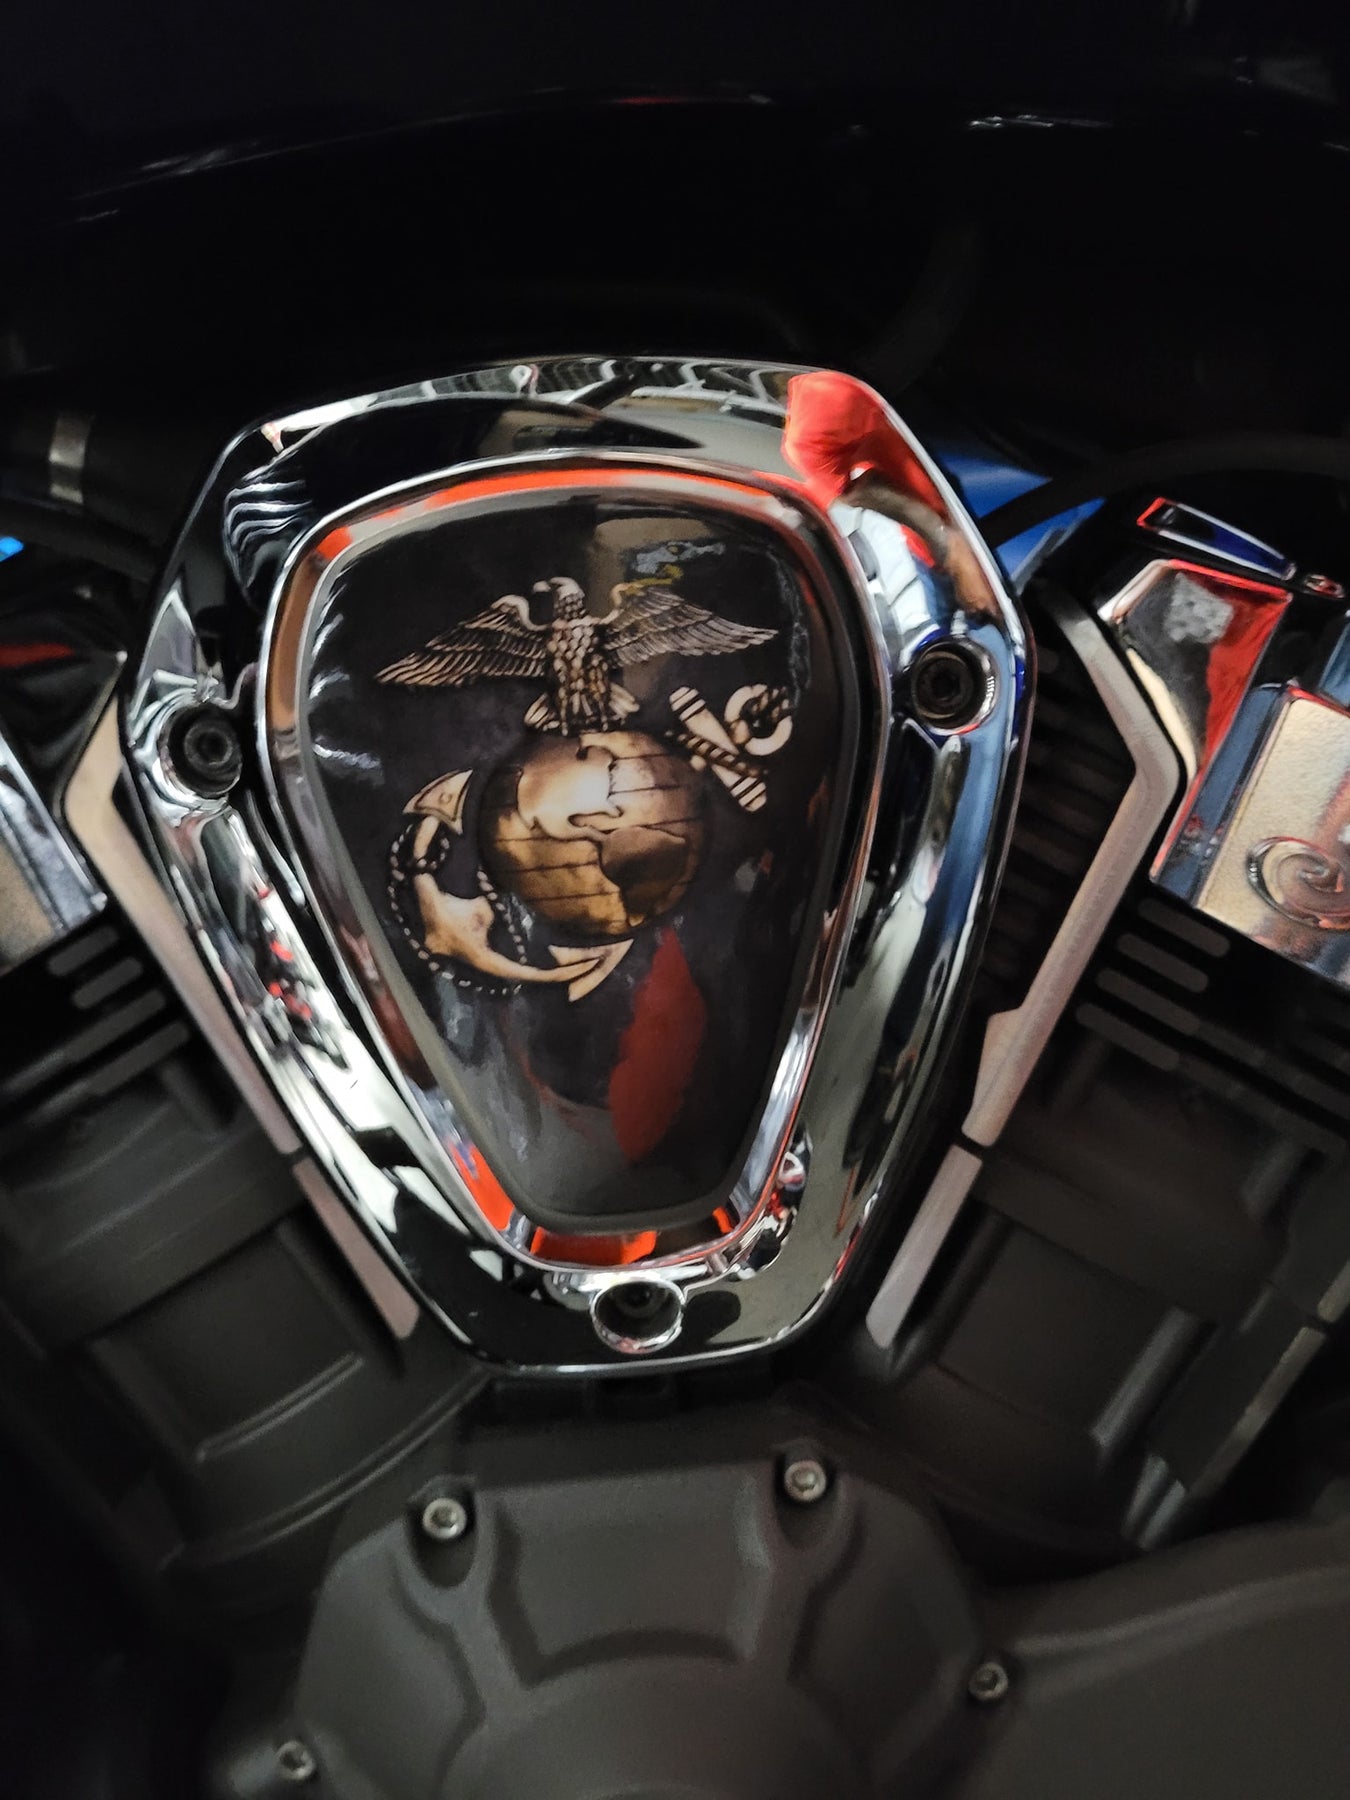
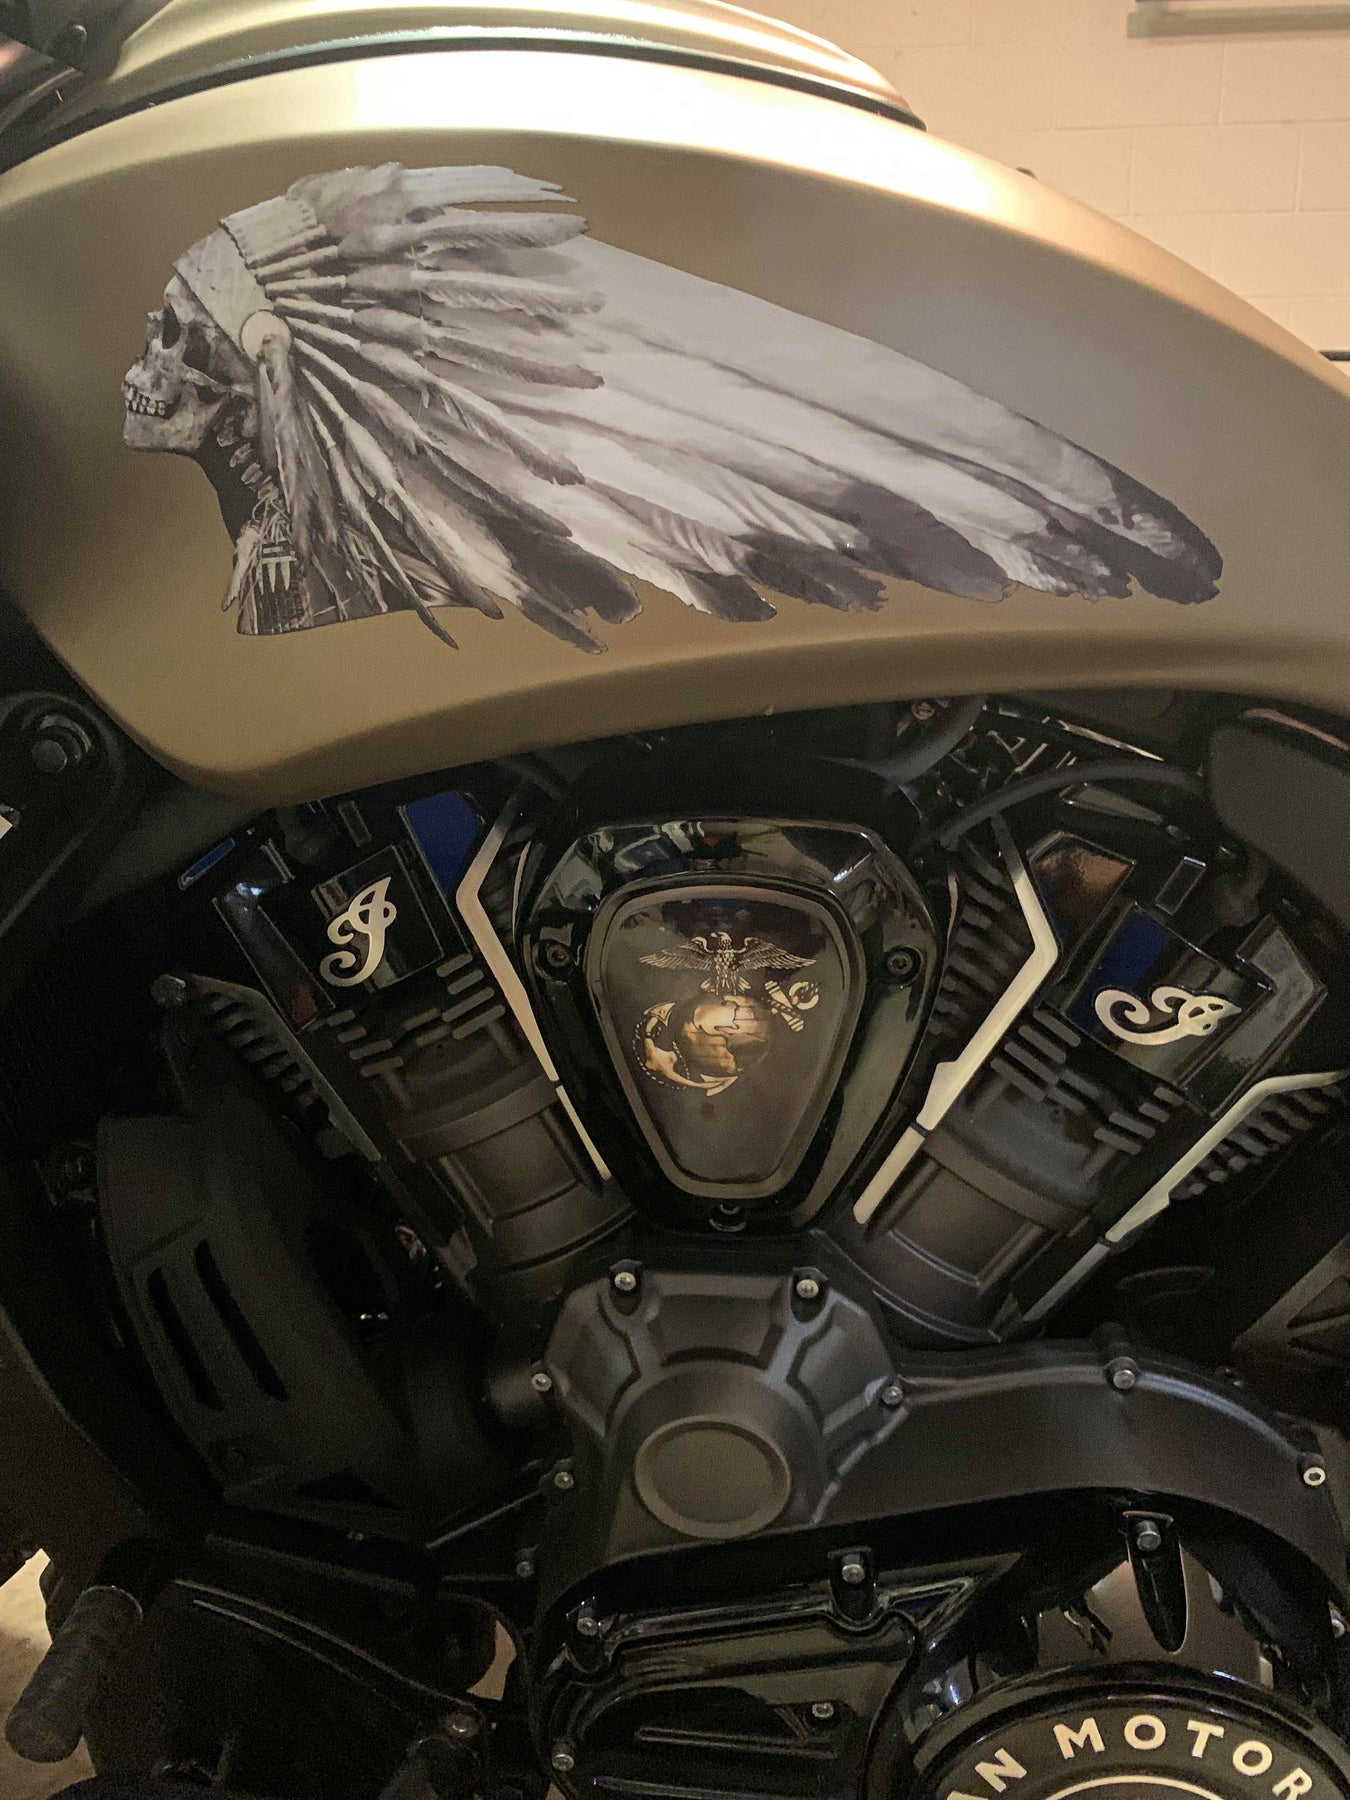


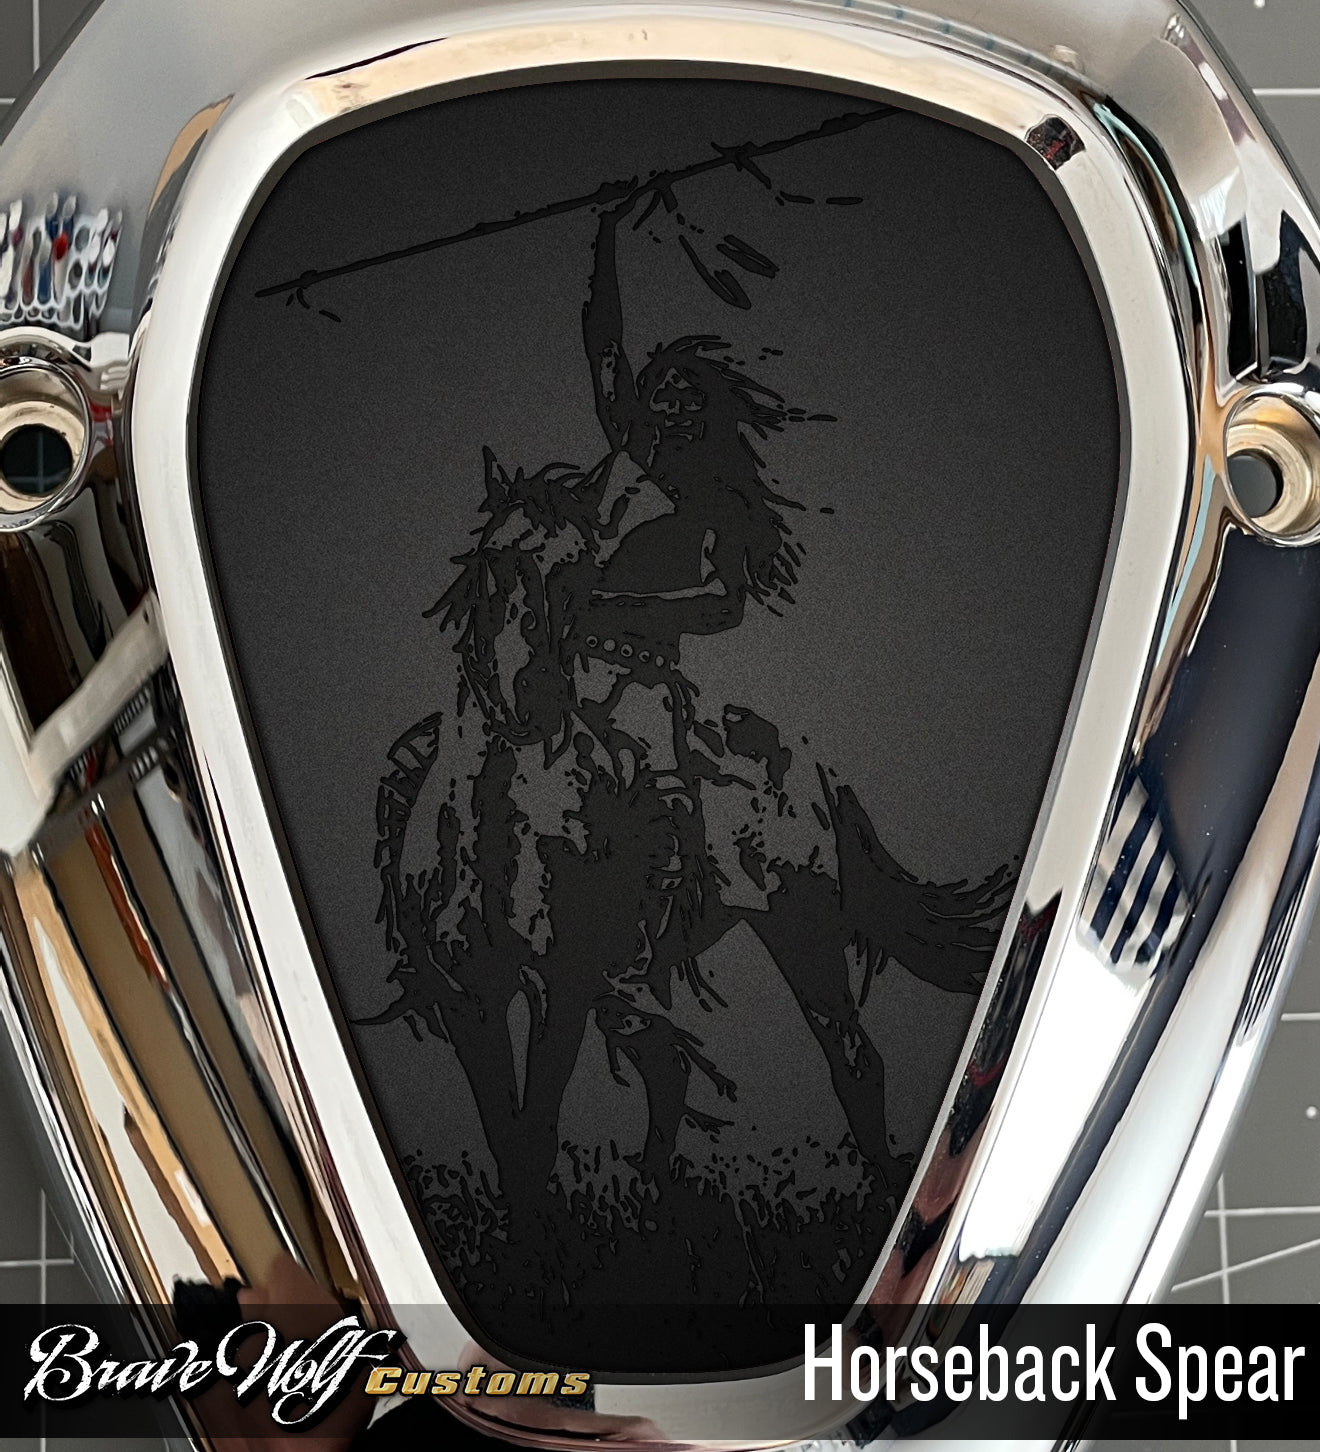


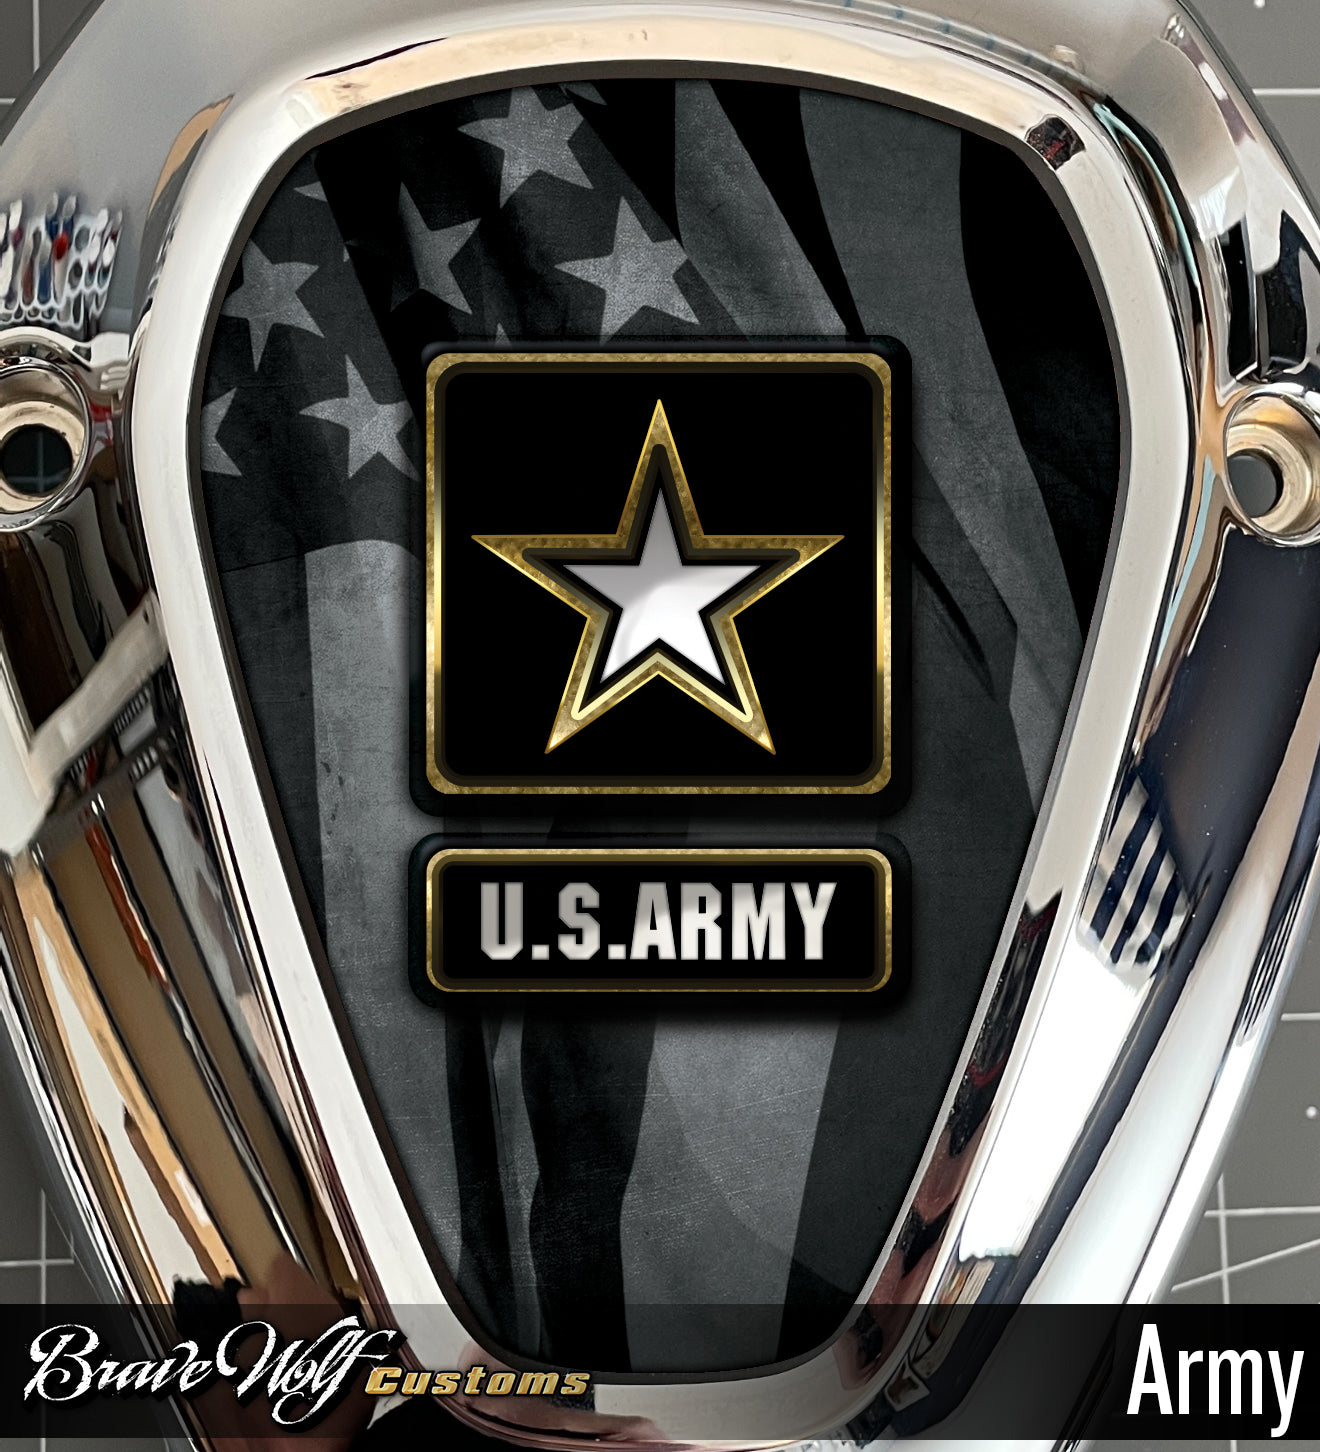


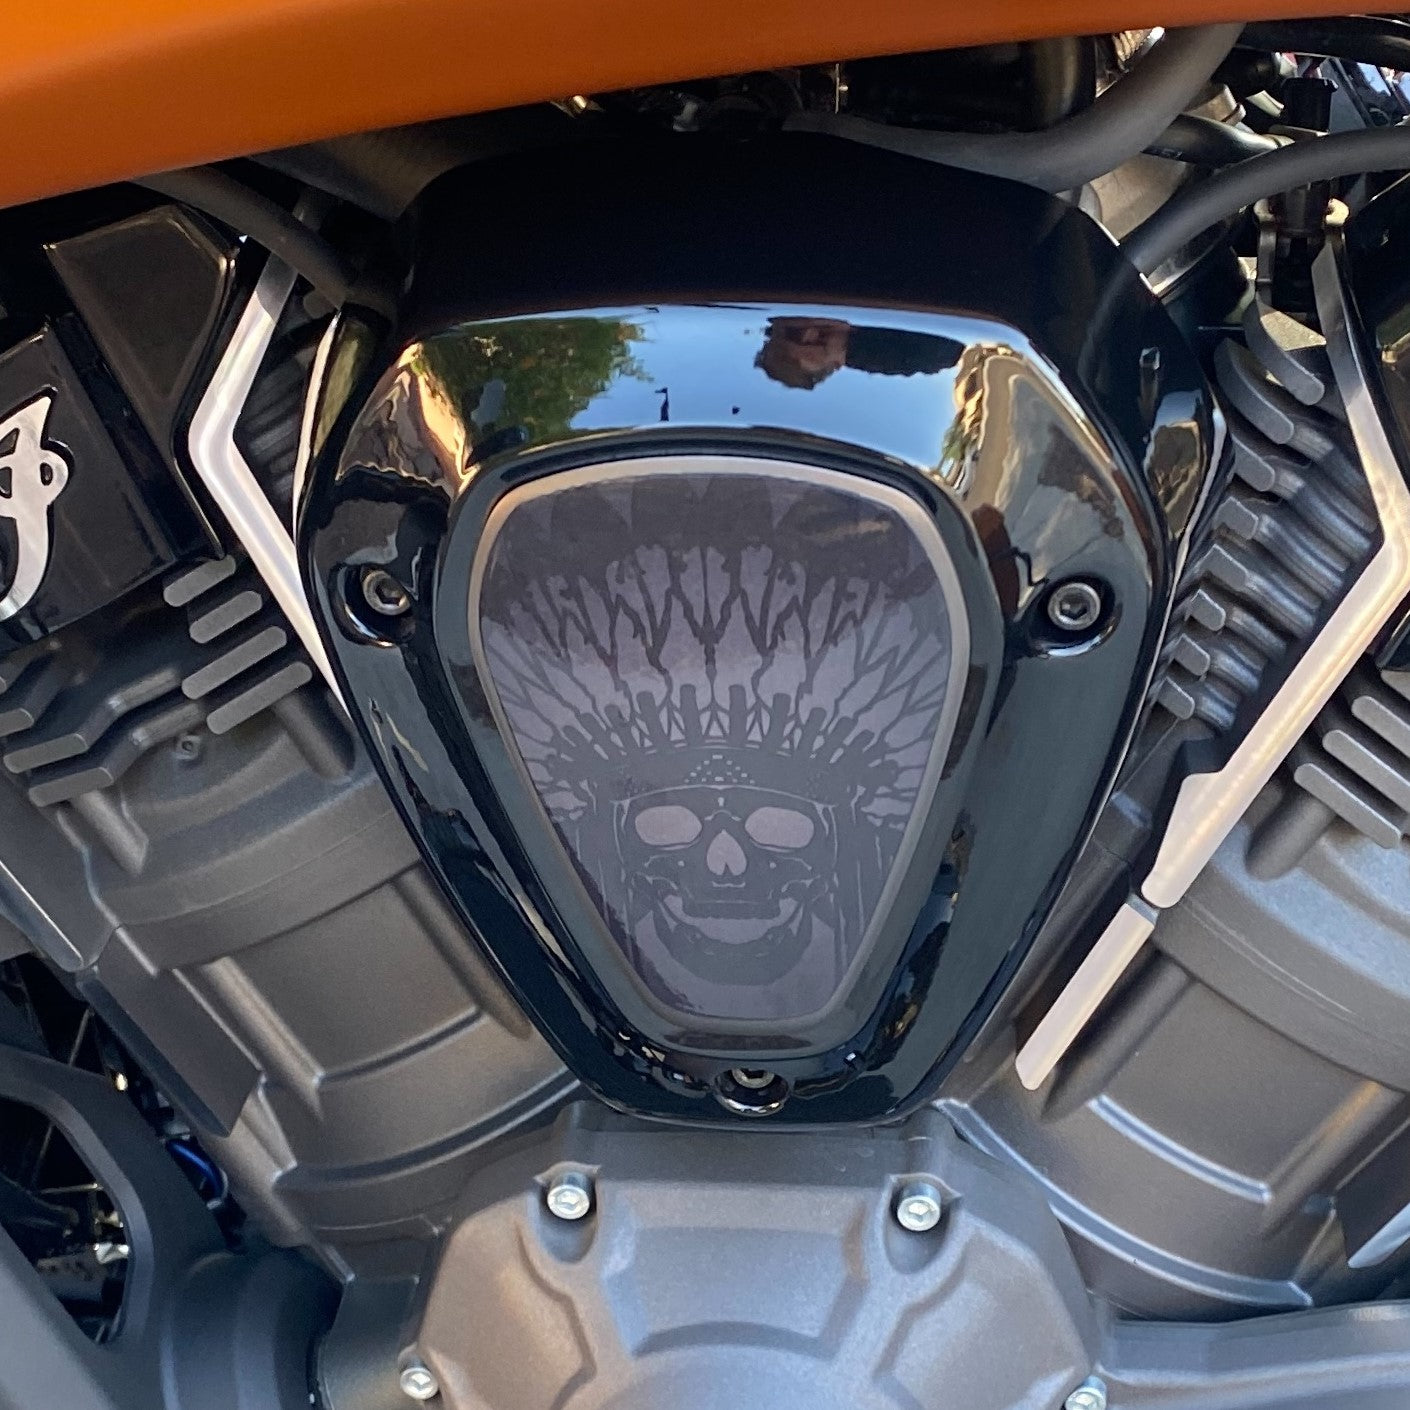
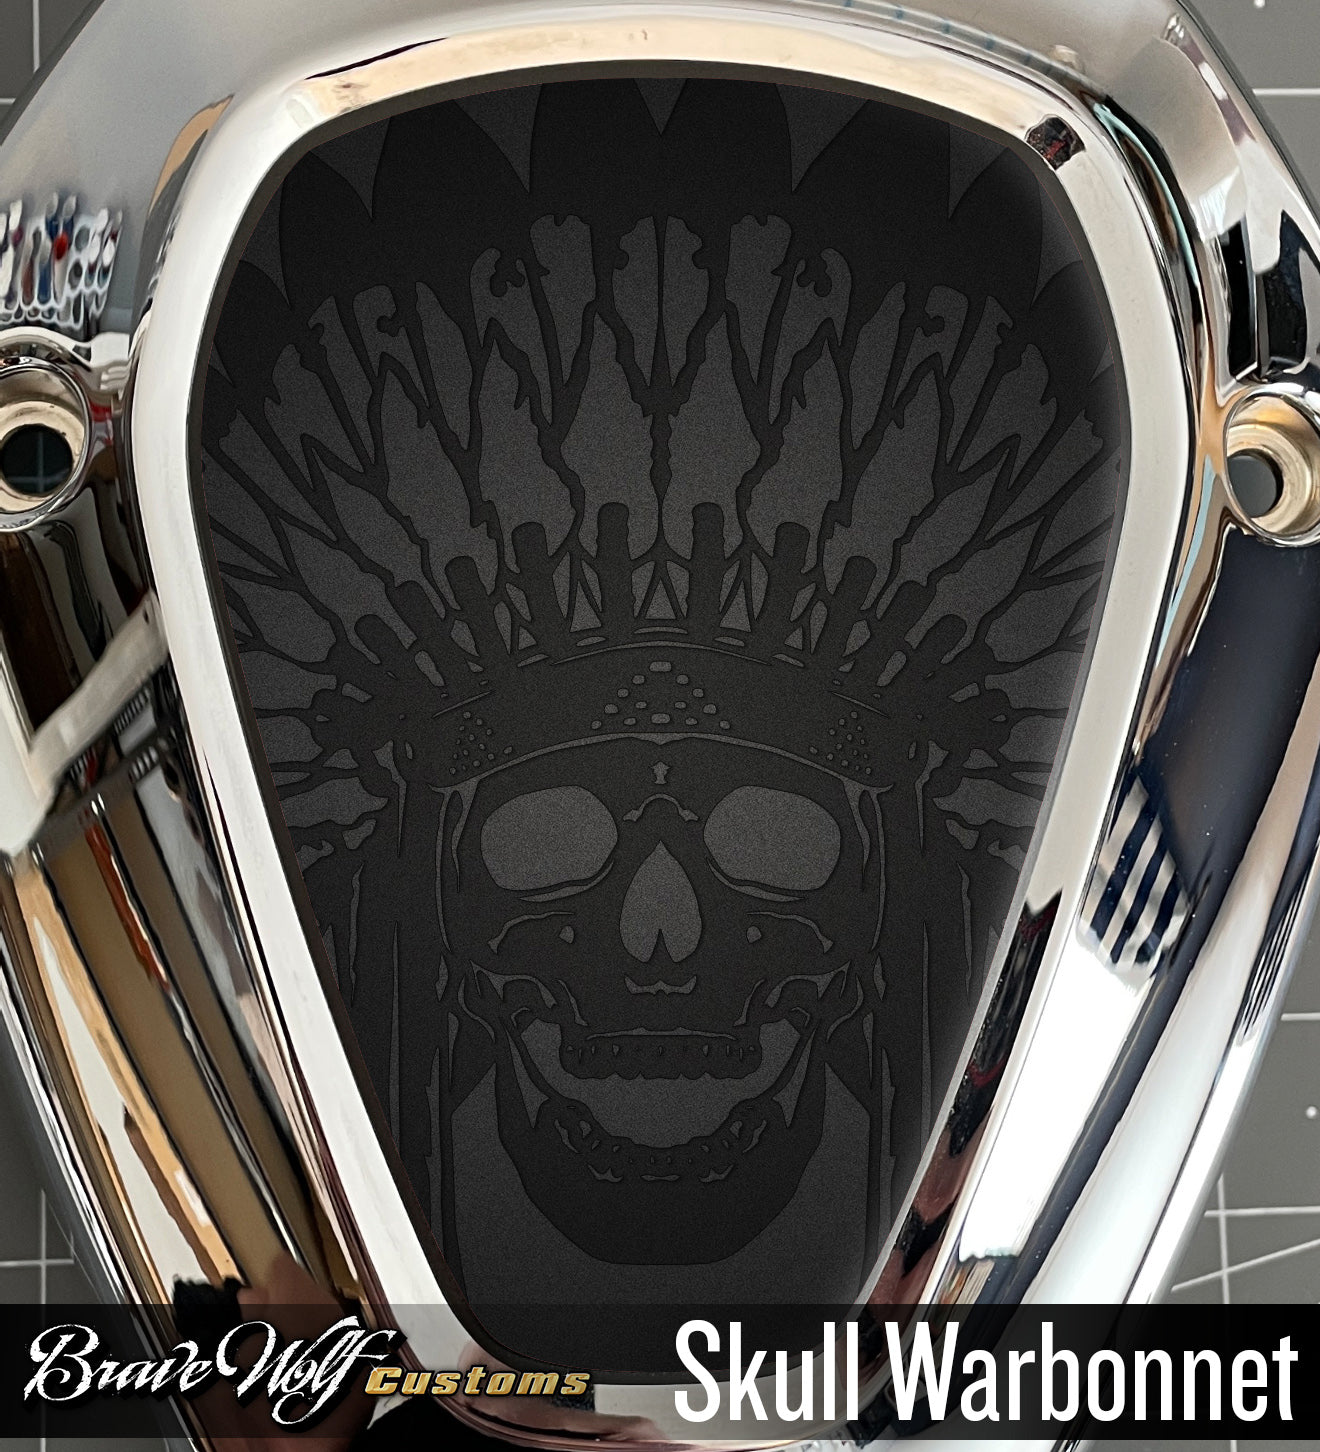


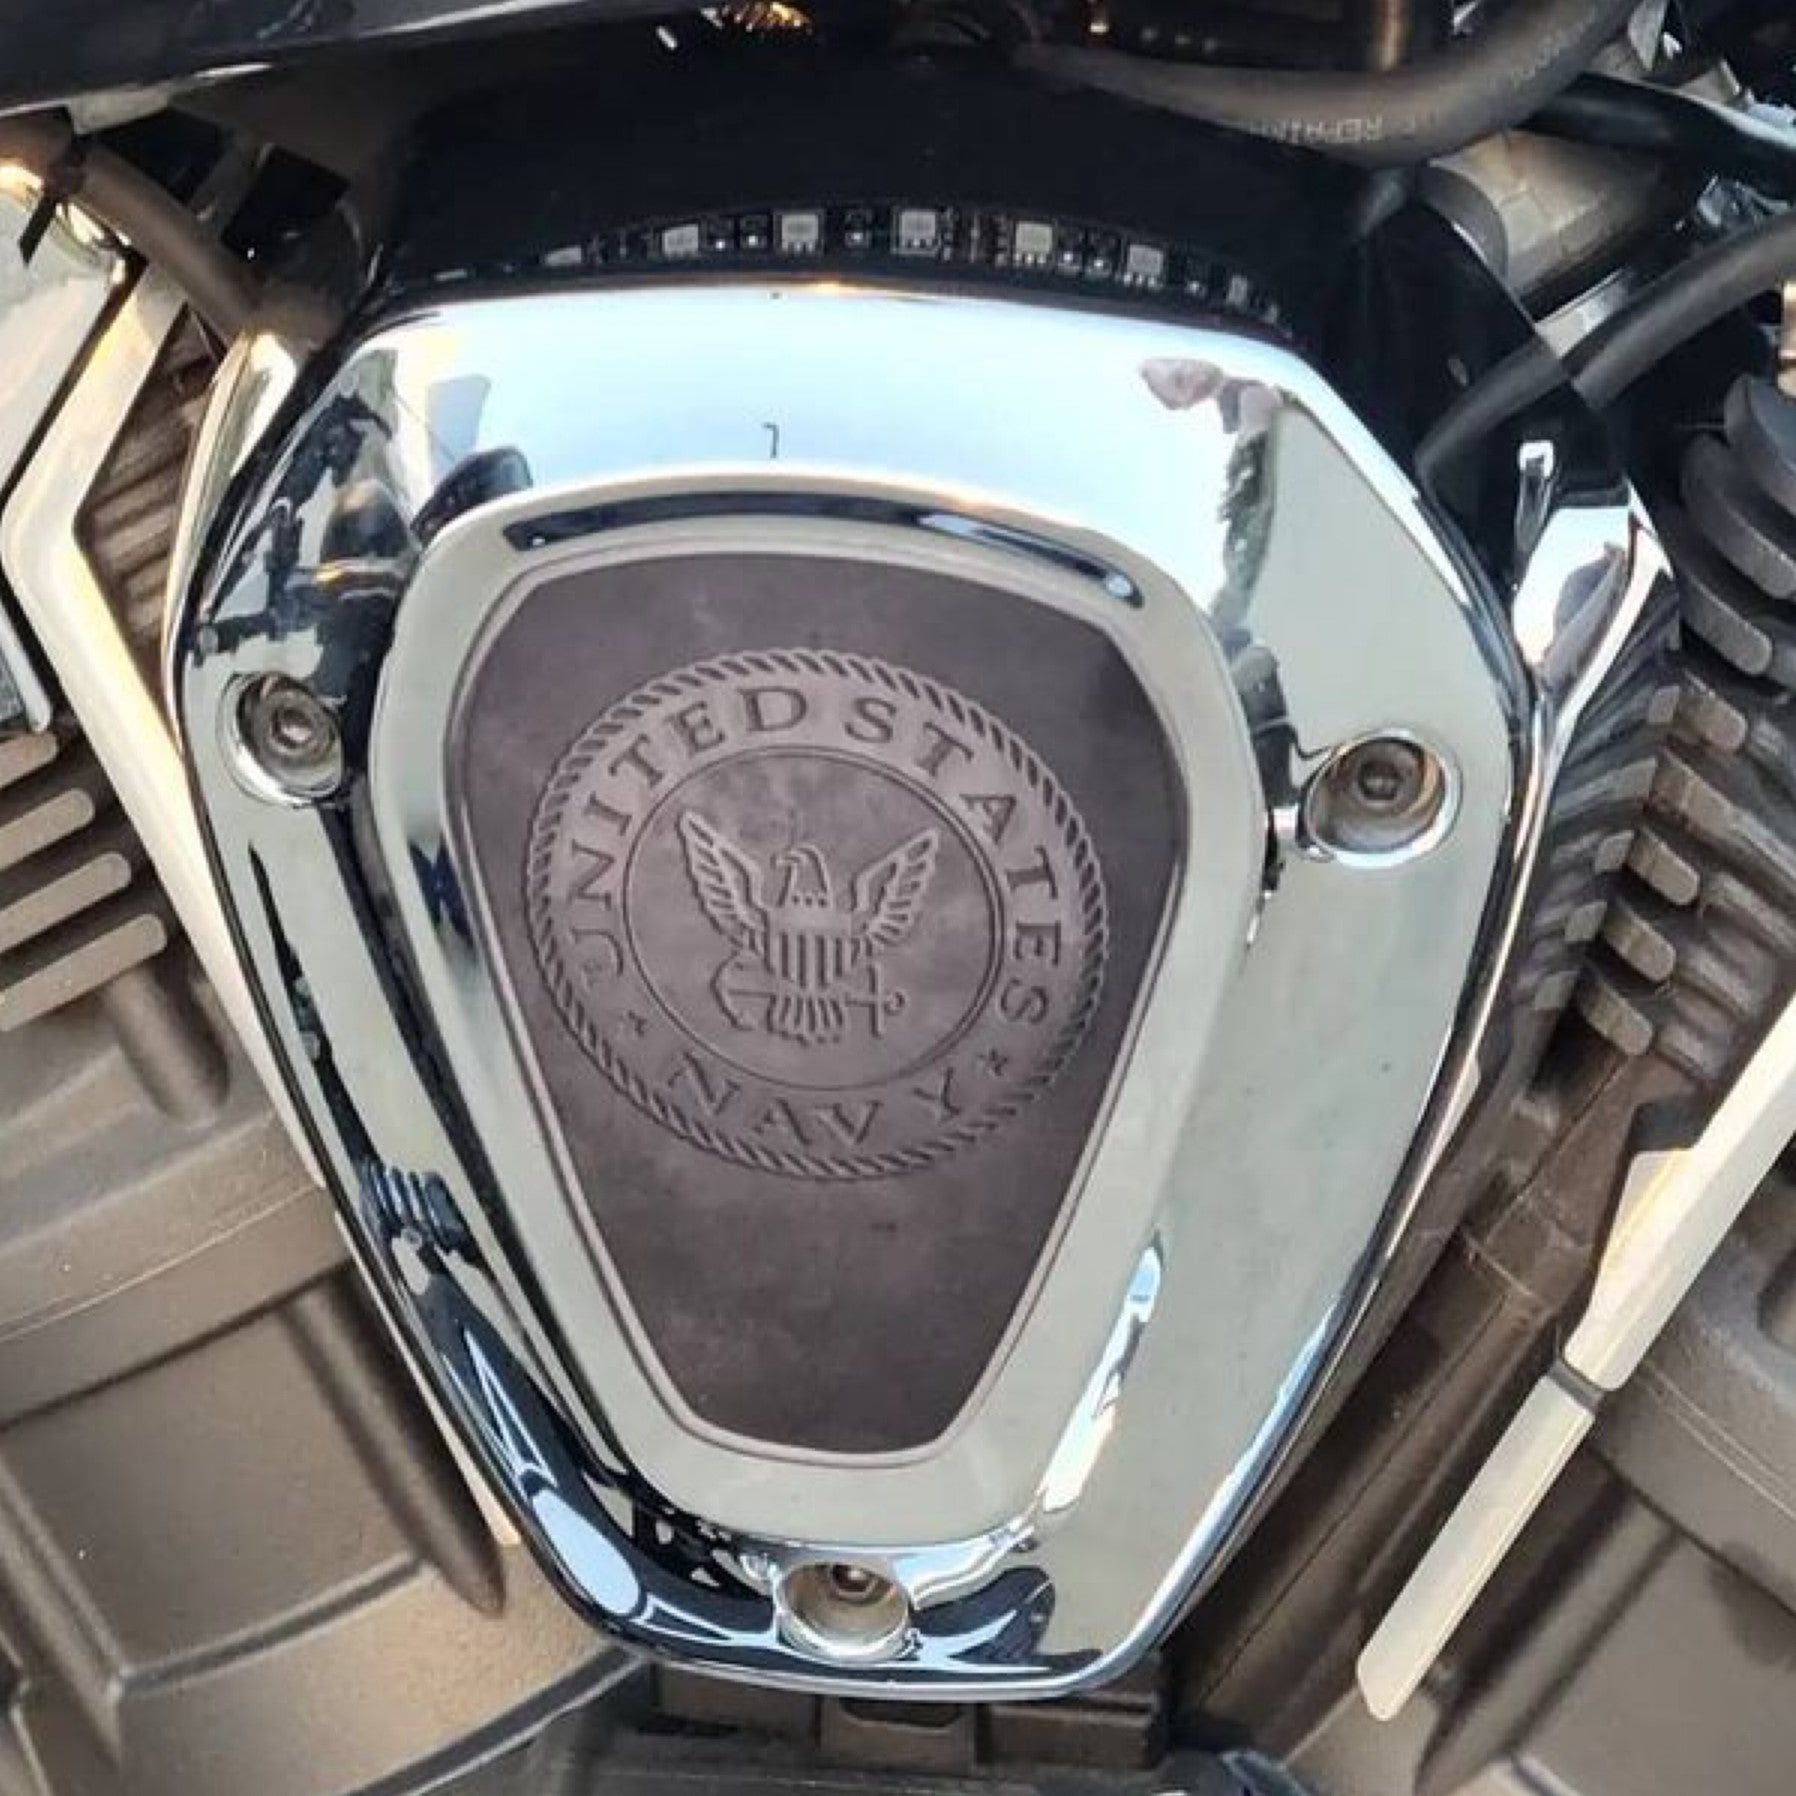
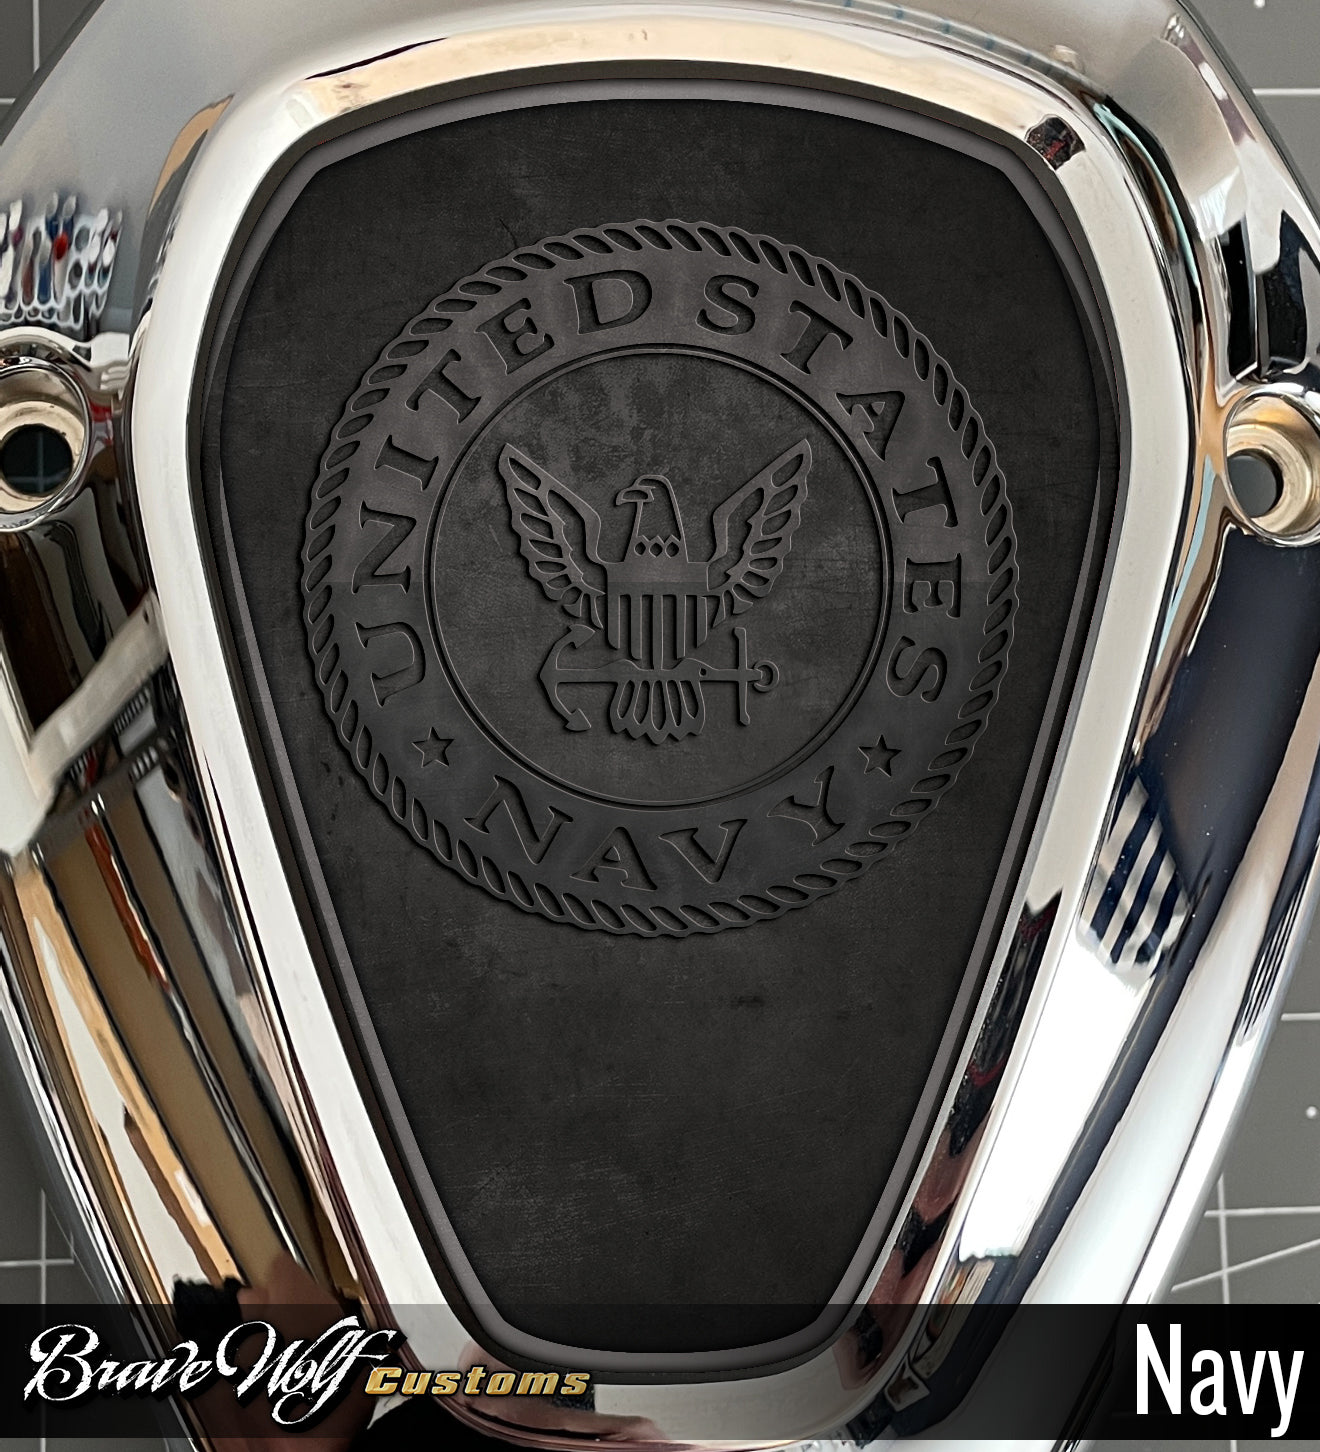


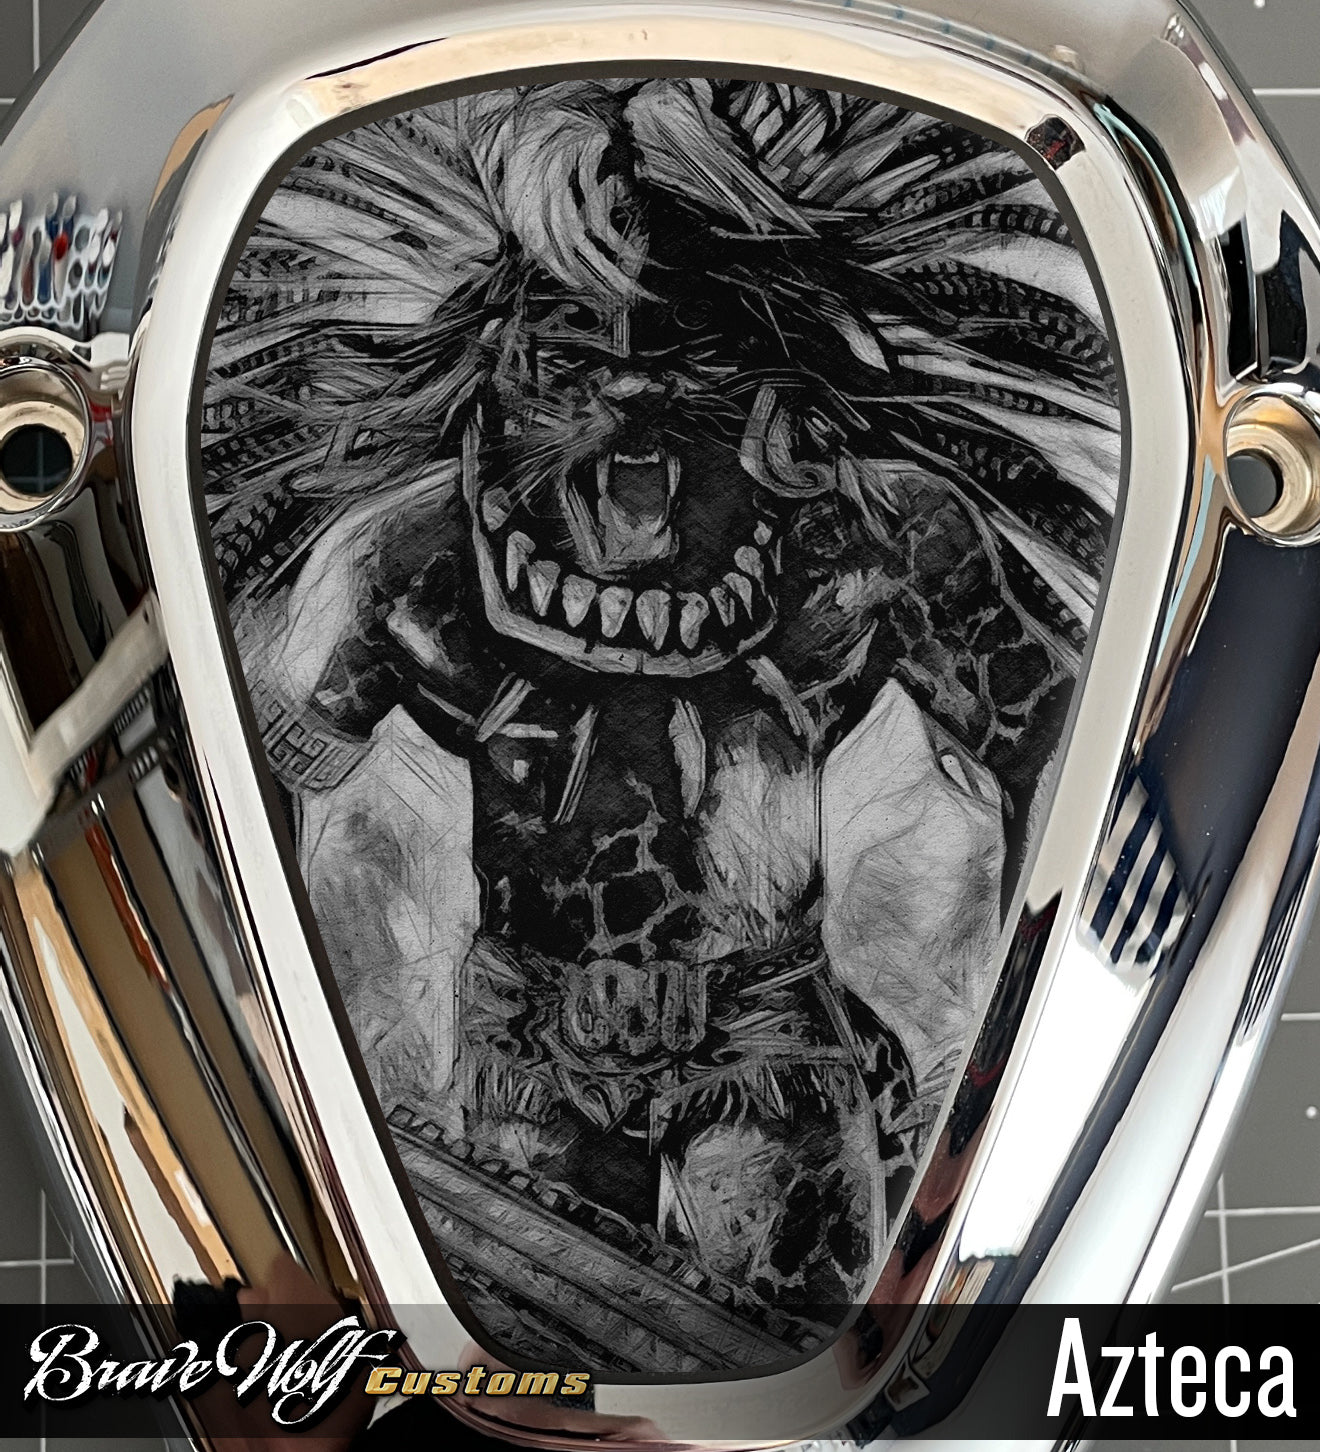
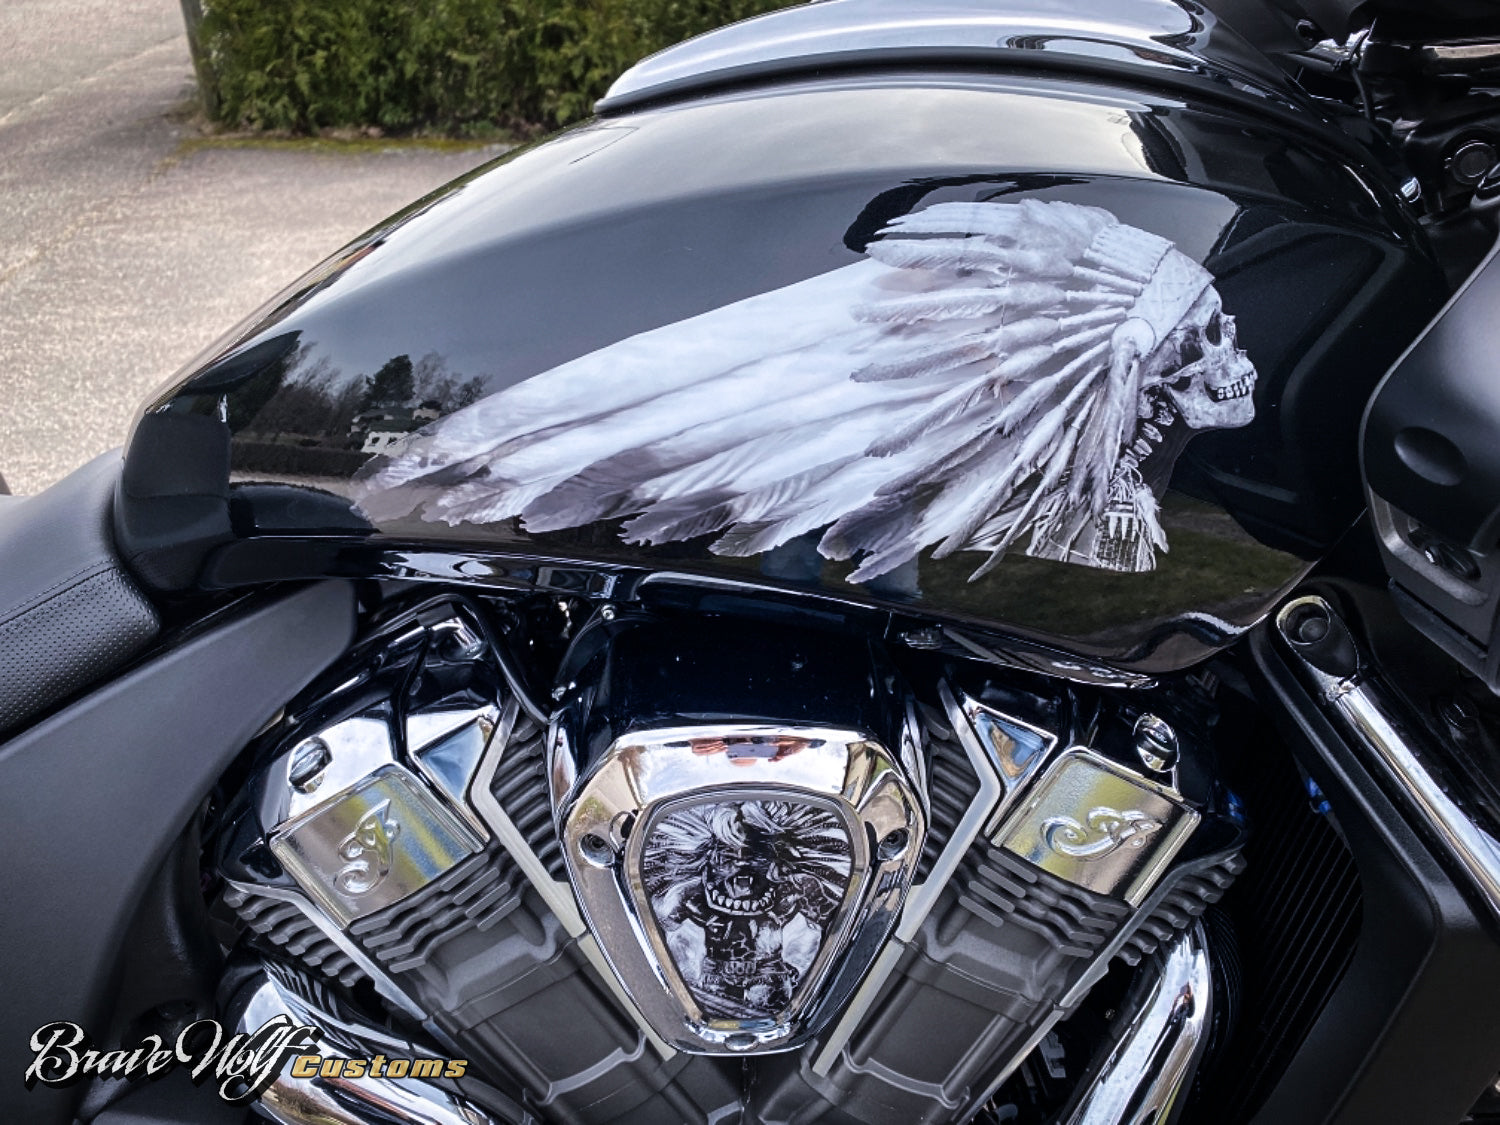


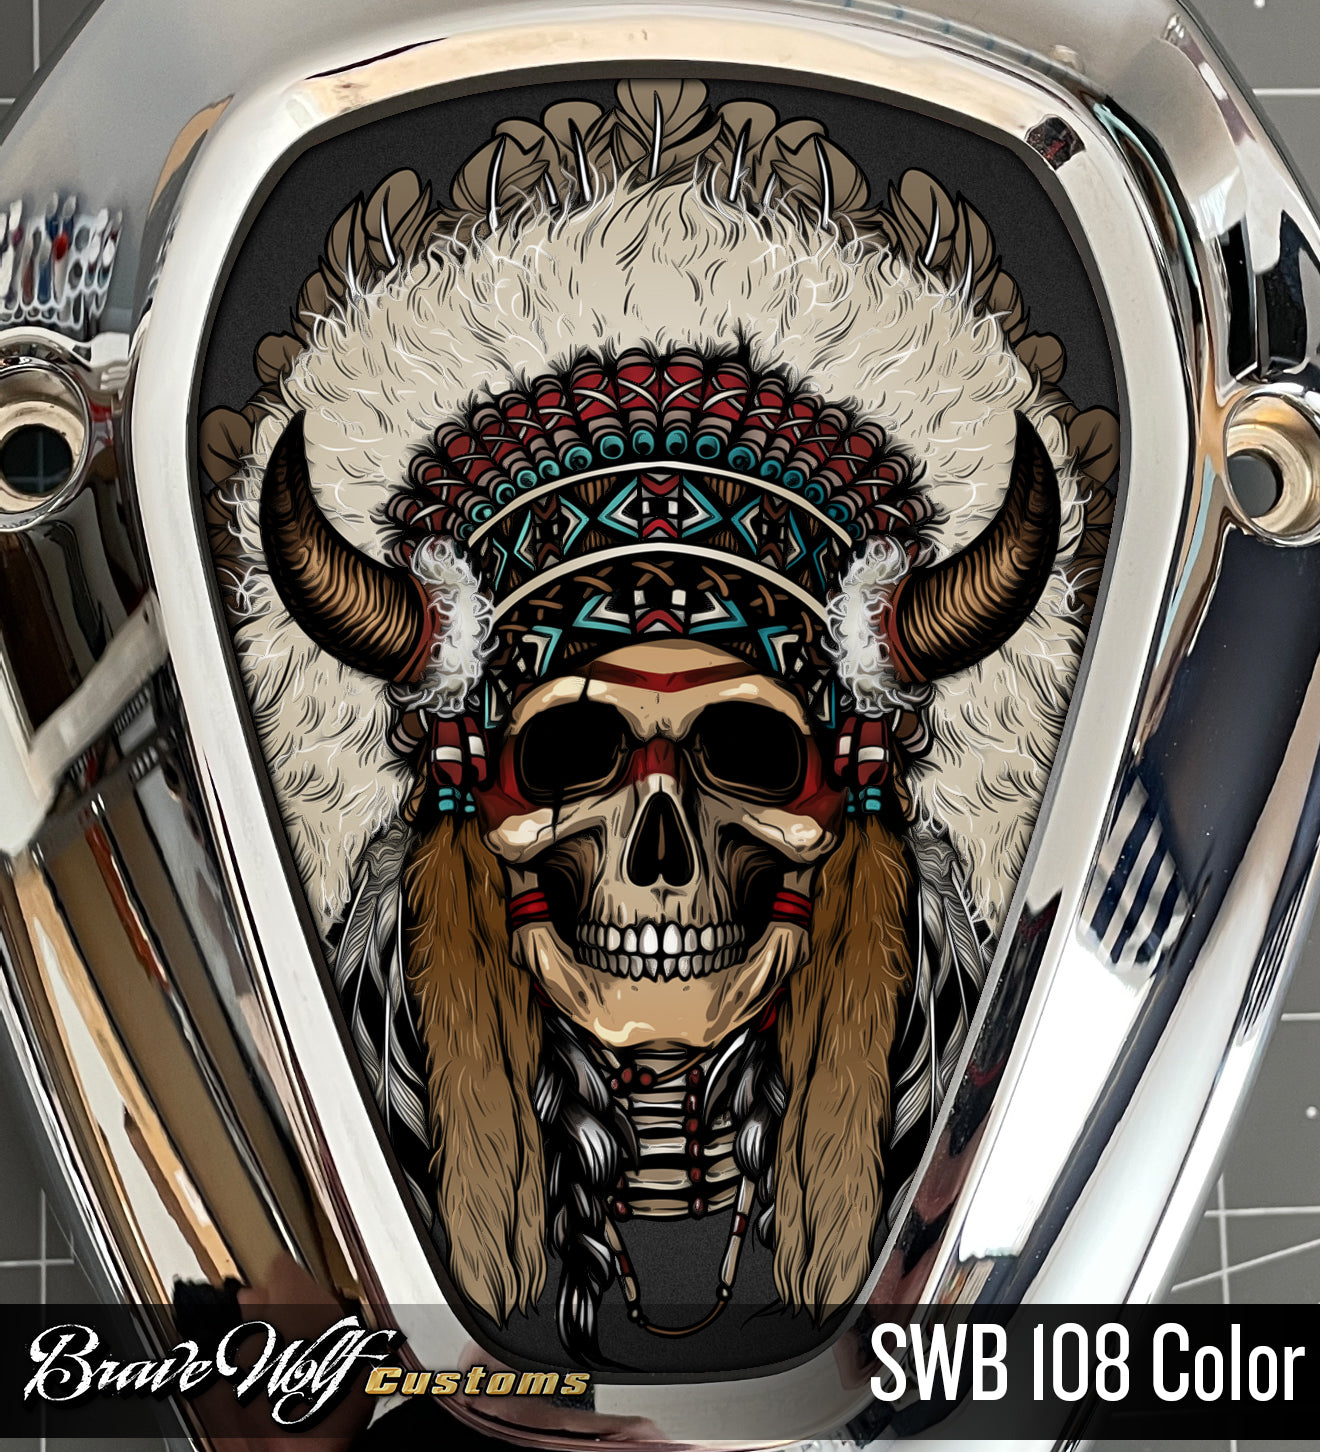


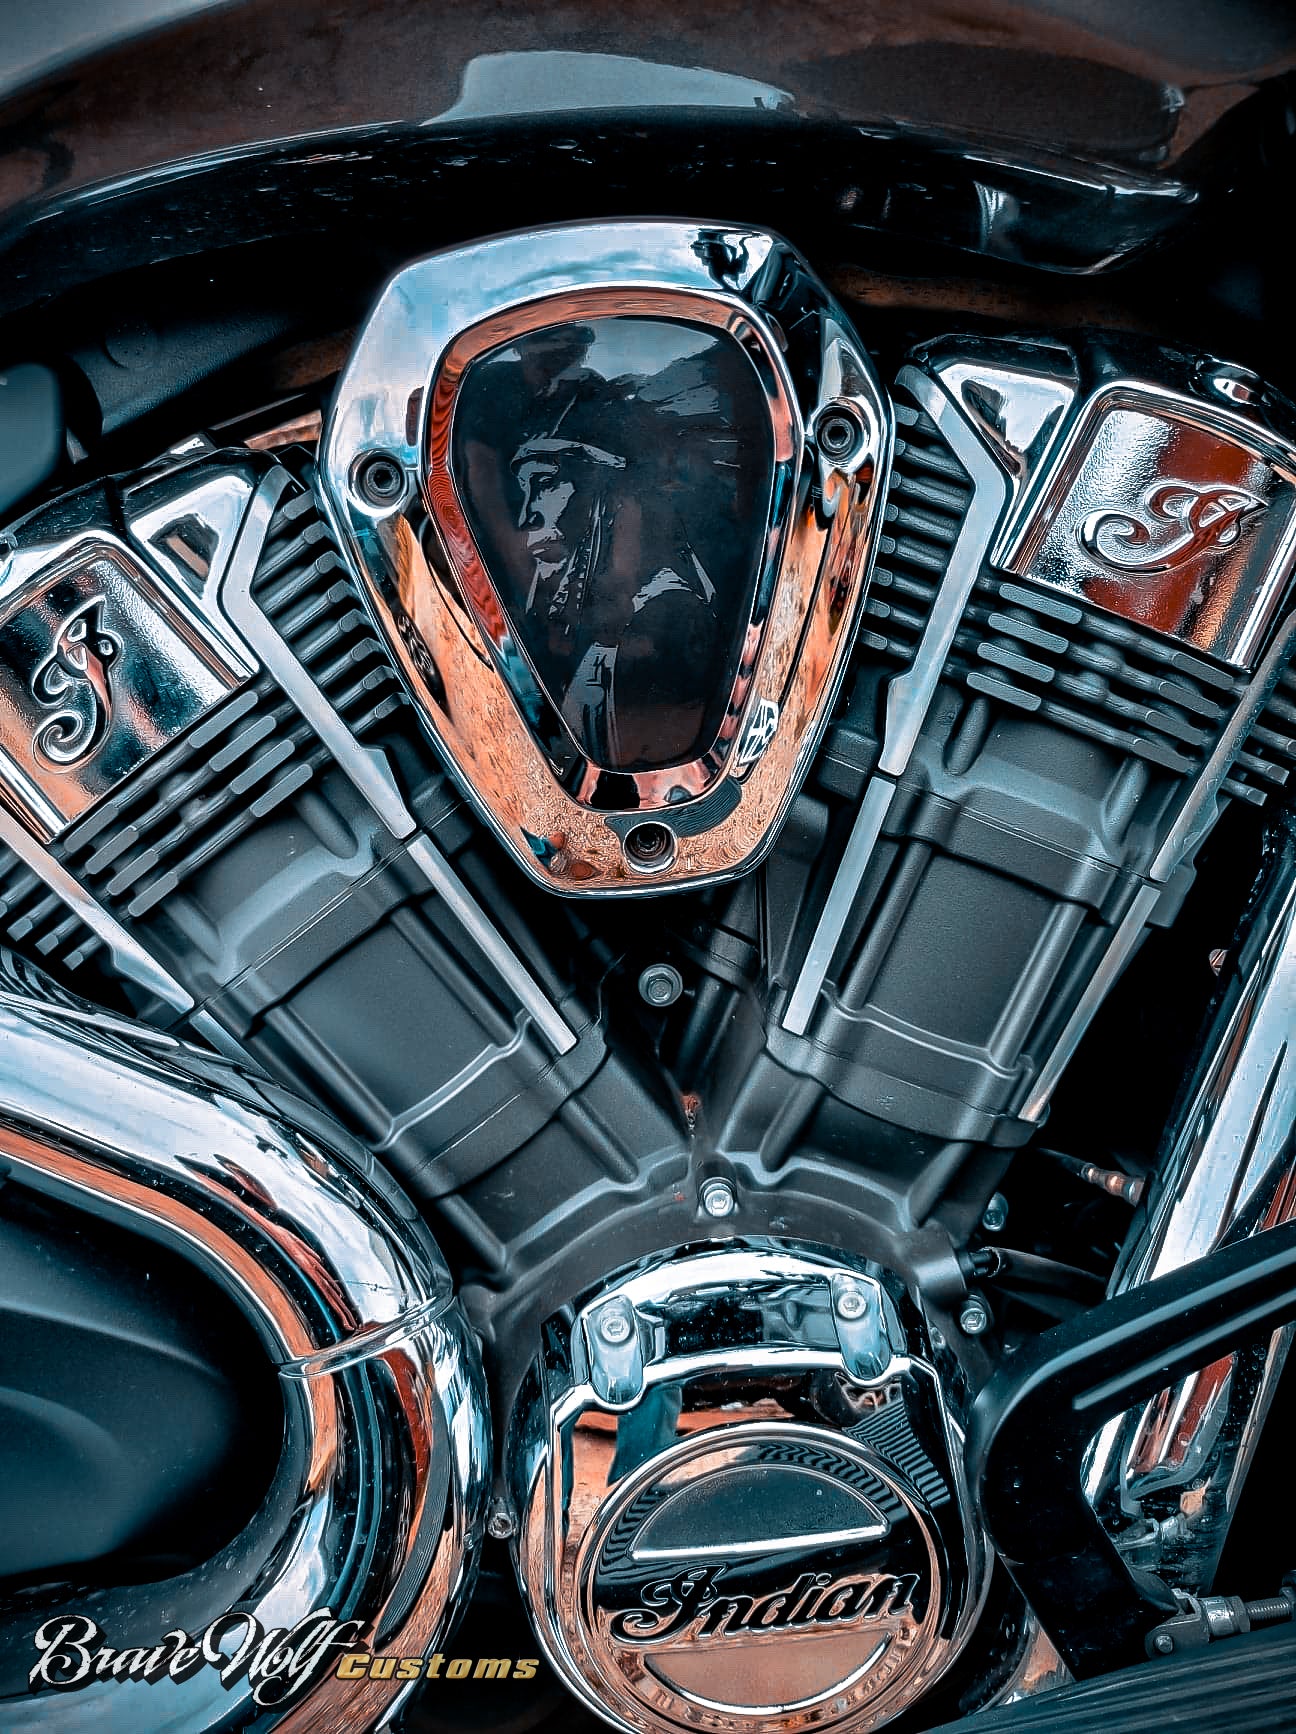
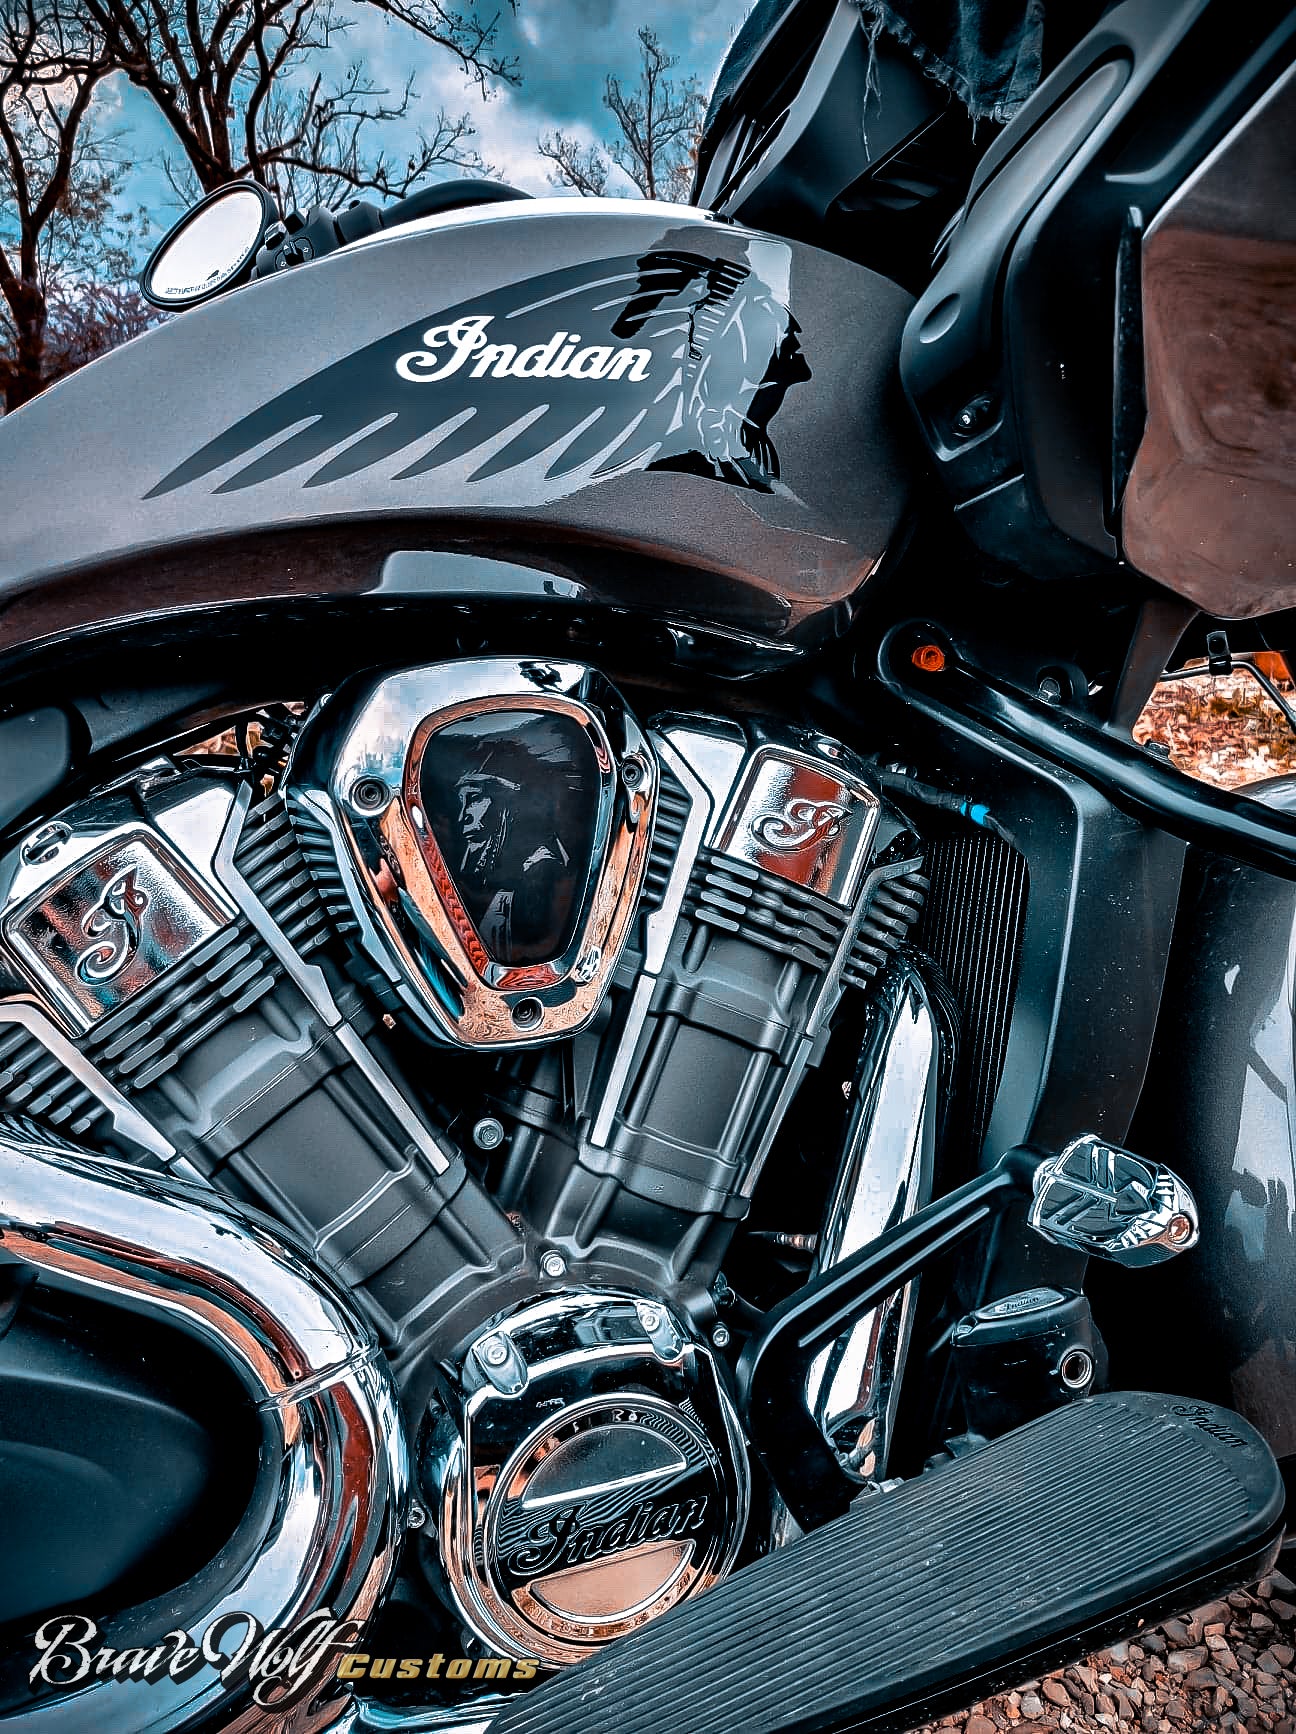


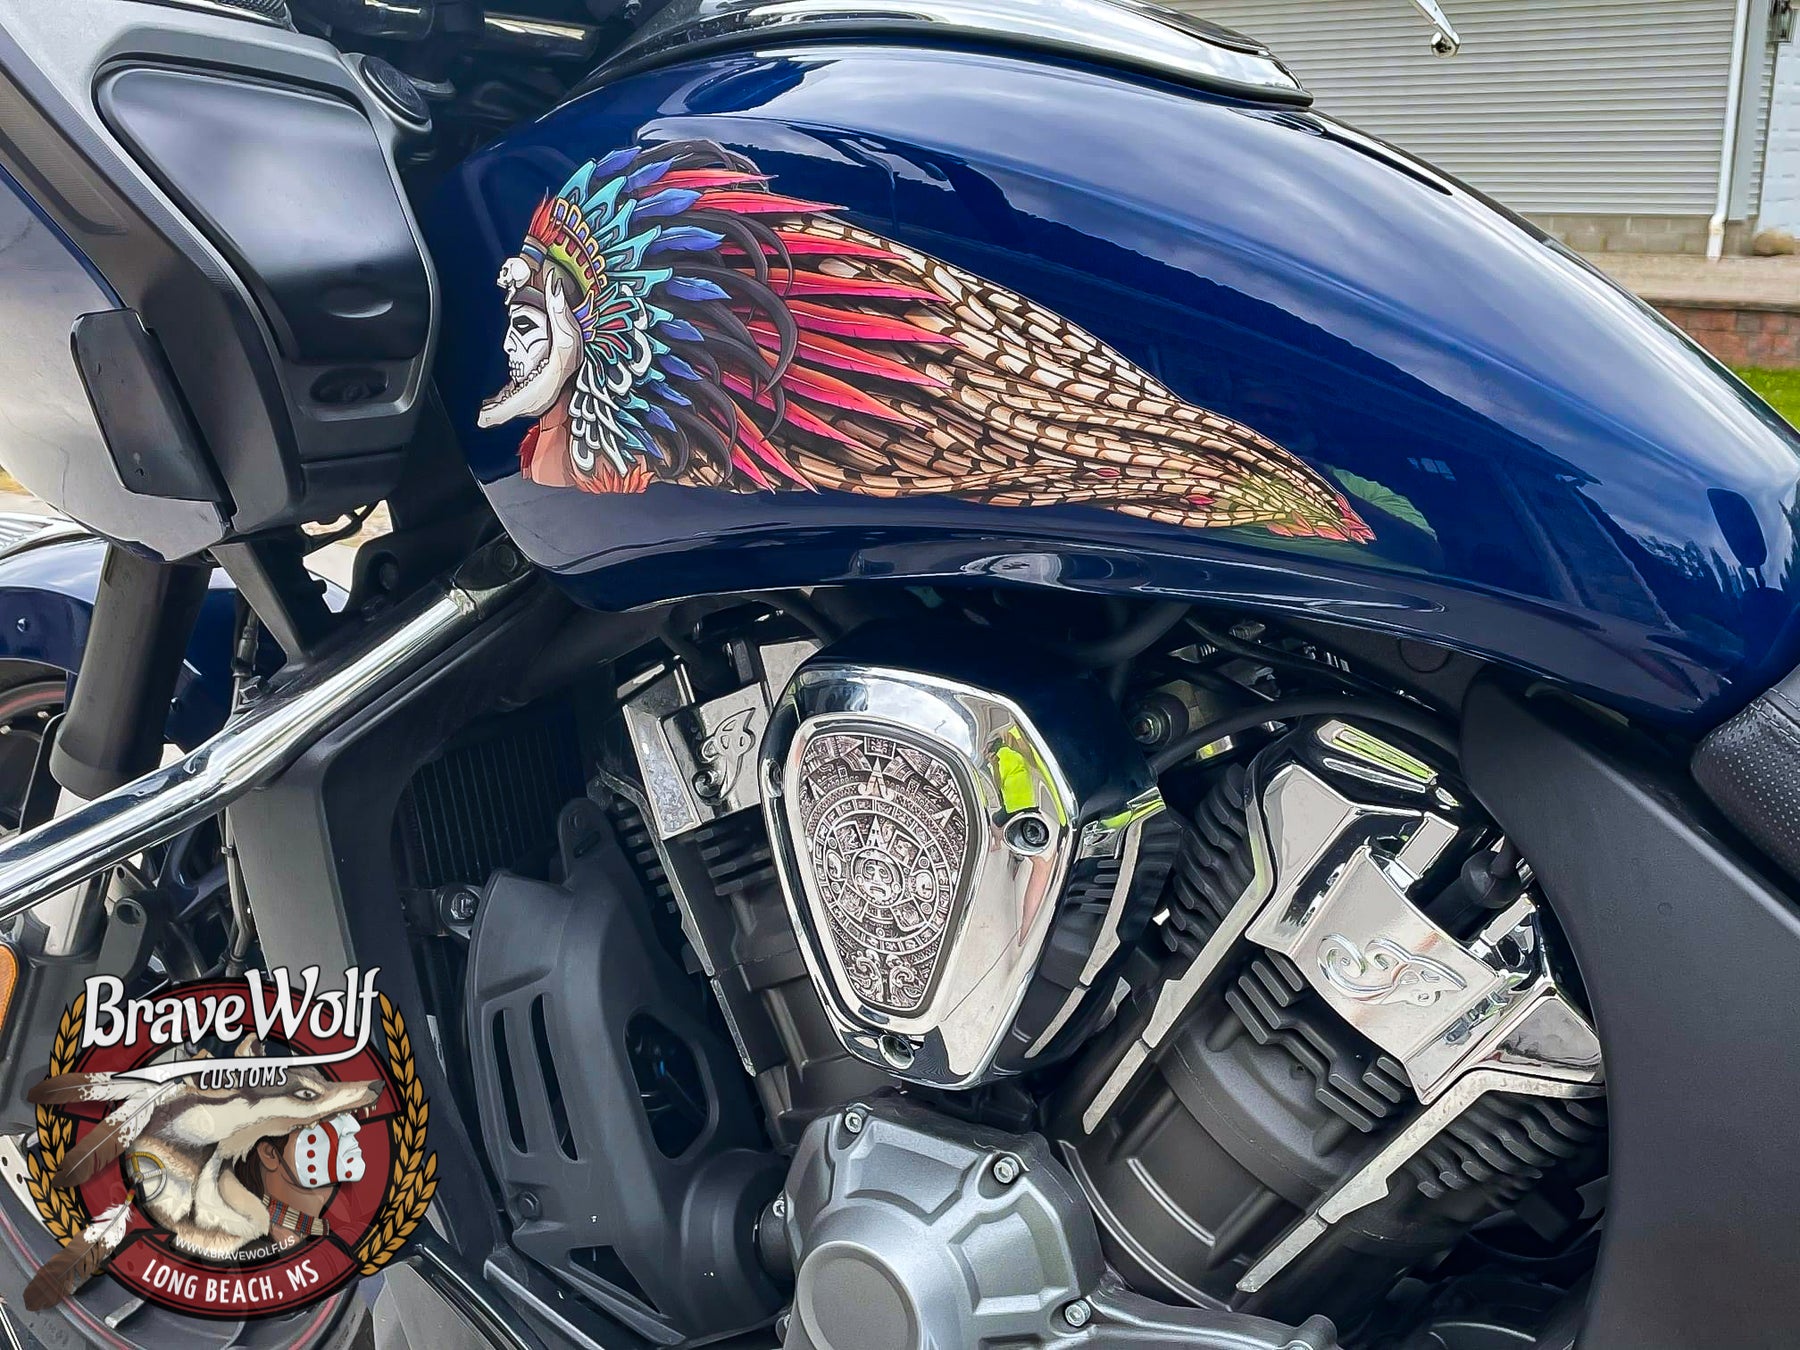


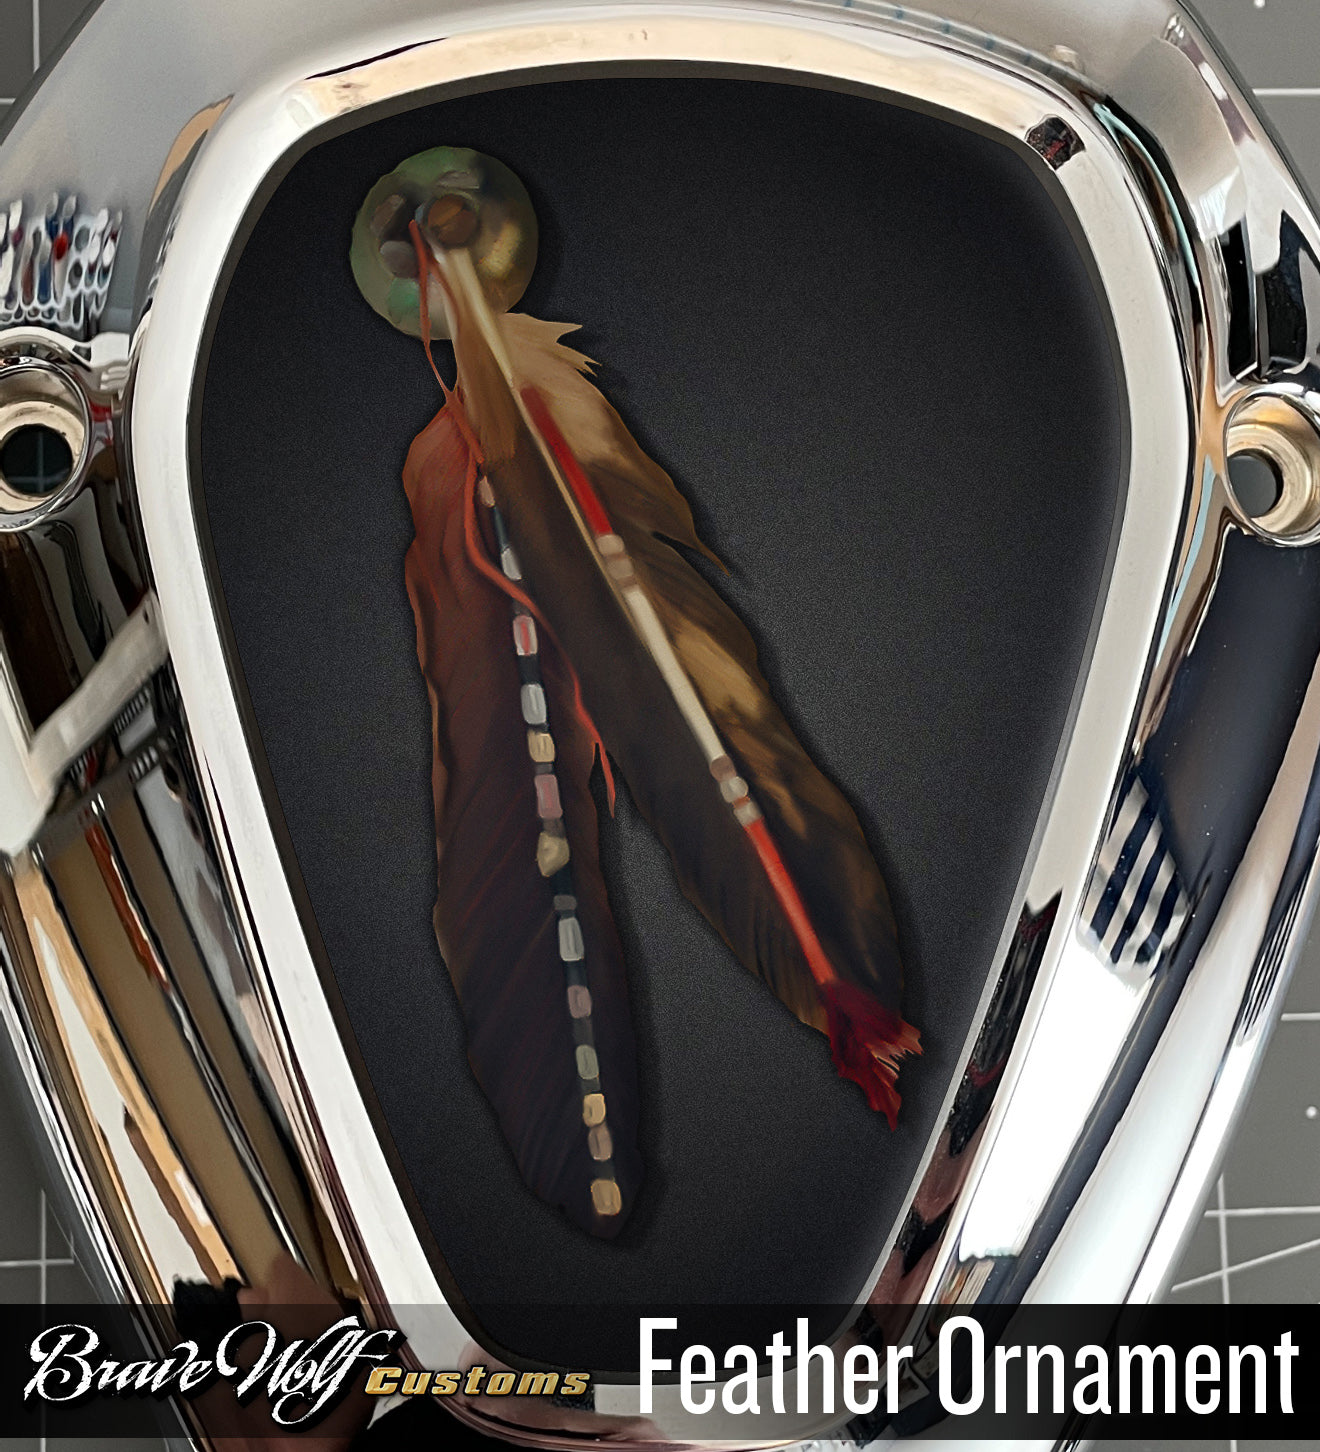


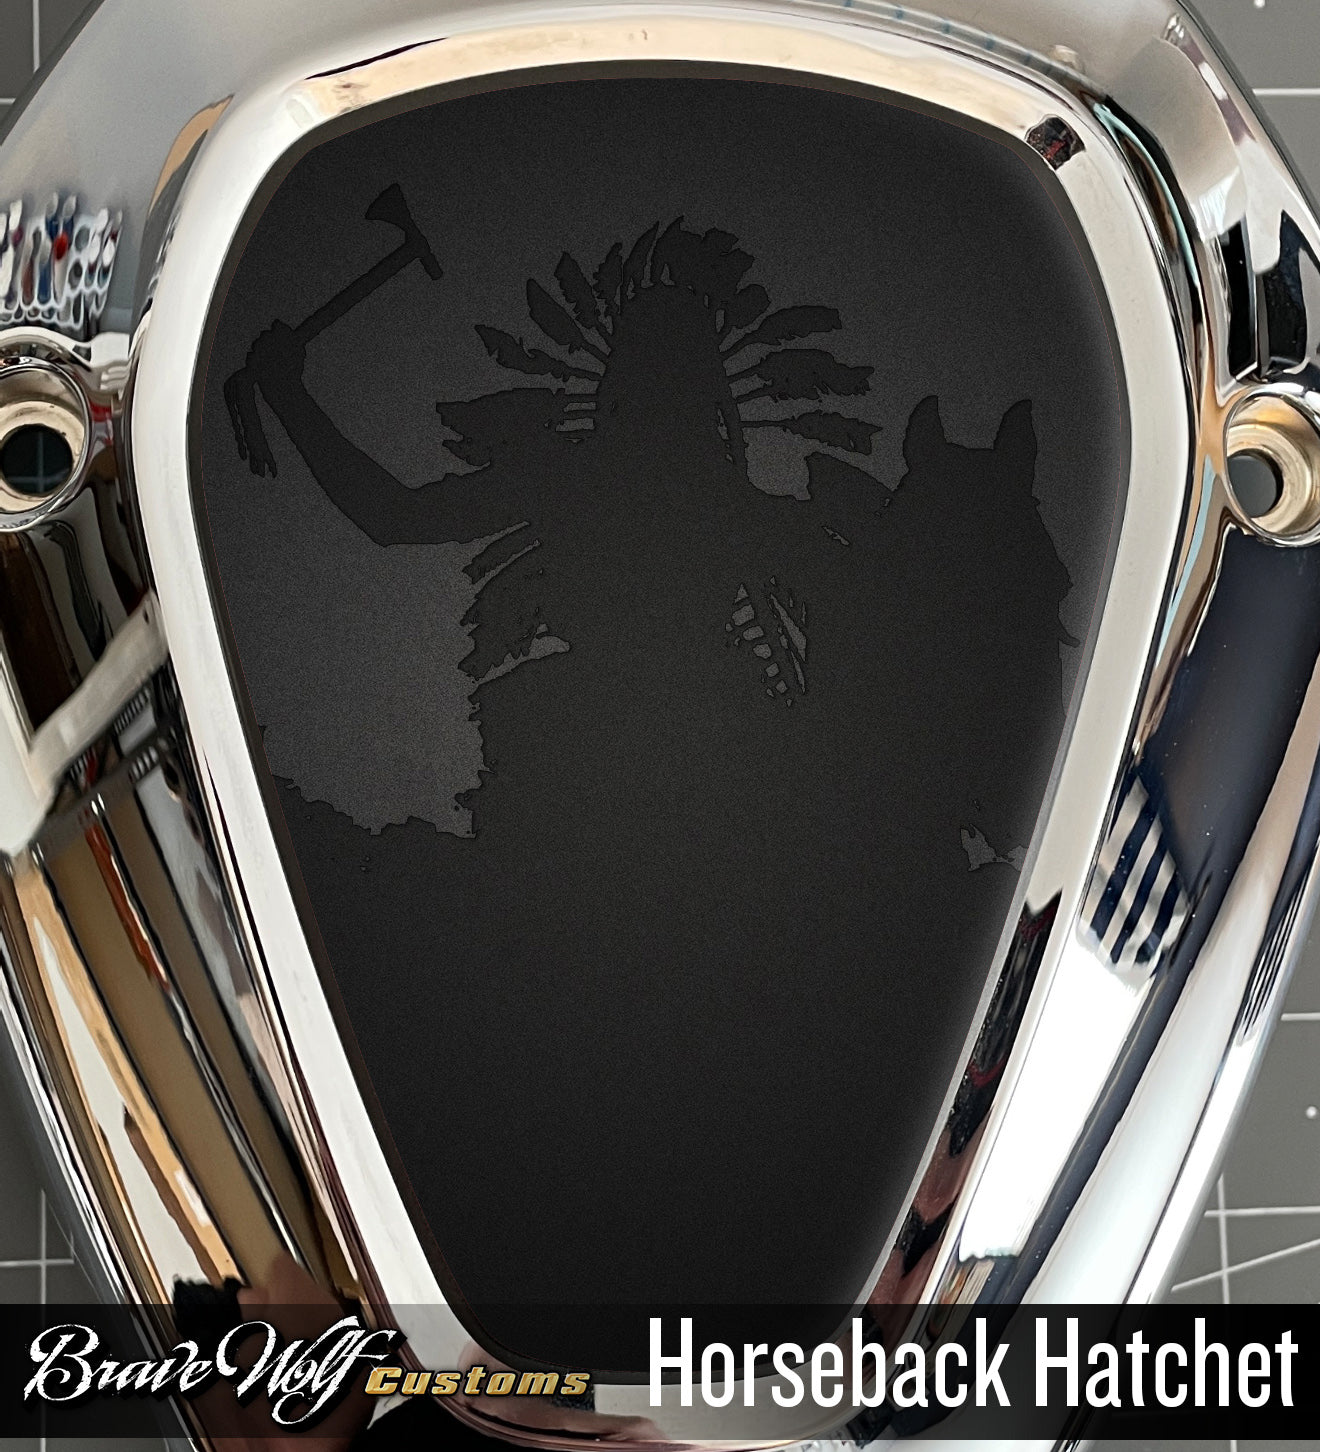
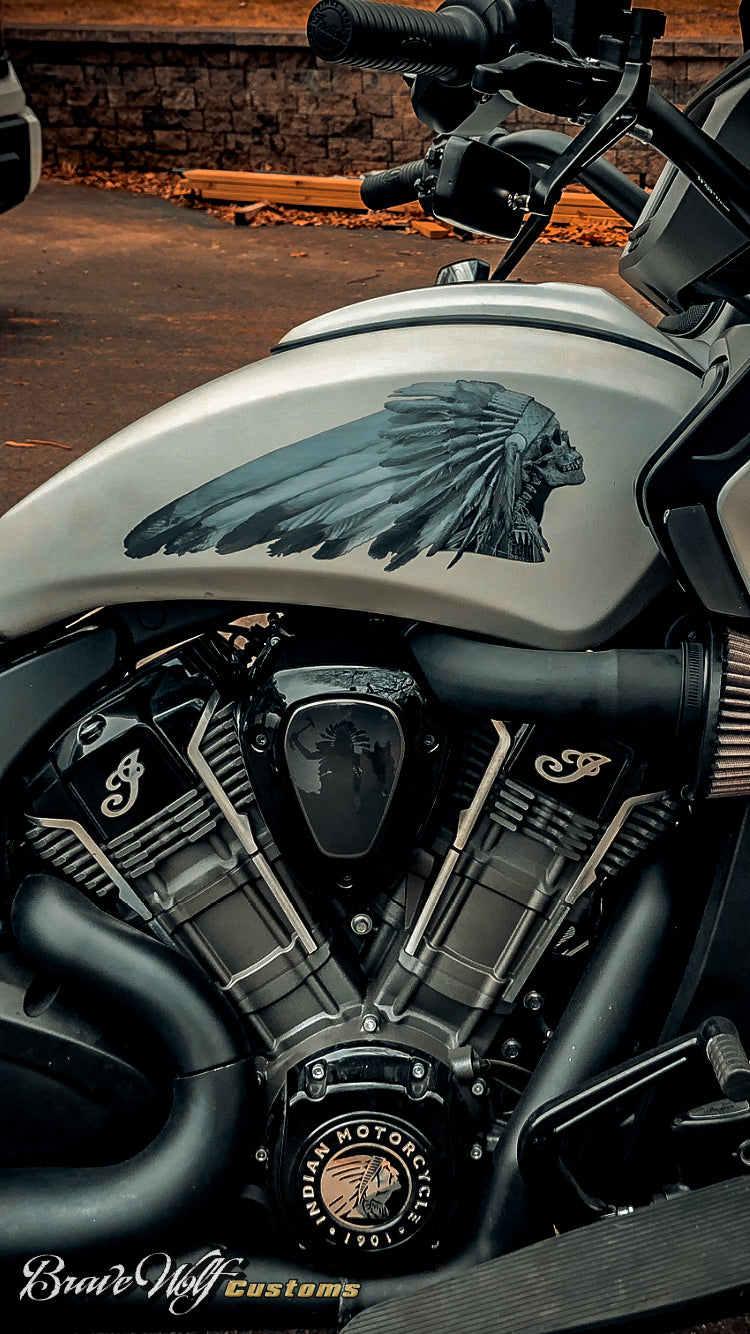


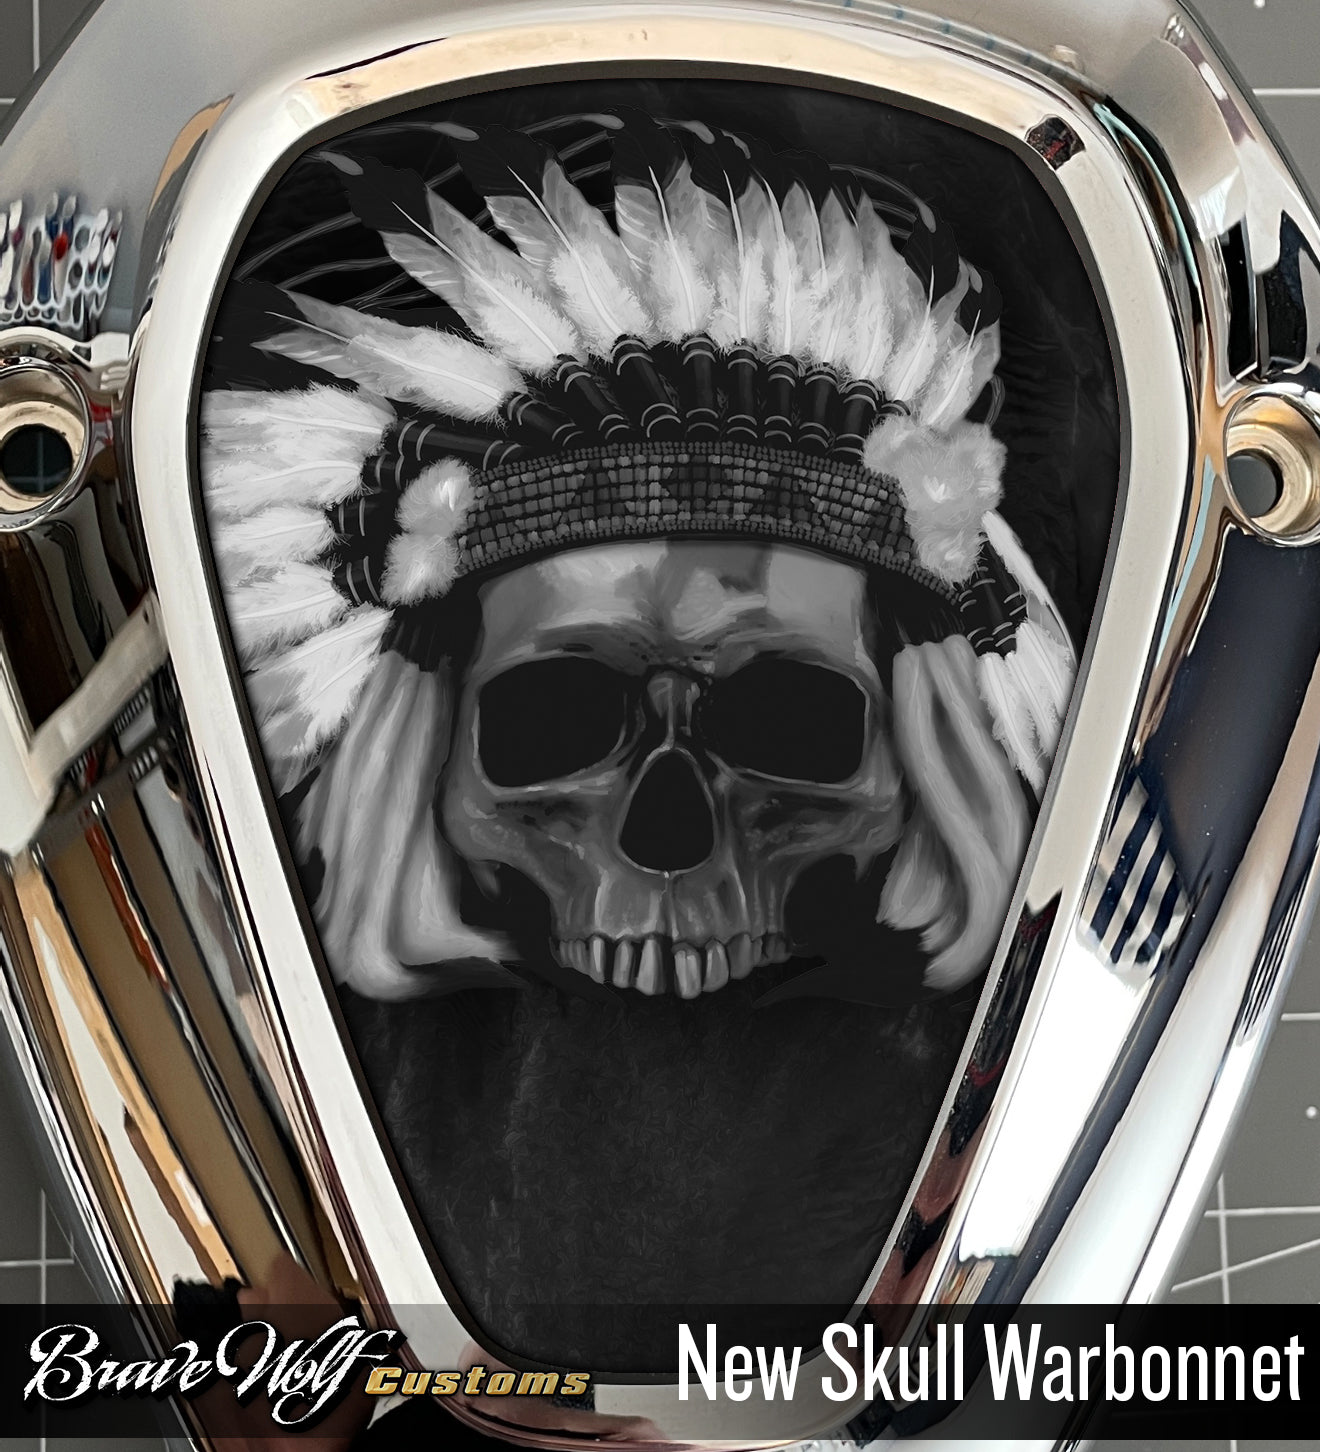
Powerplus V-Cover Decal - New Skull Warbonnet
Regular price $20.00
Shipping calculated at checkout.
We usually have this product in stock and can ship right away but there can be a wait if it sells out before the restock arrives.
Buy 2 and get an automatic 10% off both v-covers
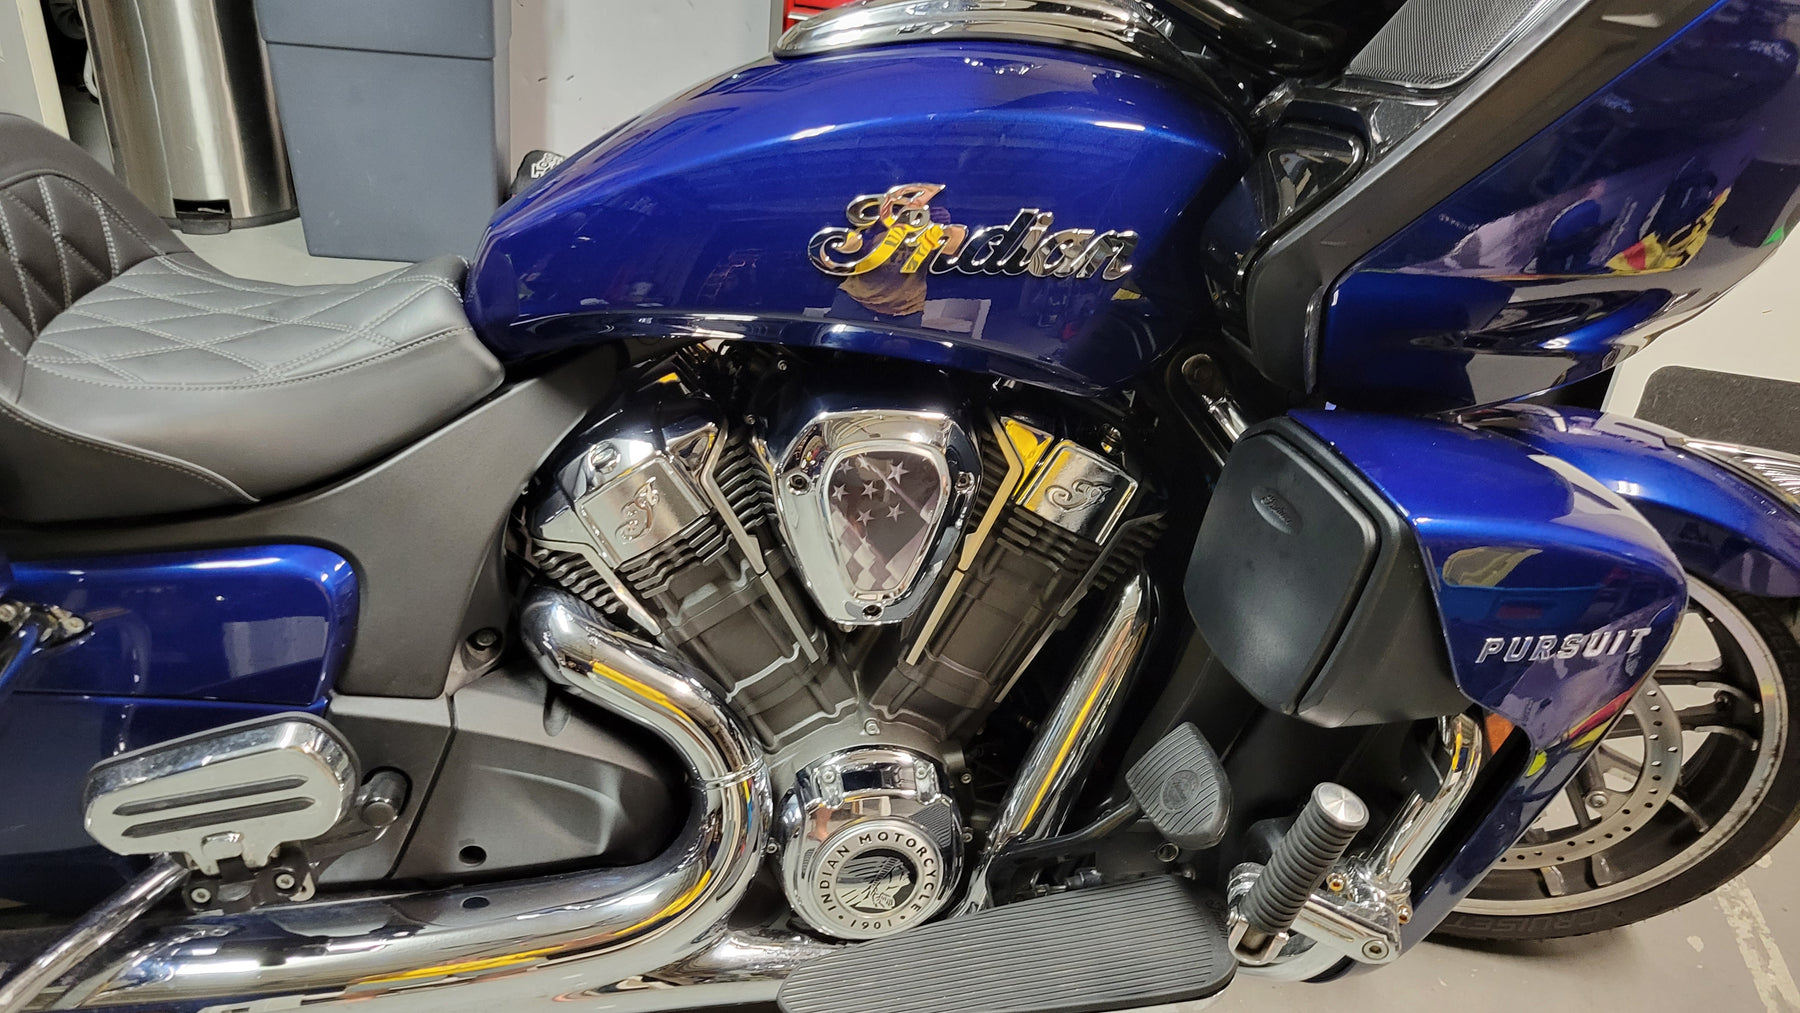
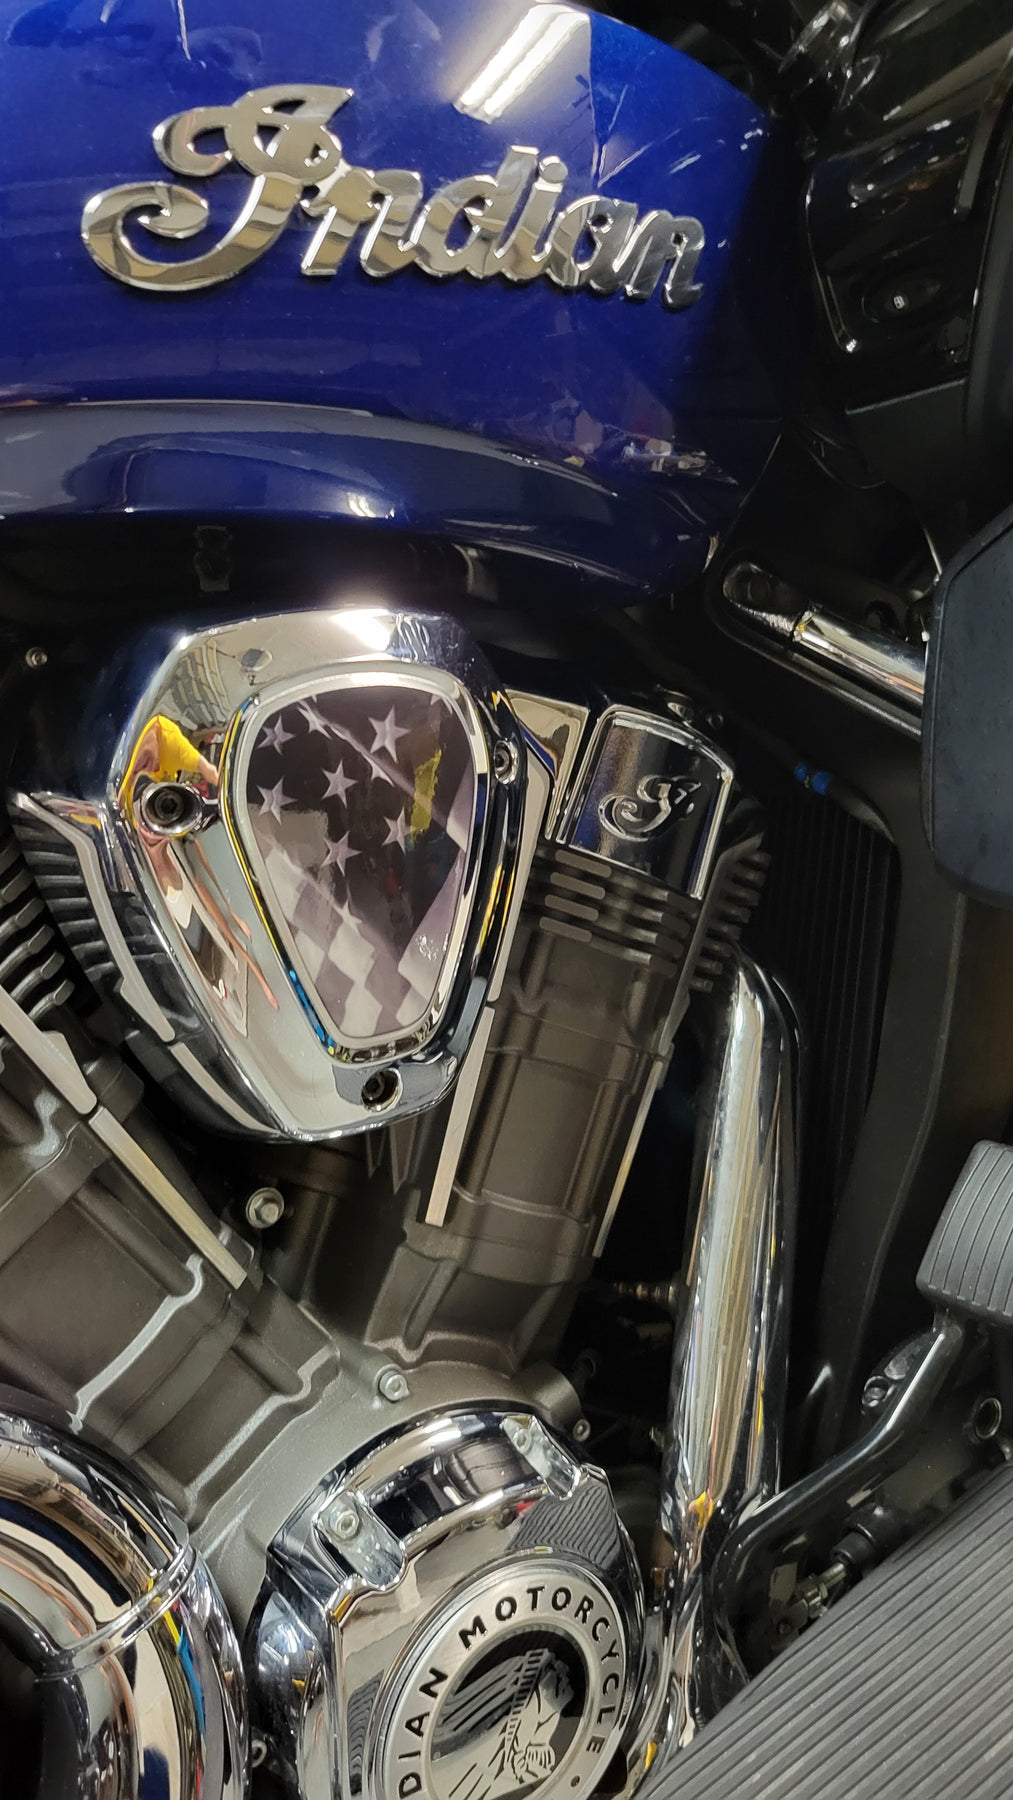
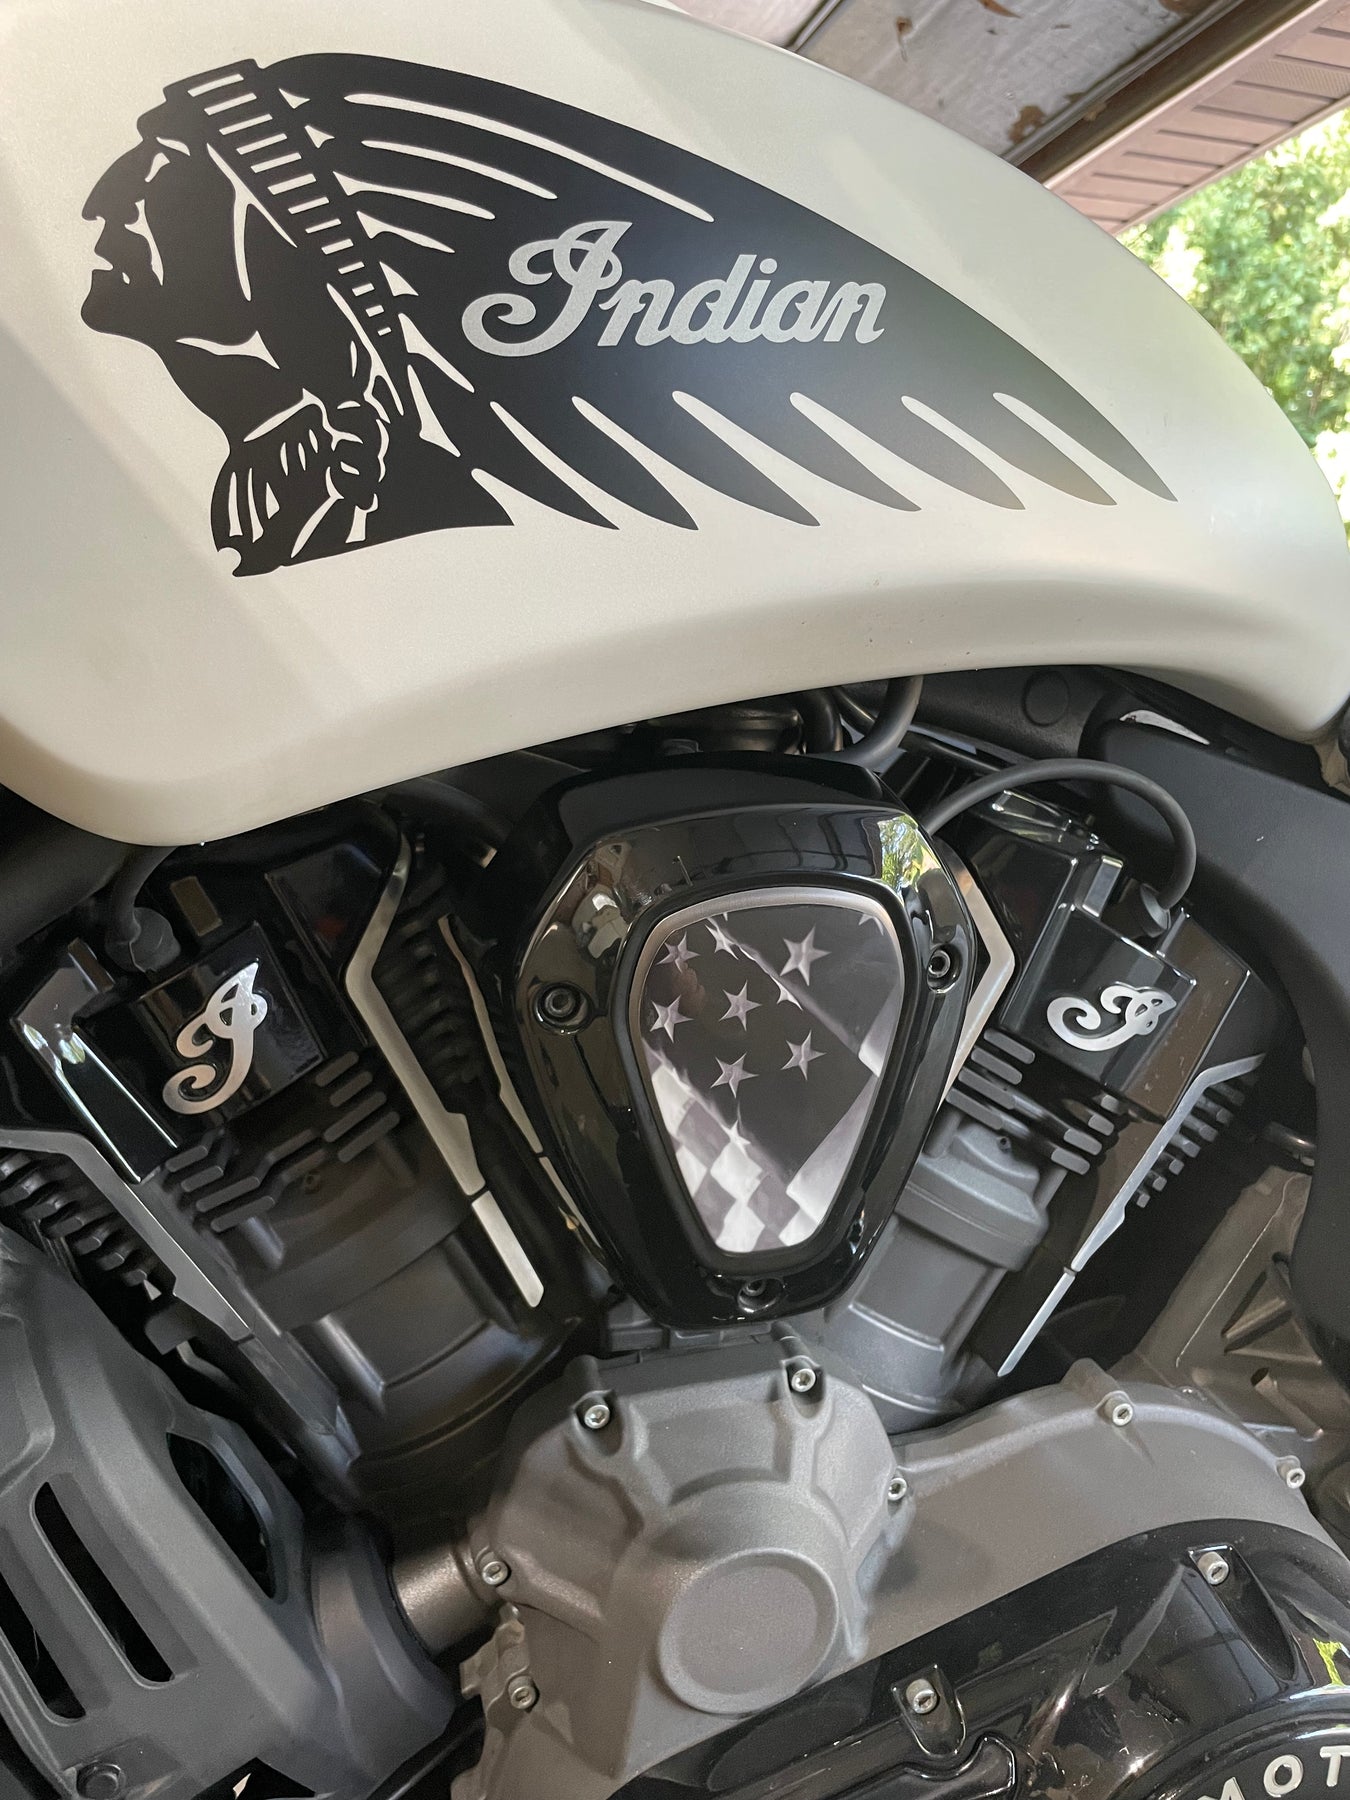
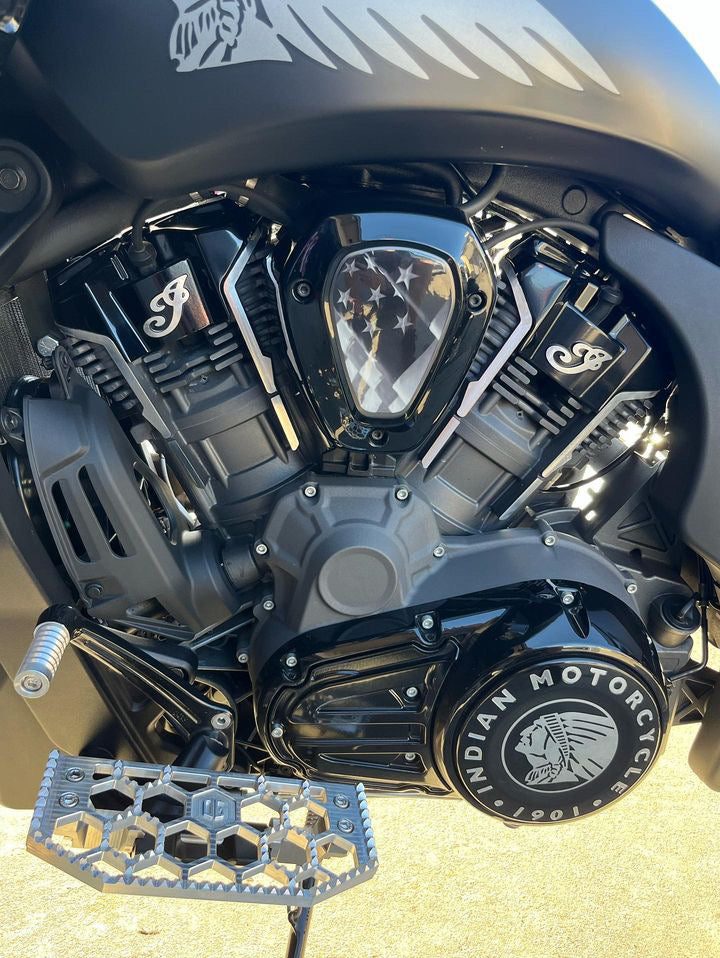
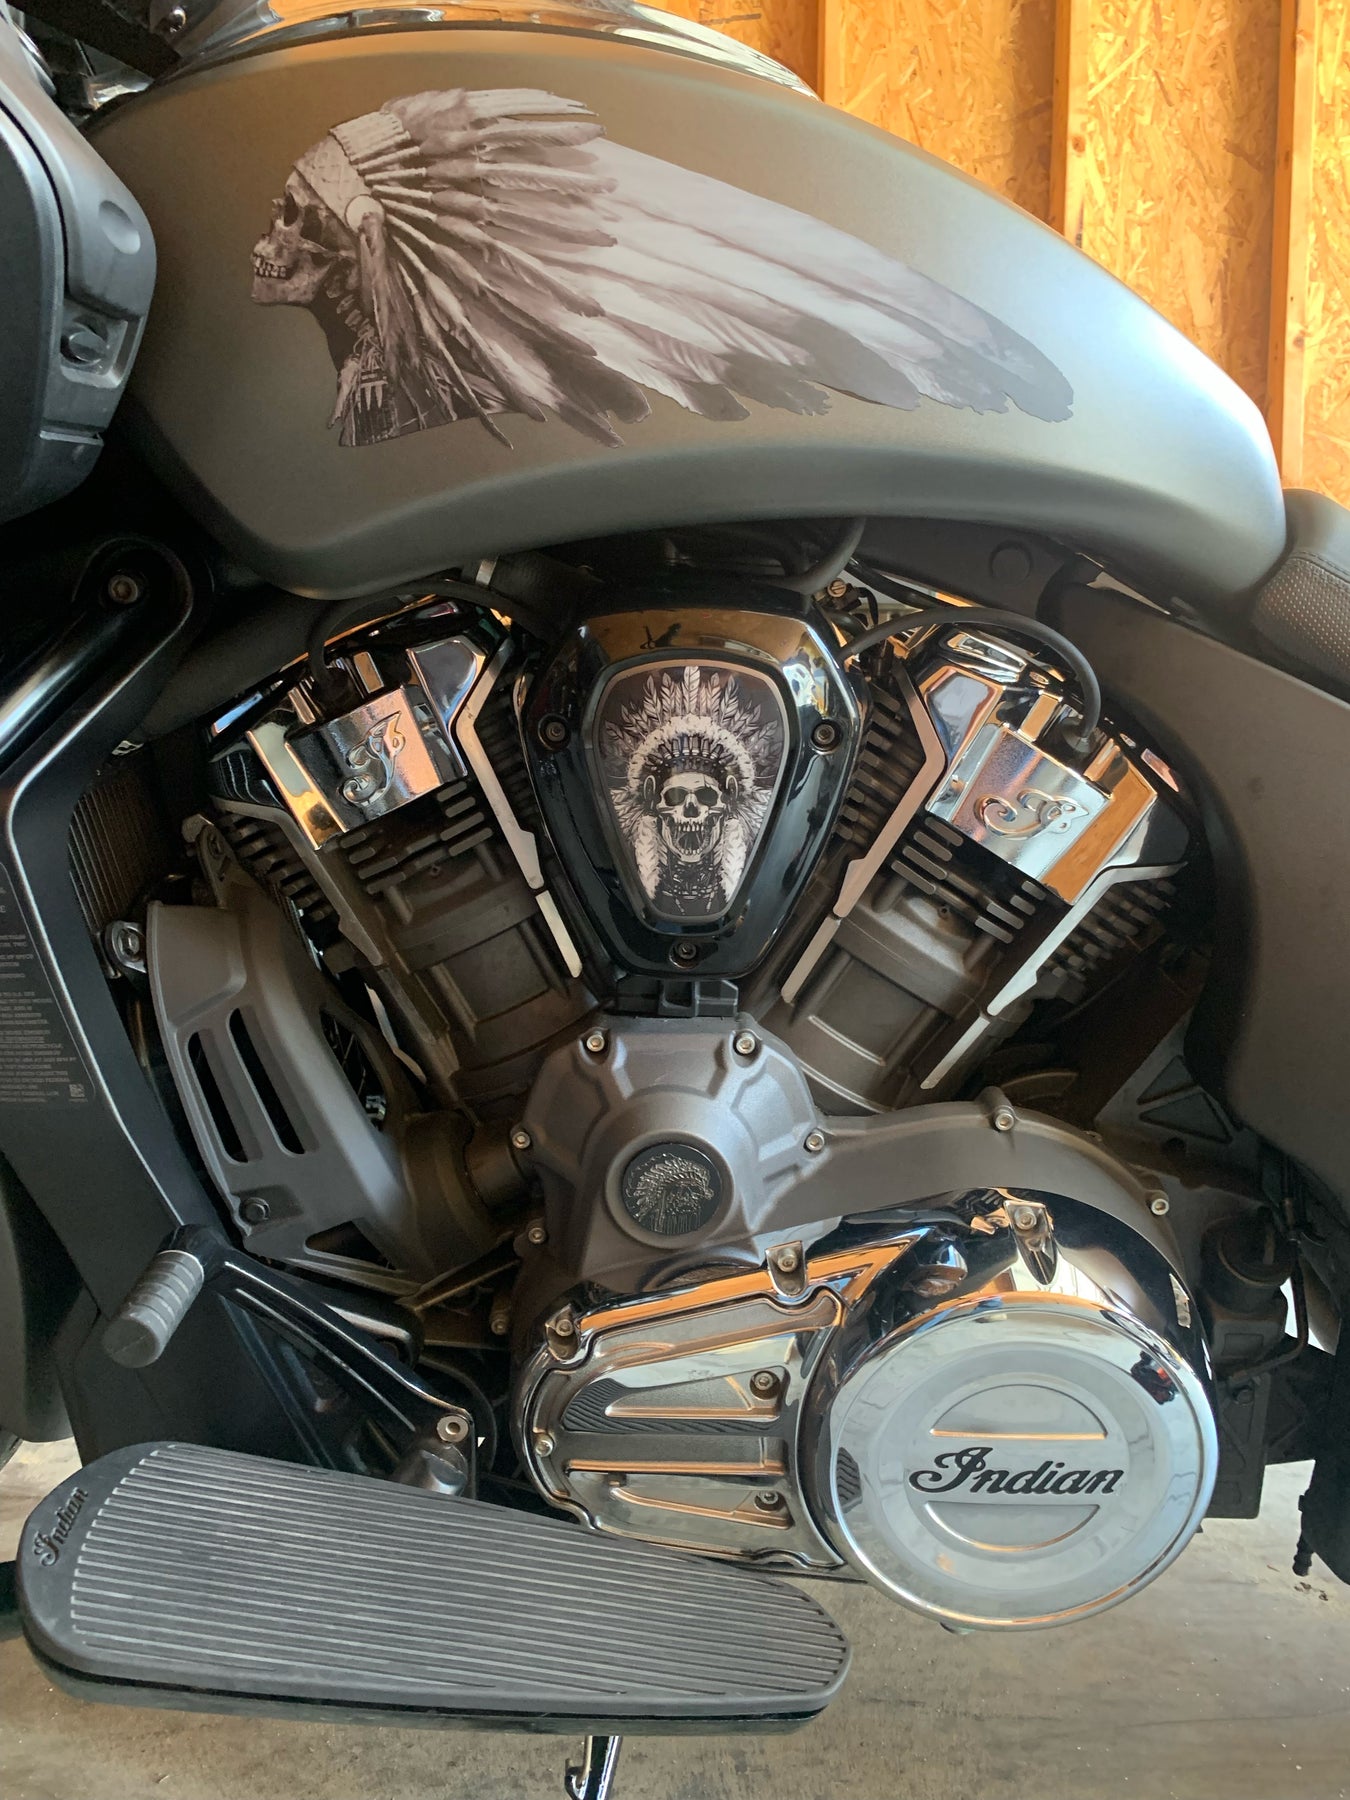
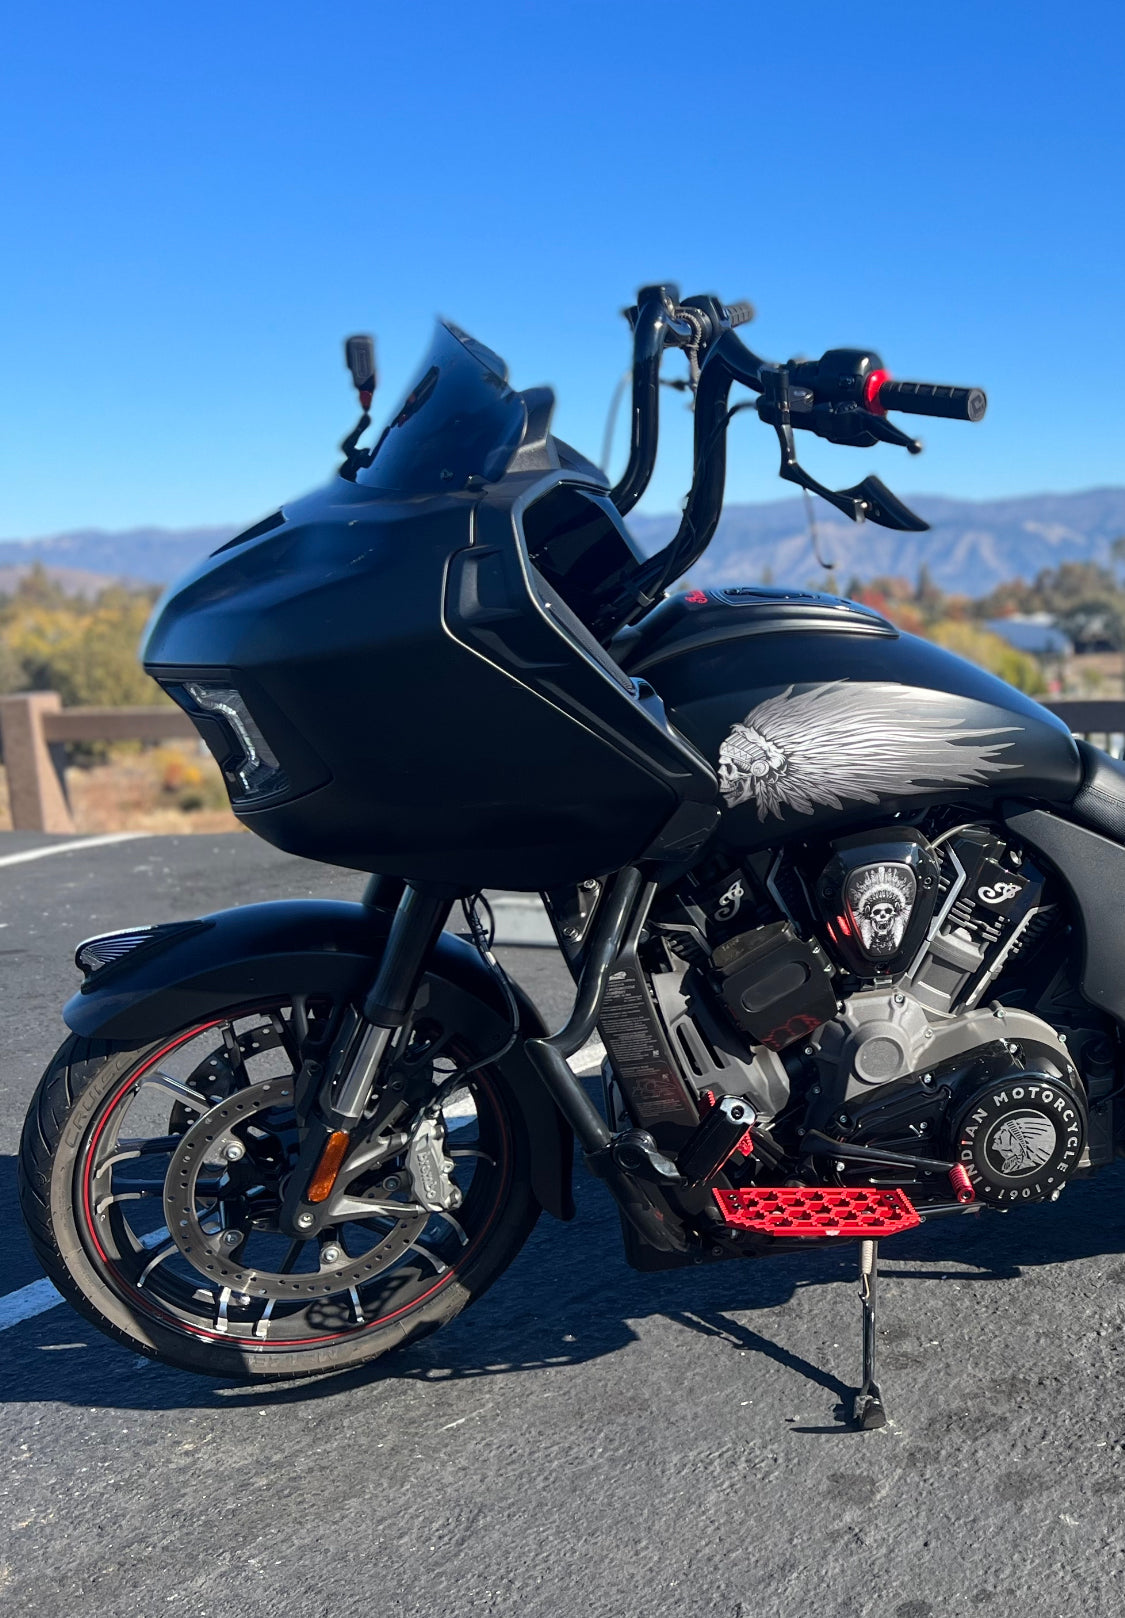
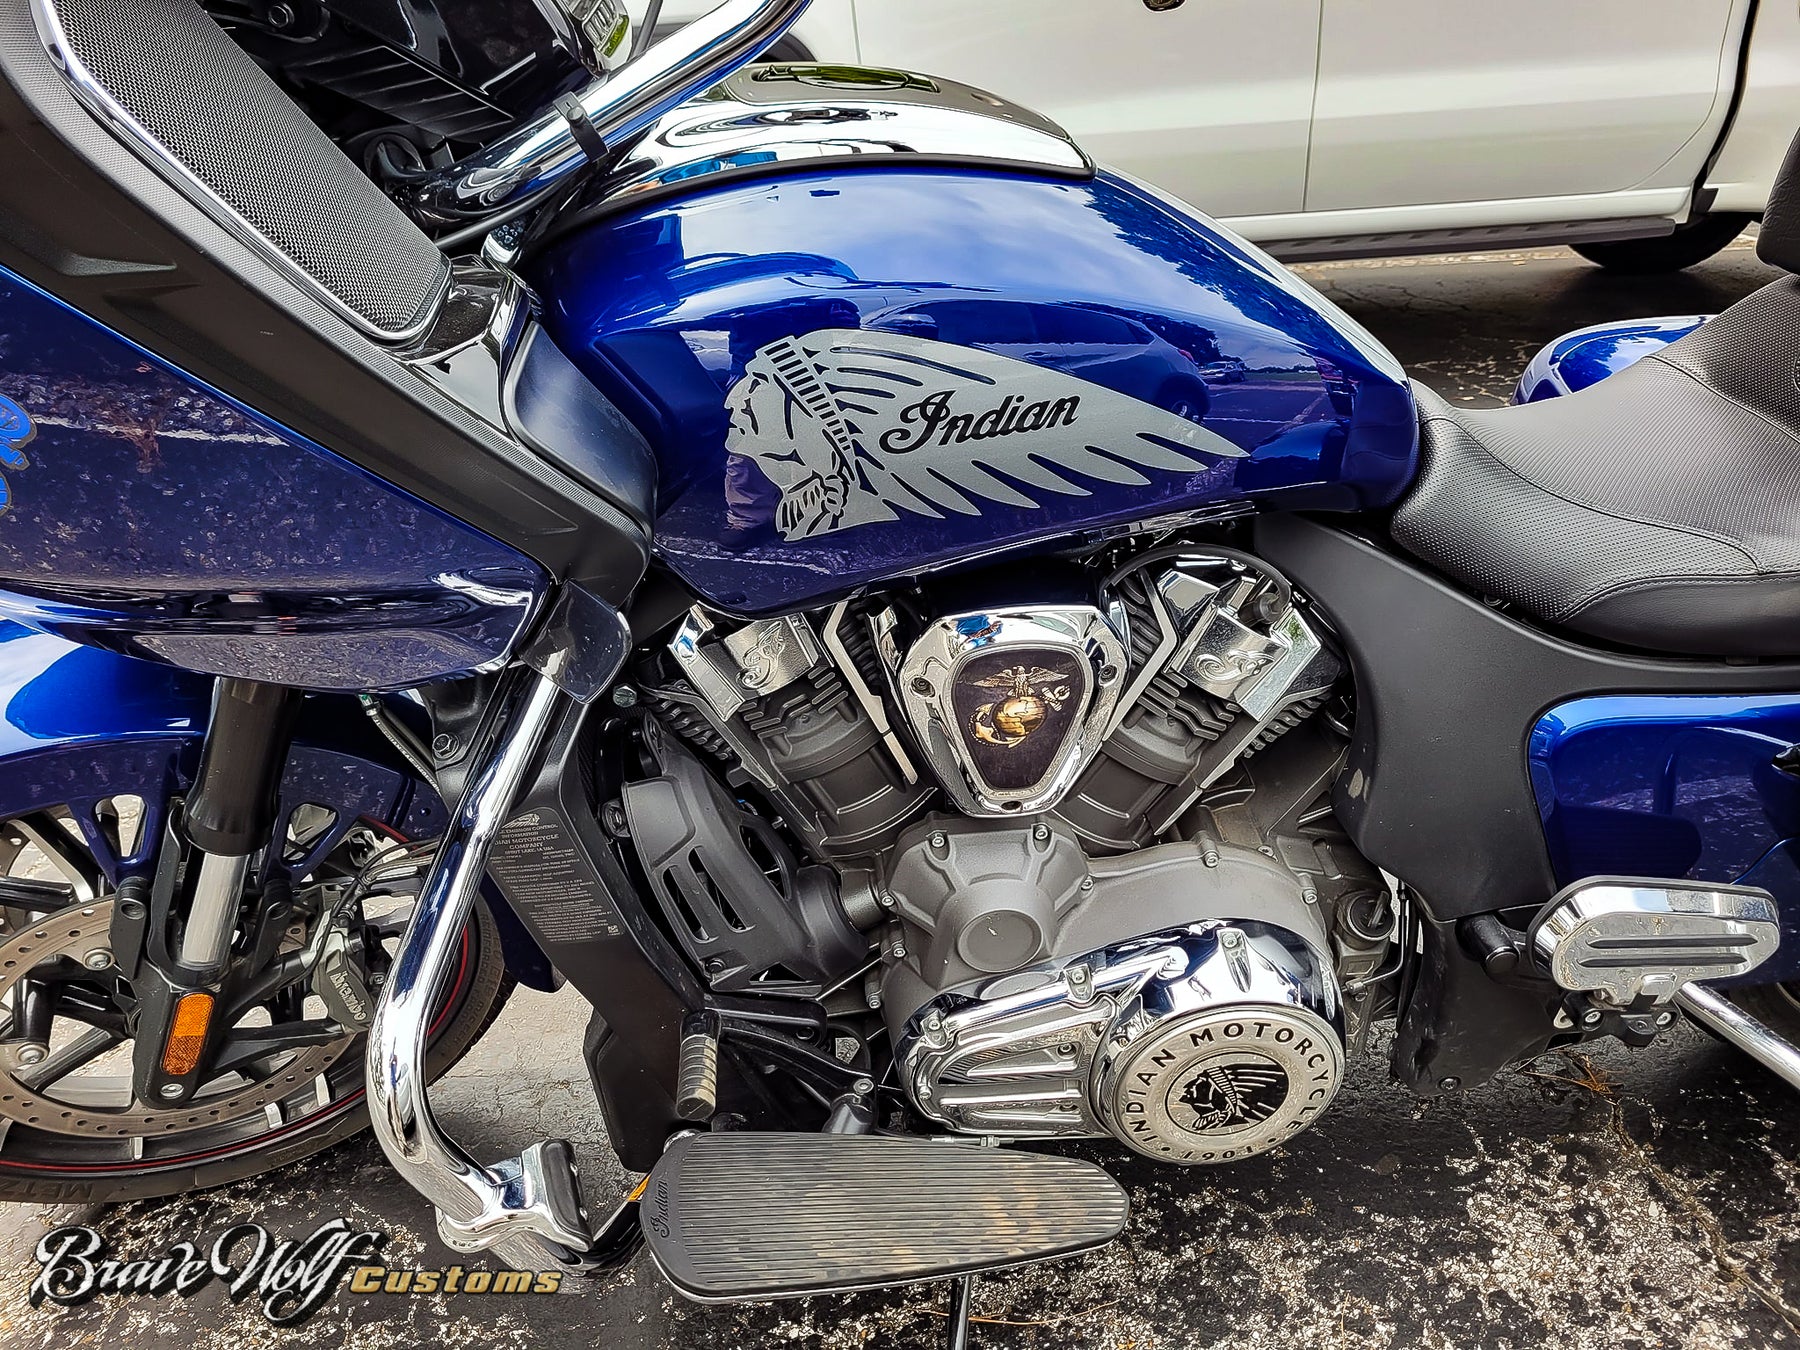
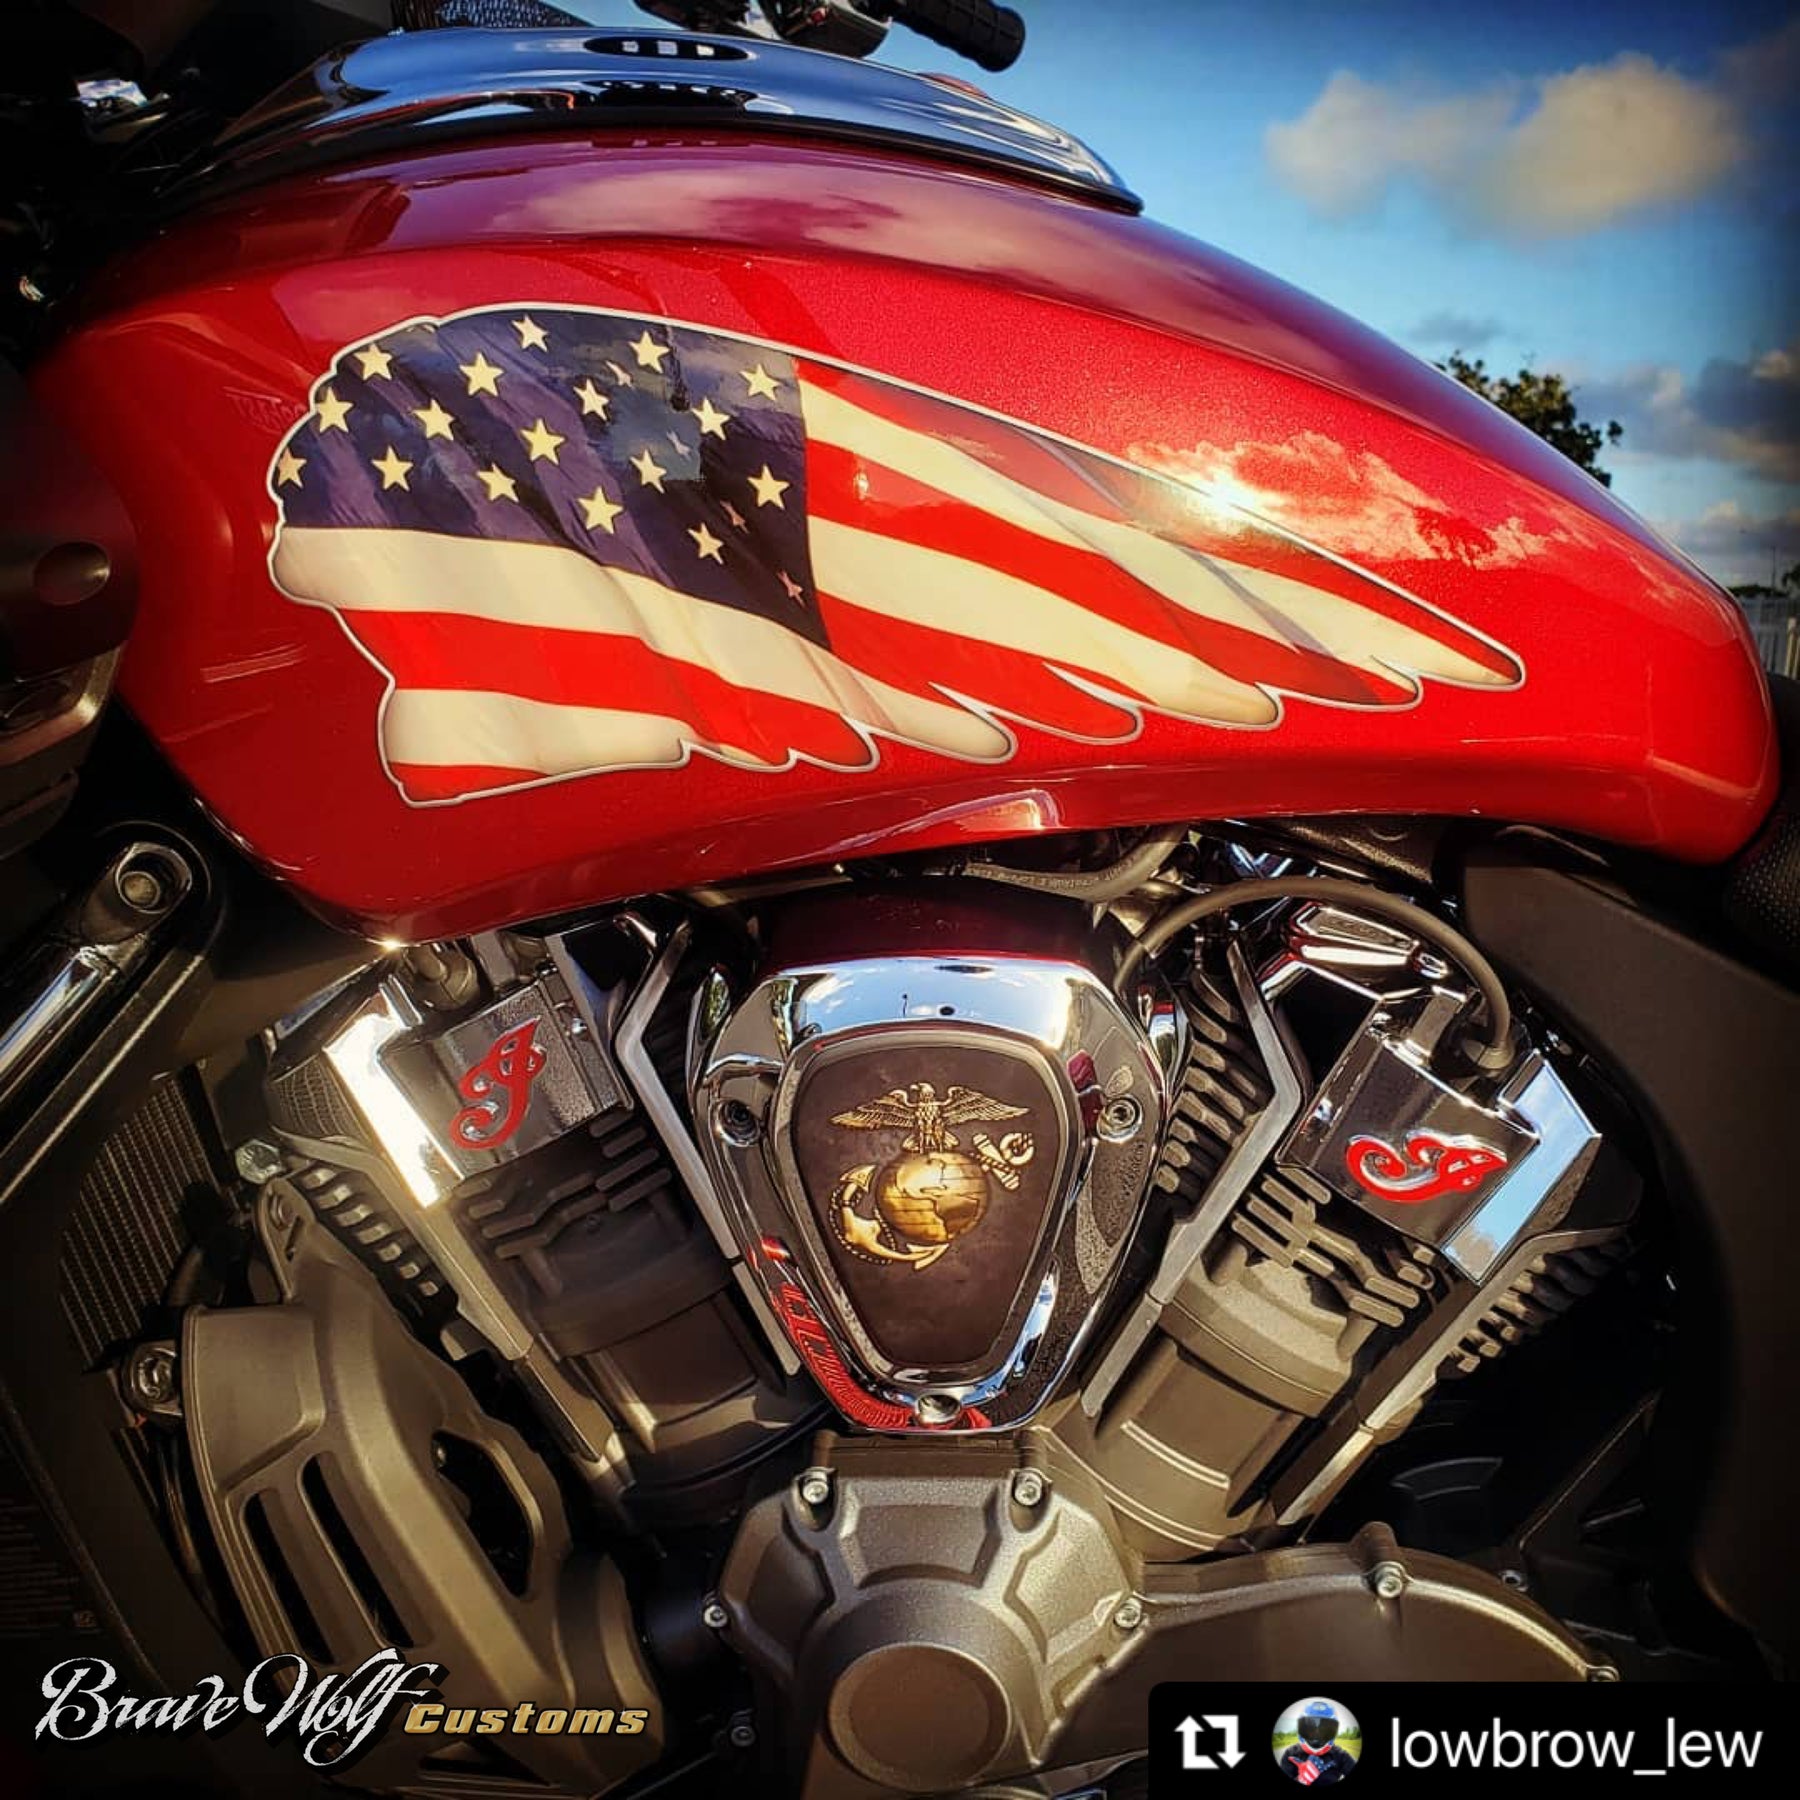
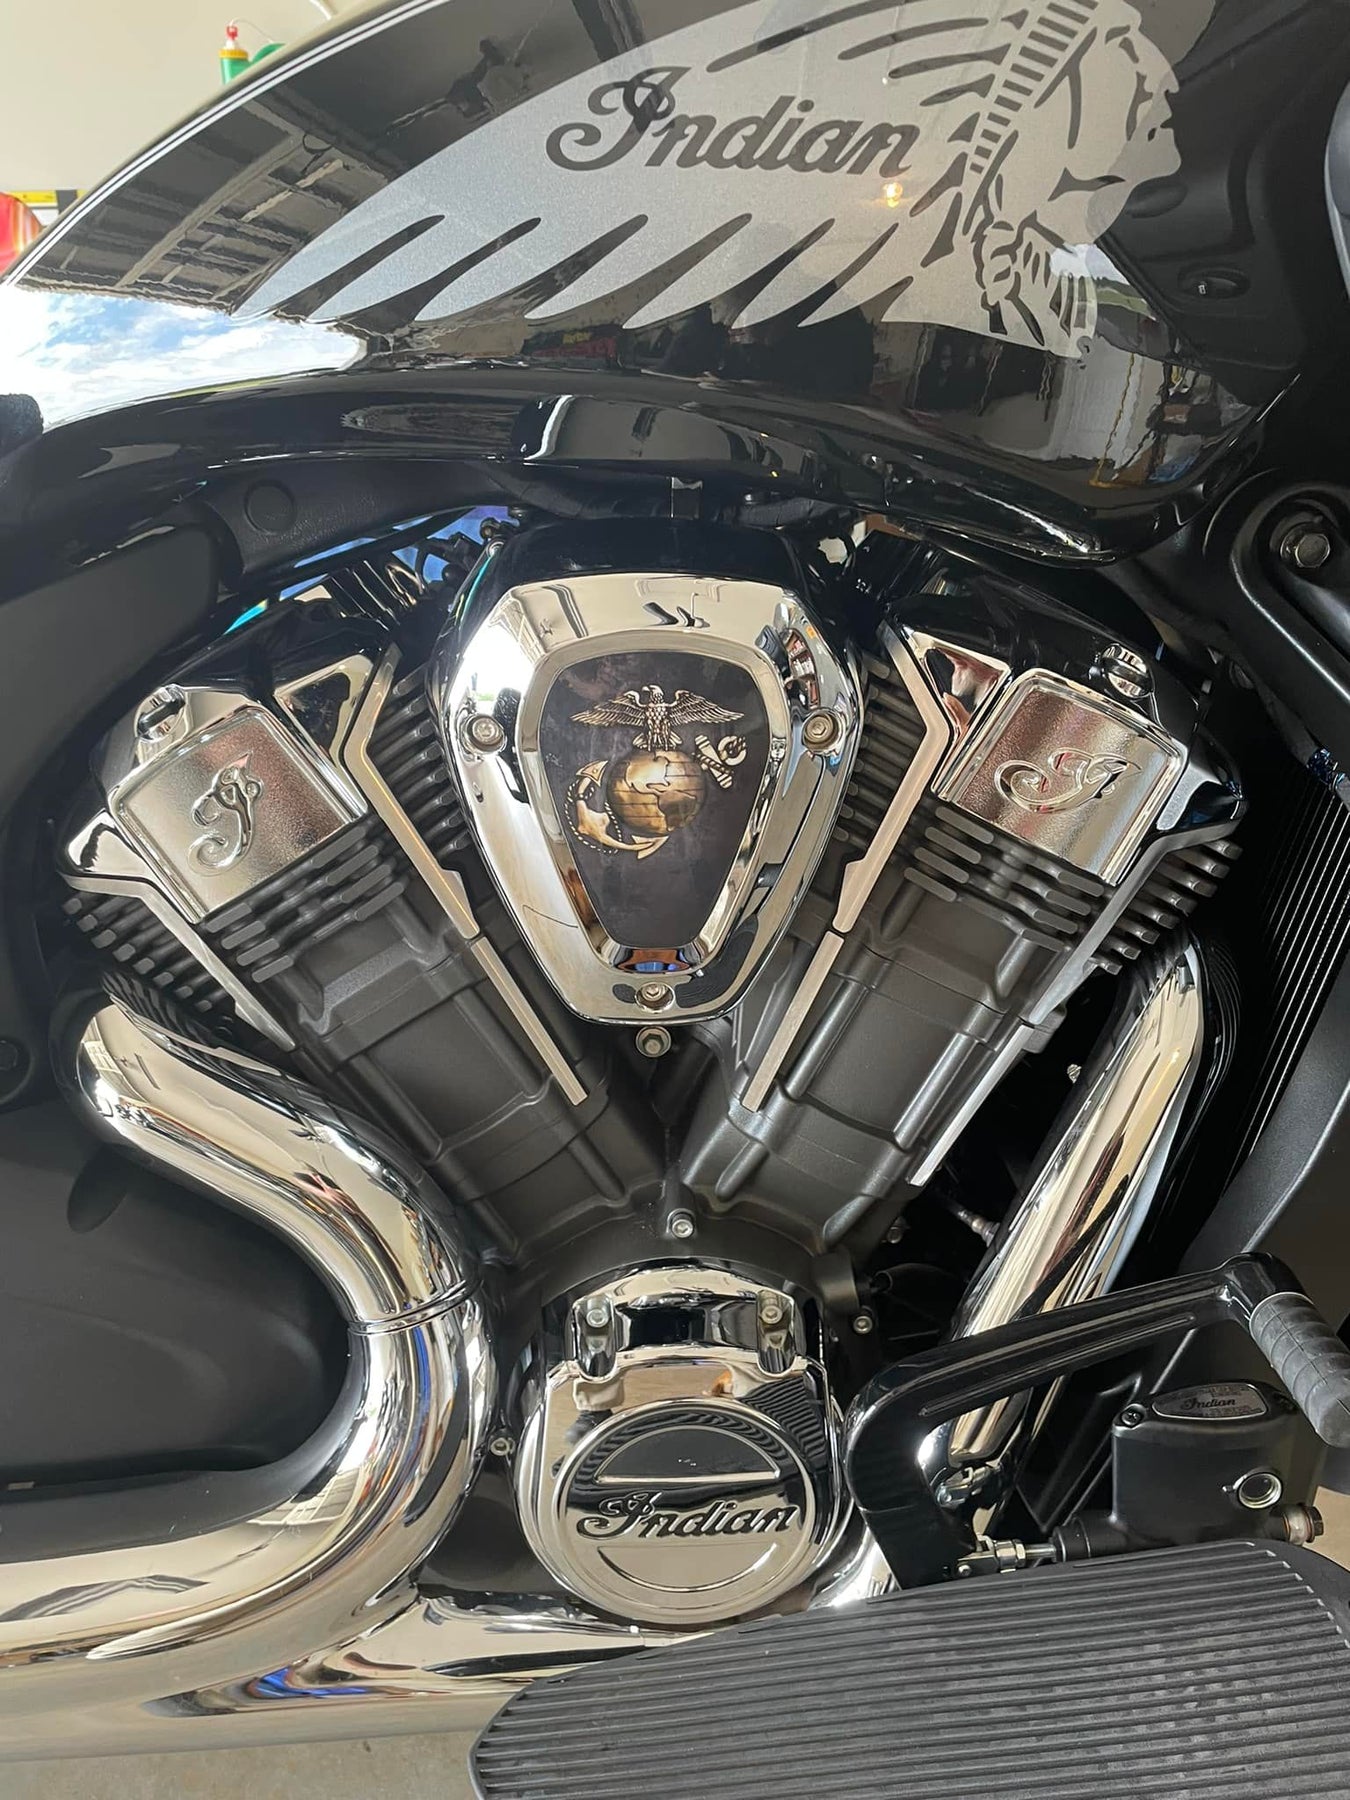
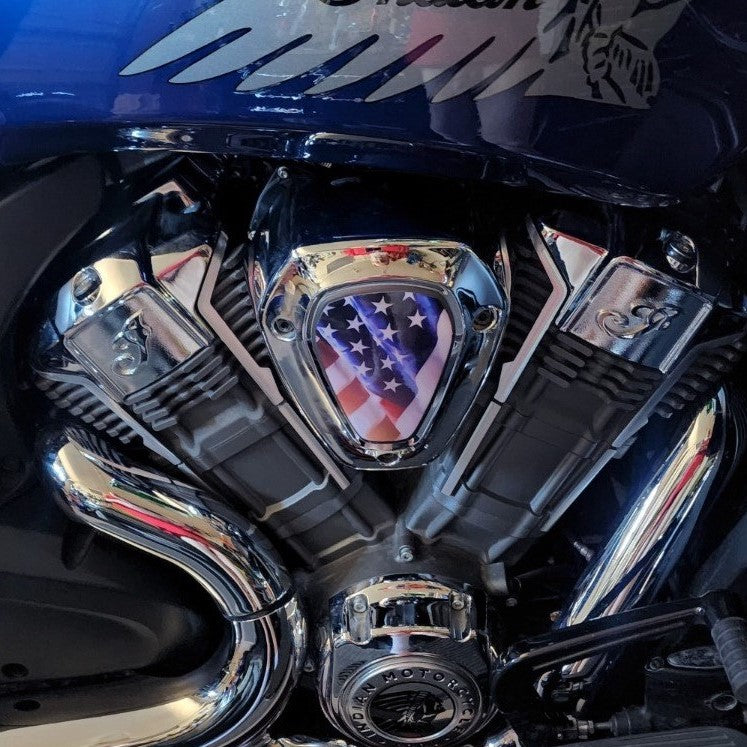
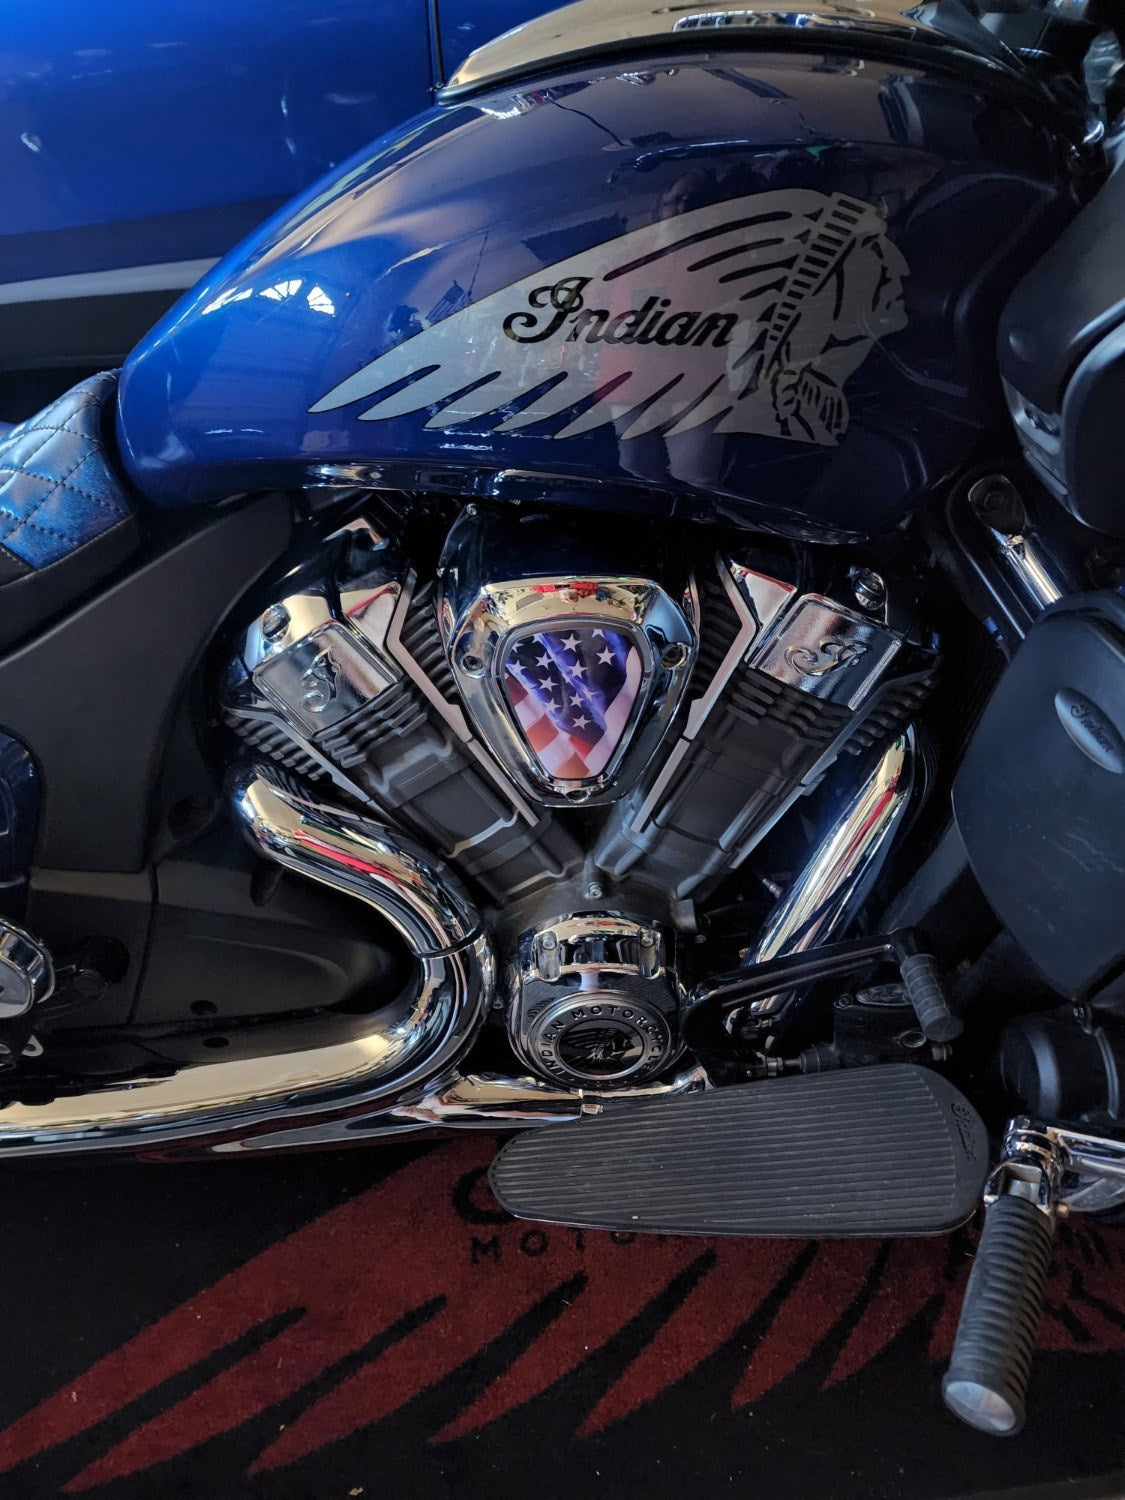
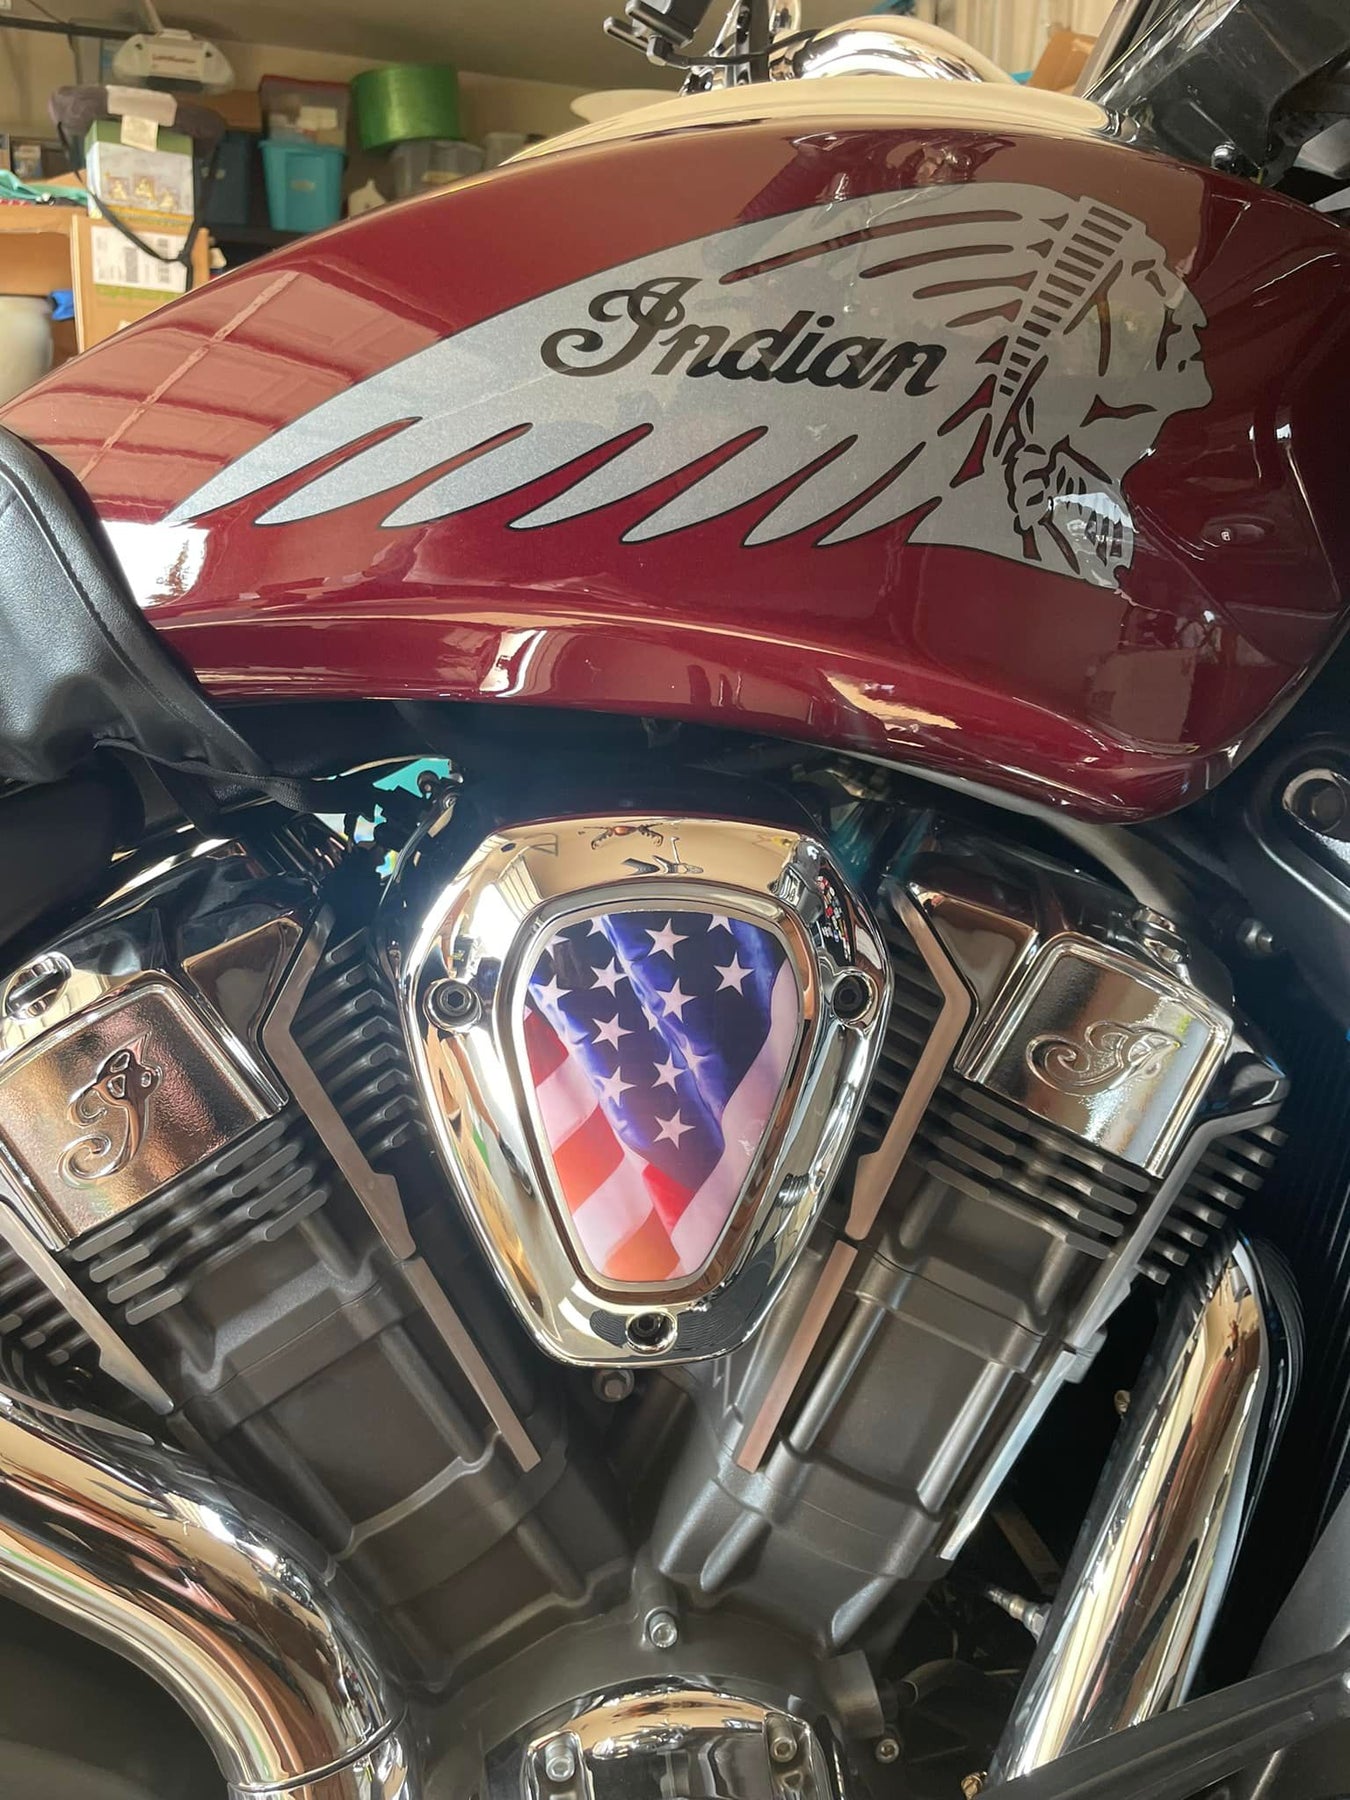
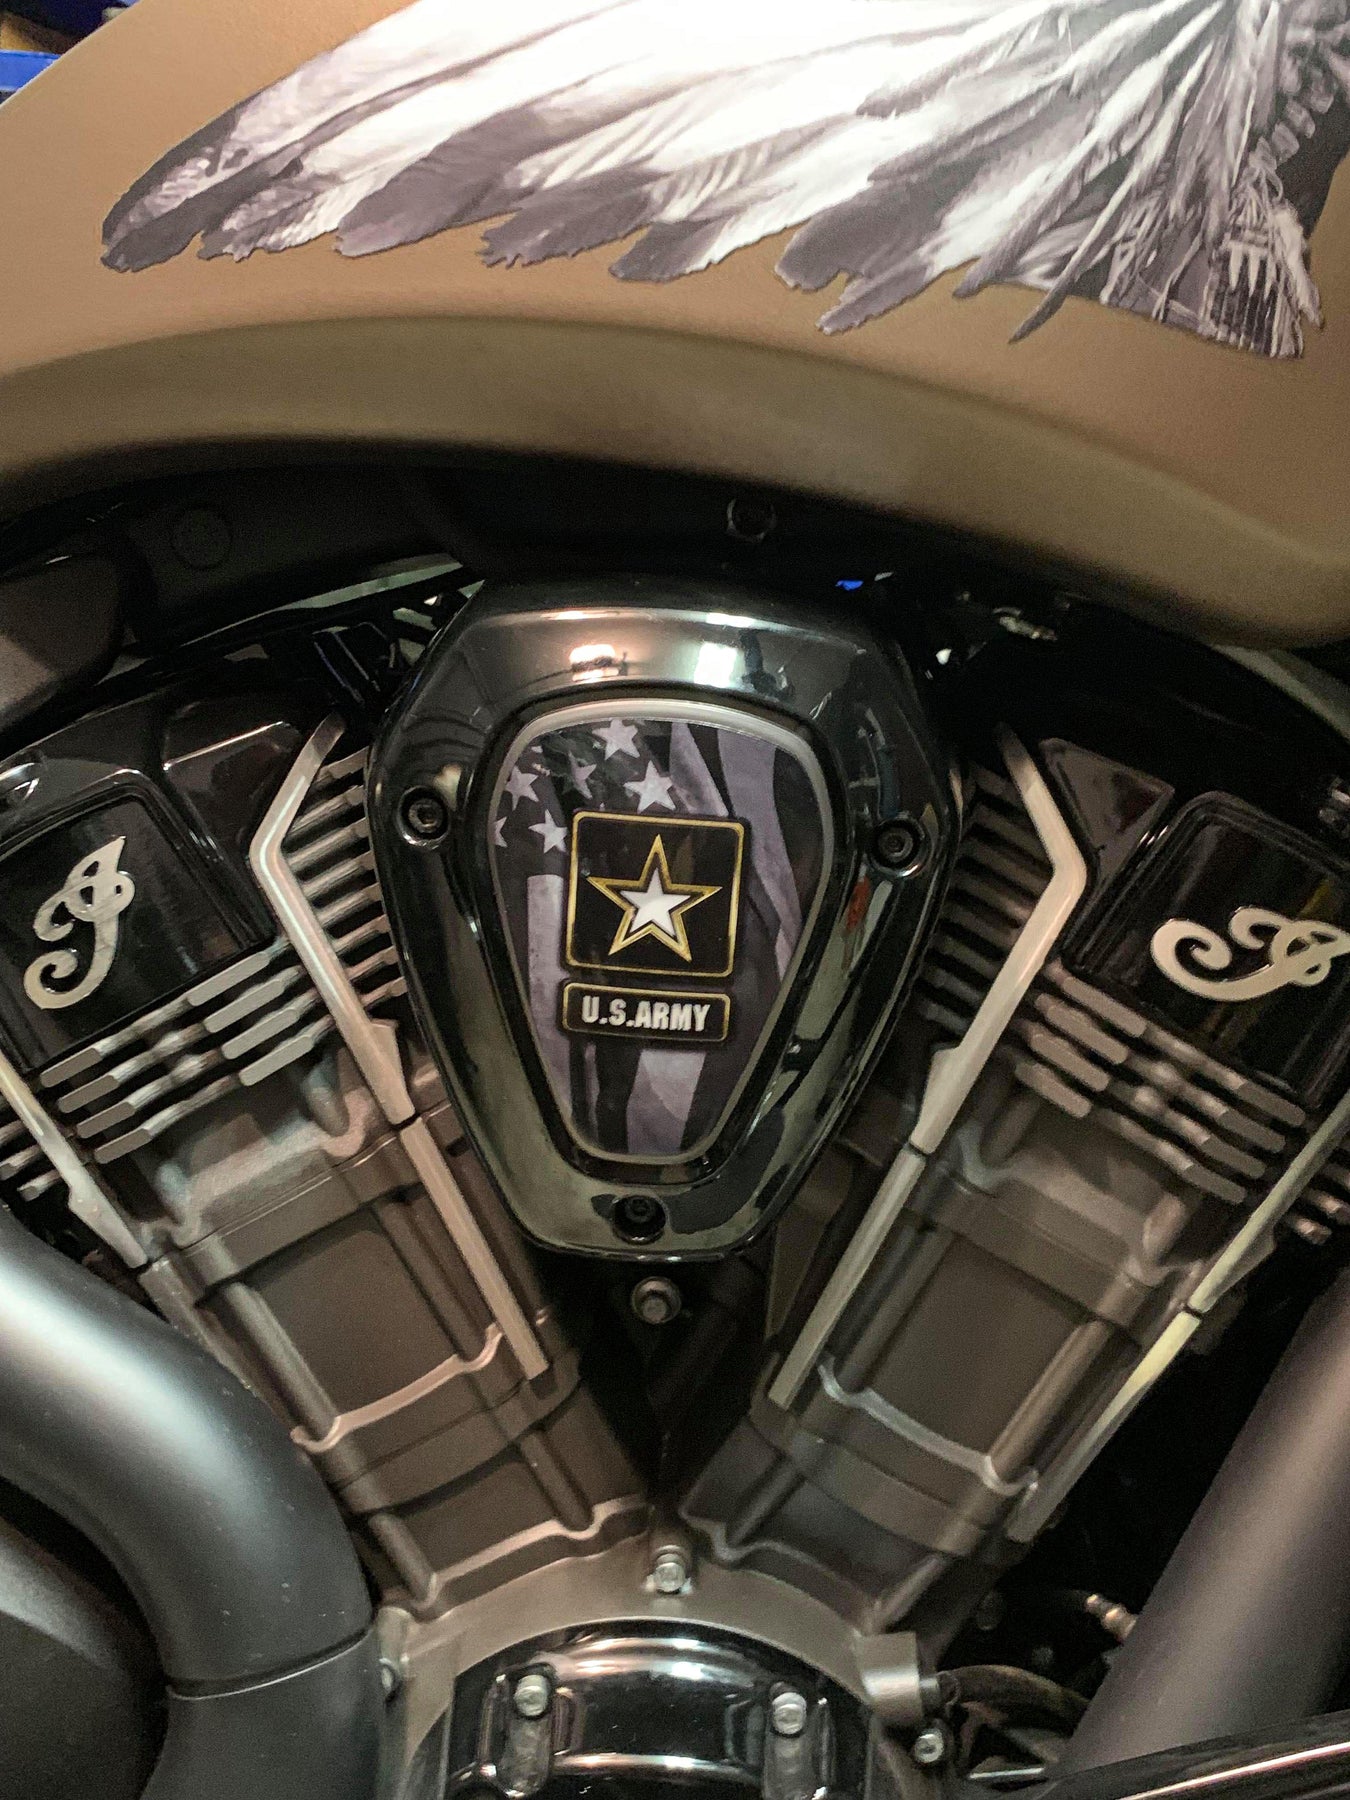
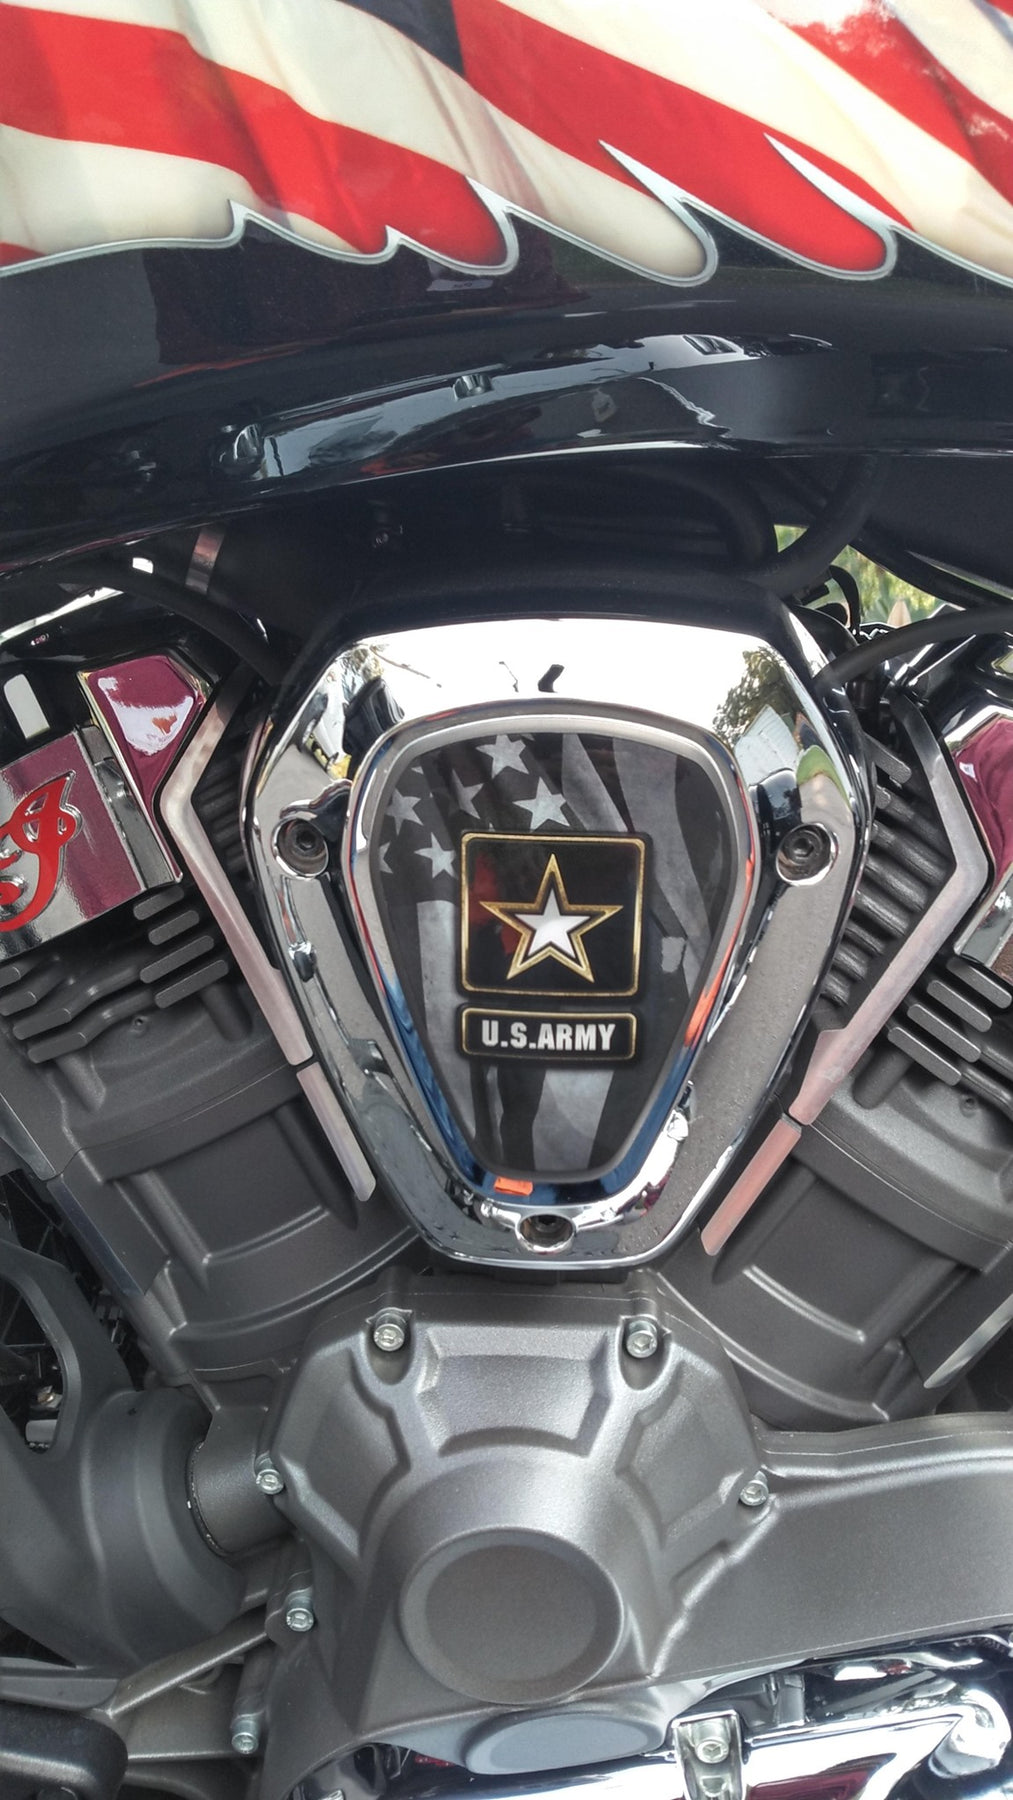
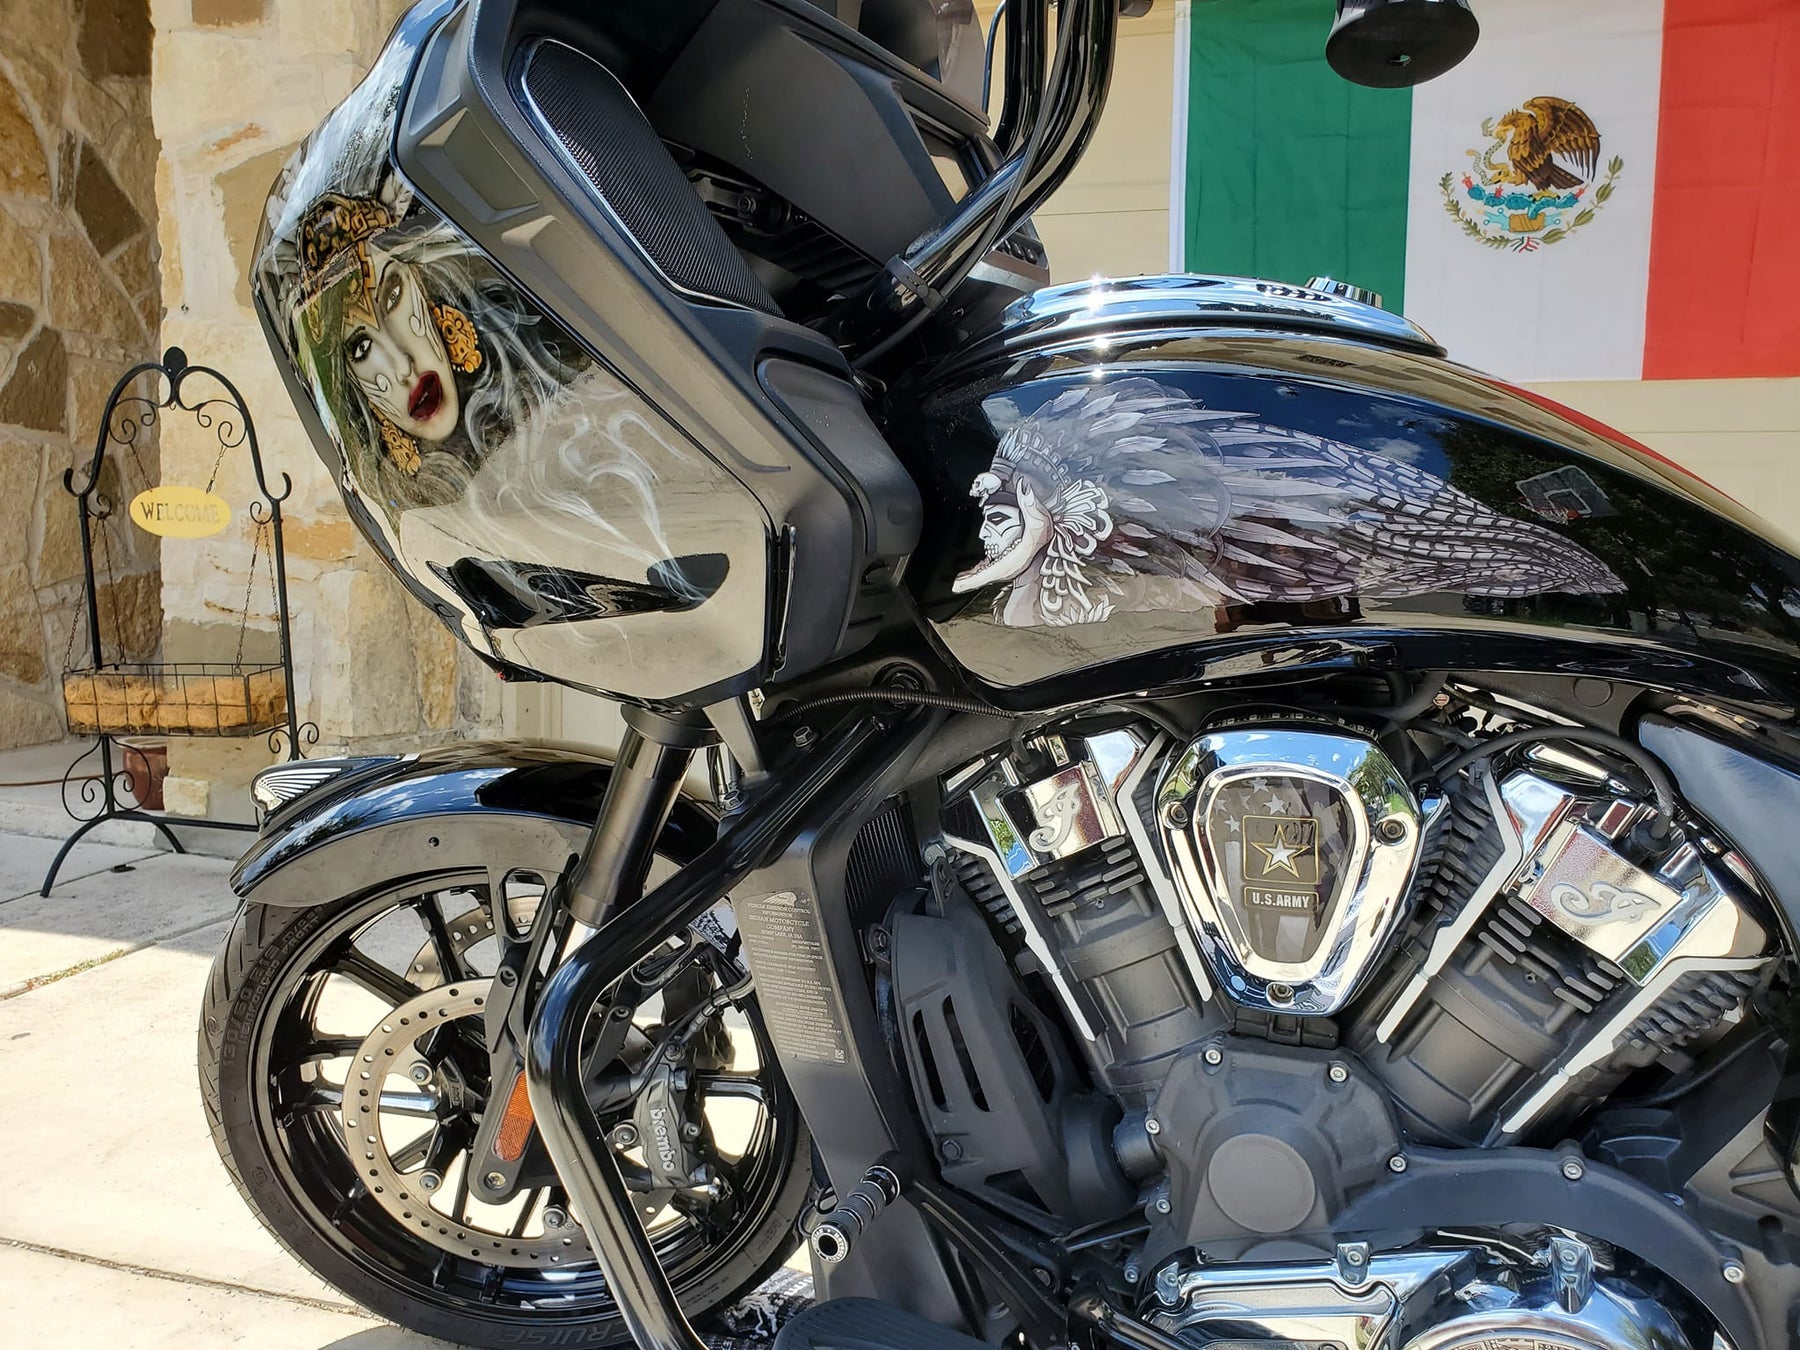
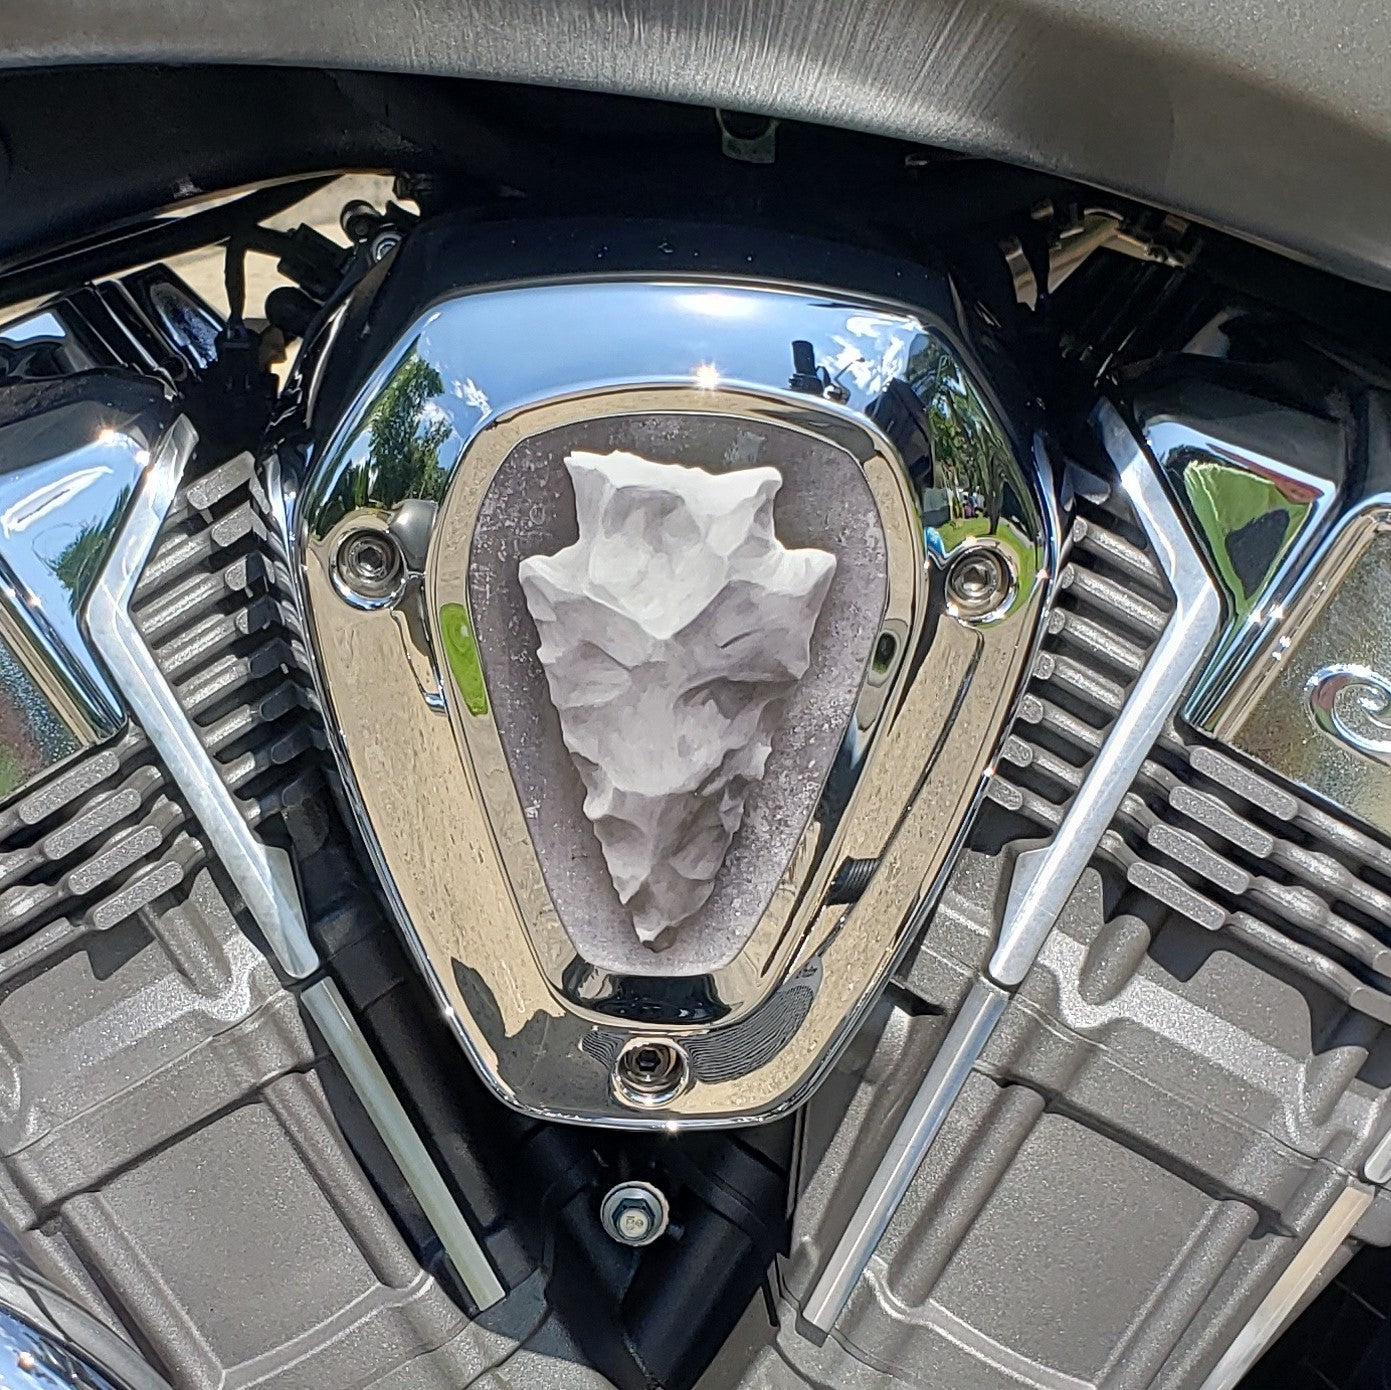
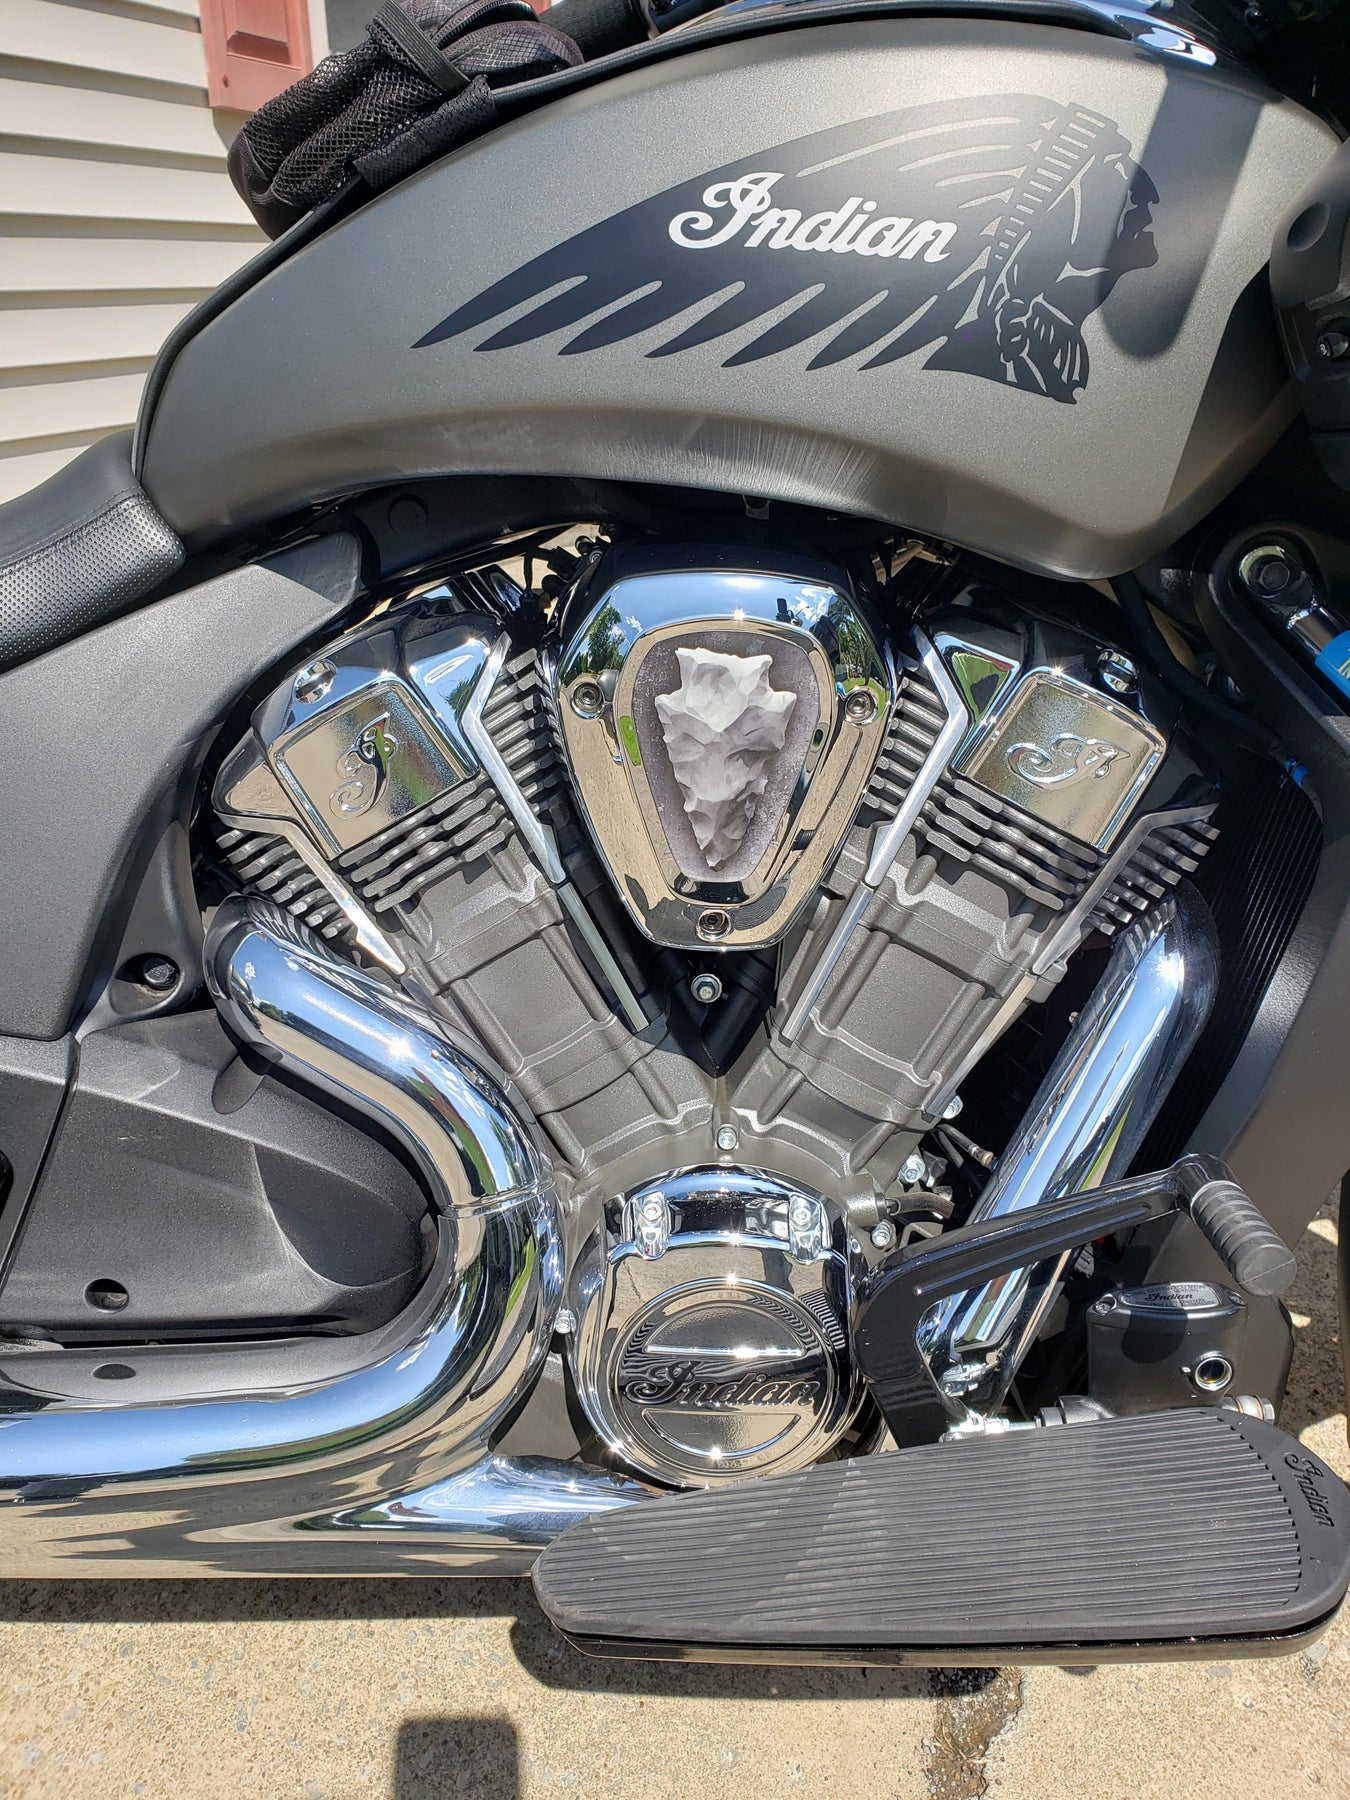
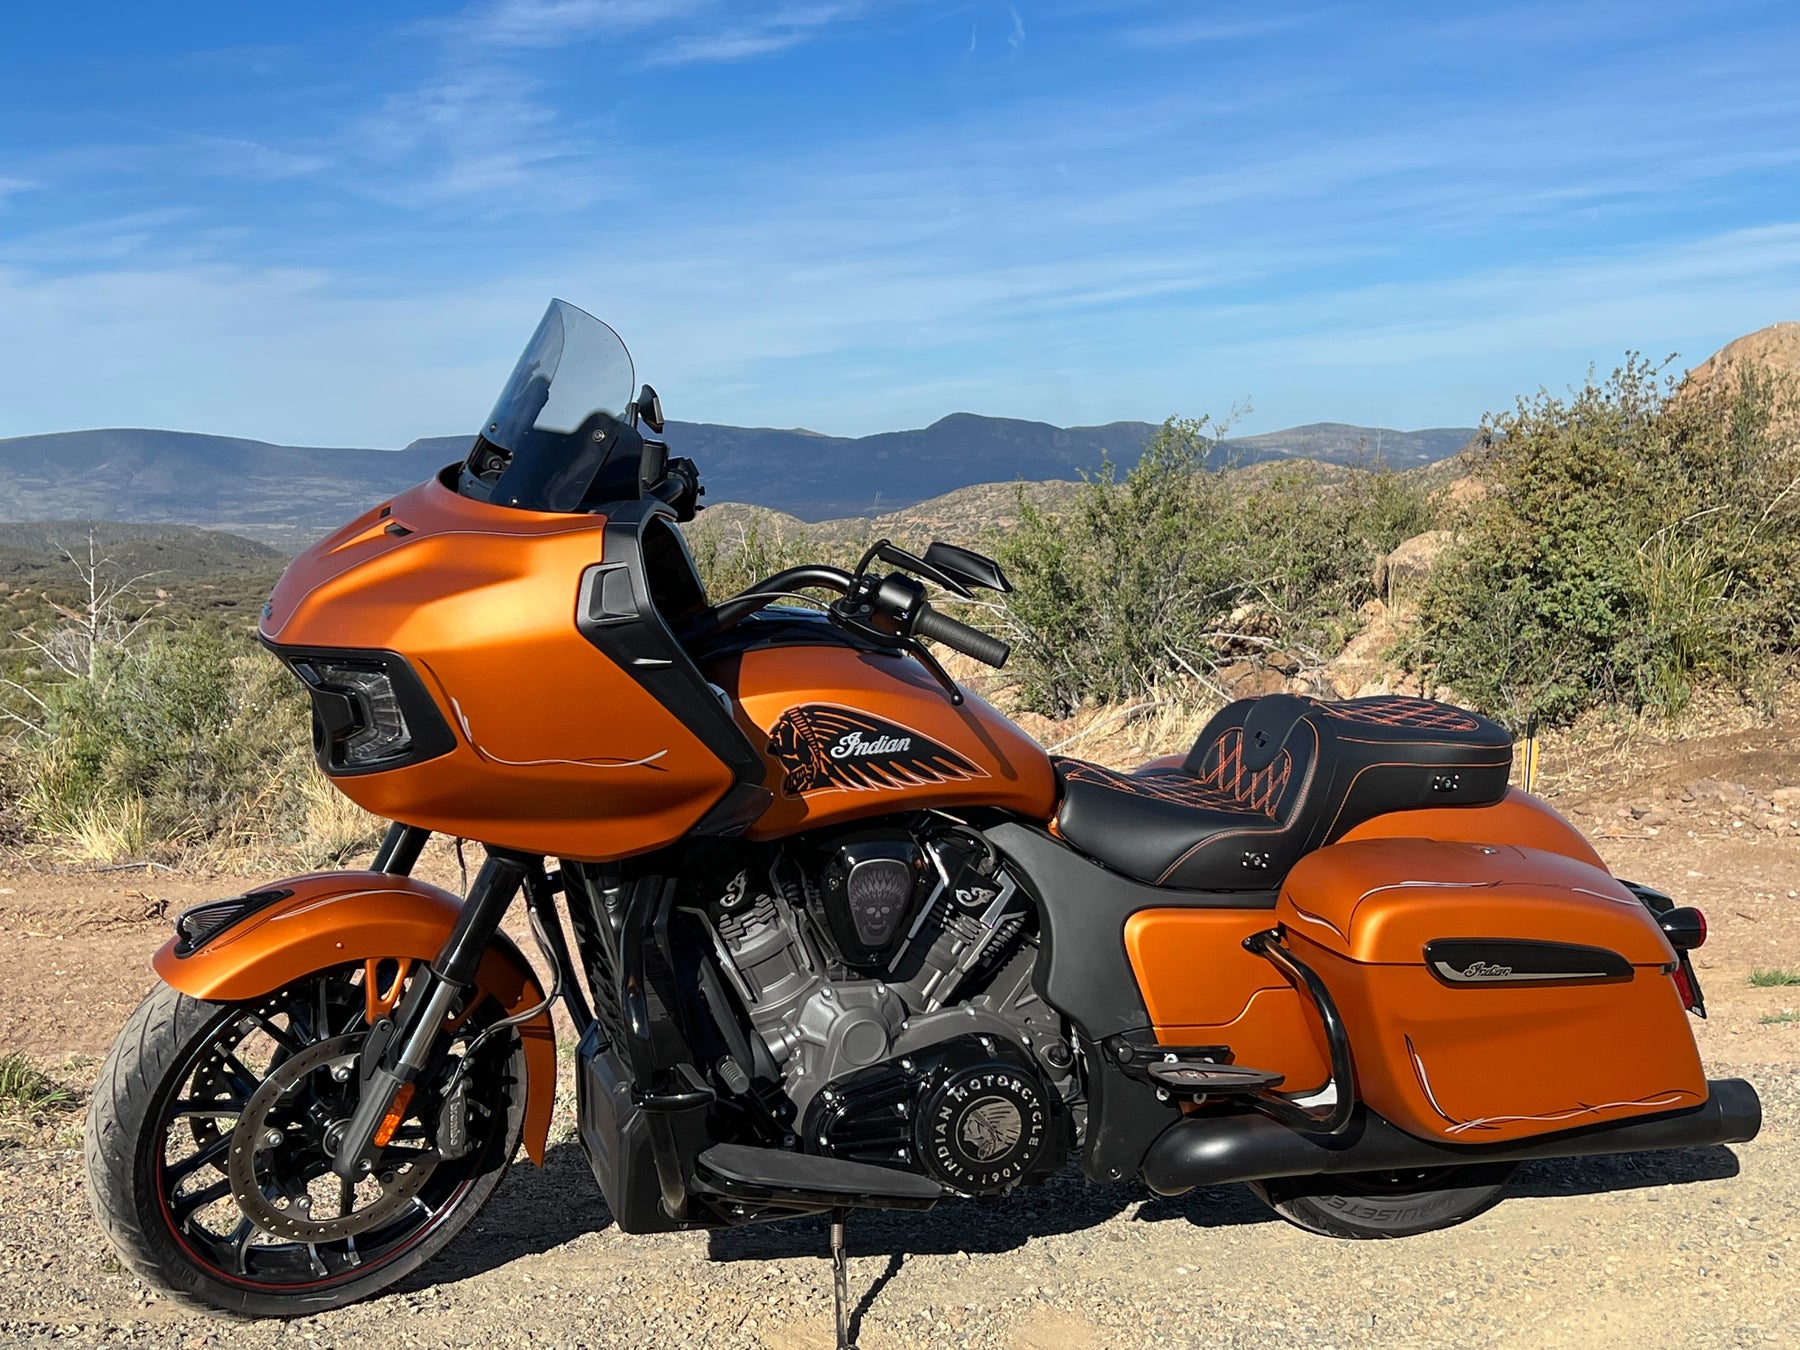
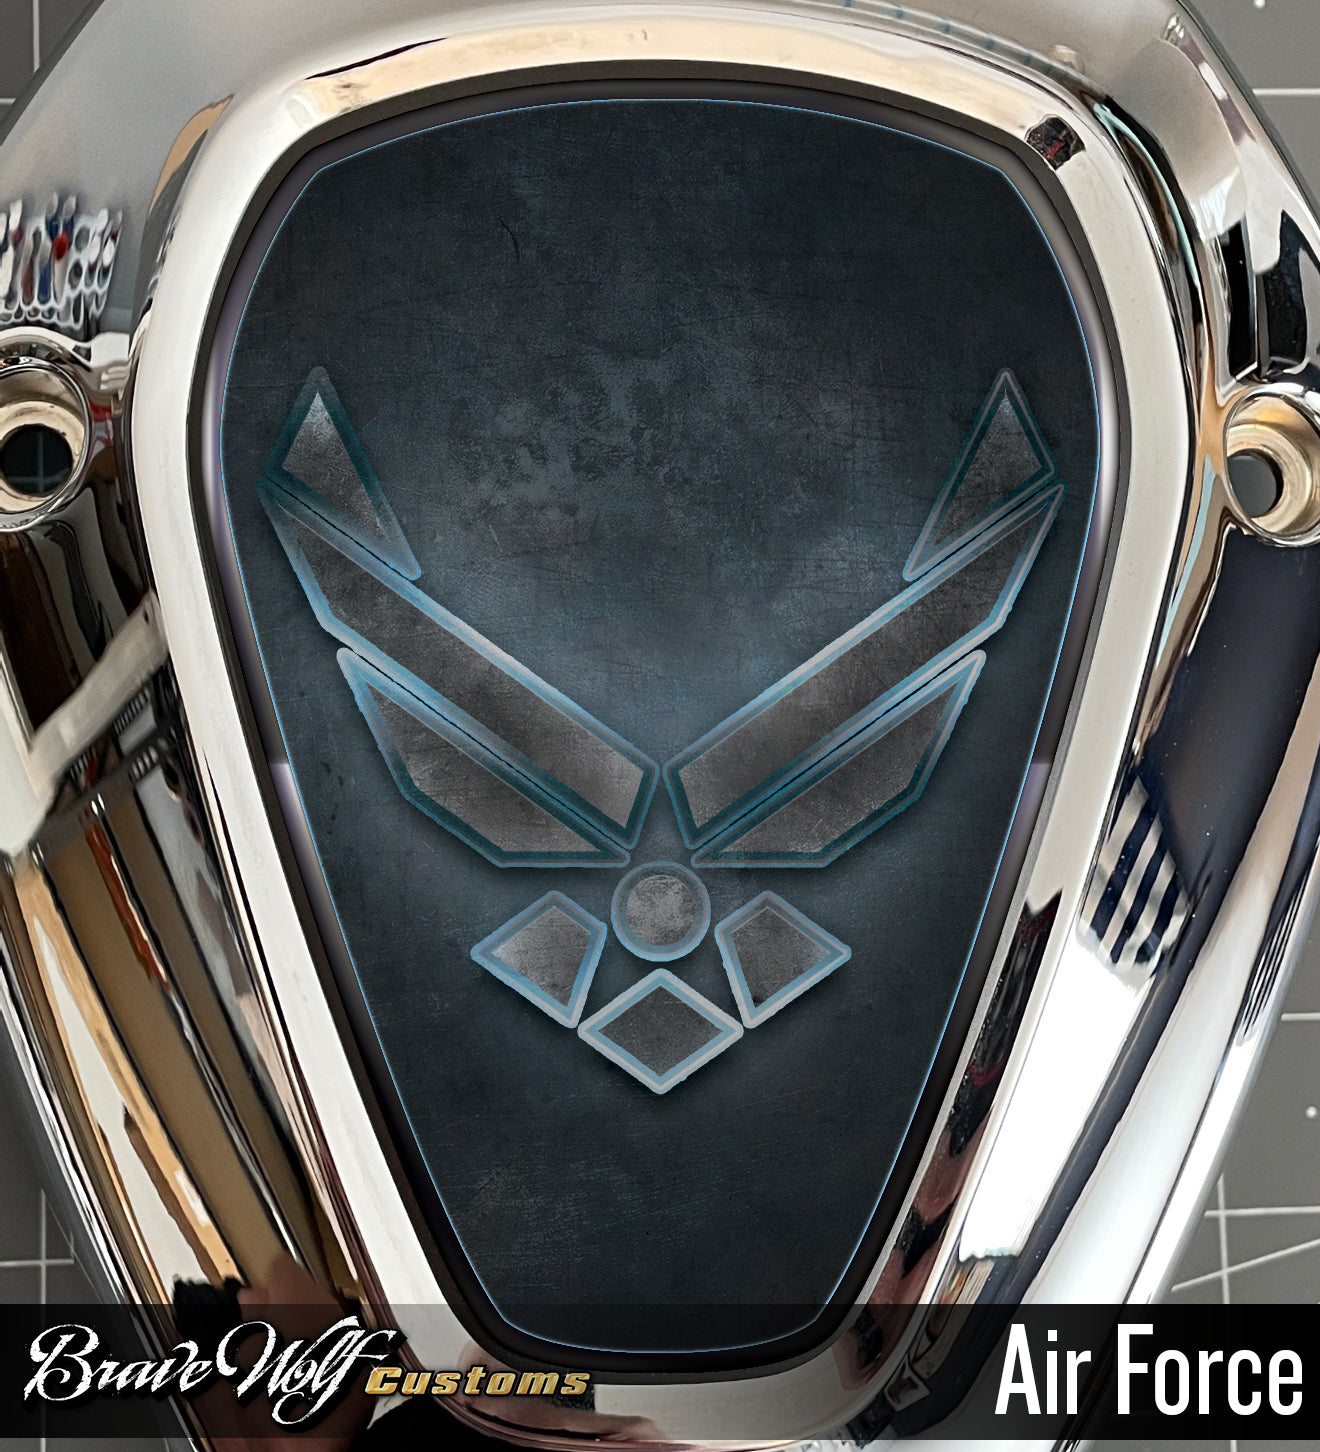
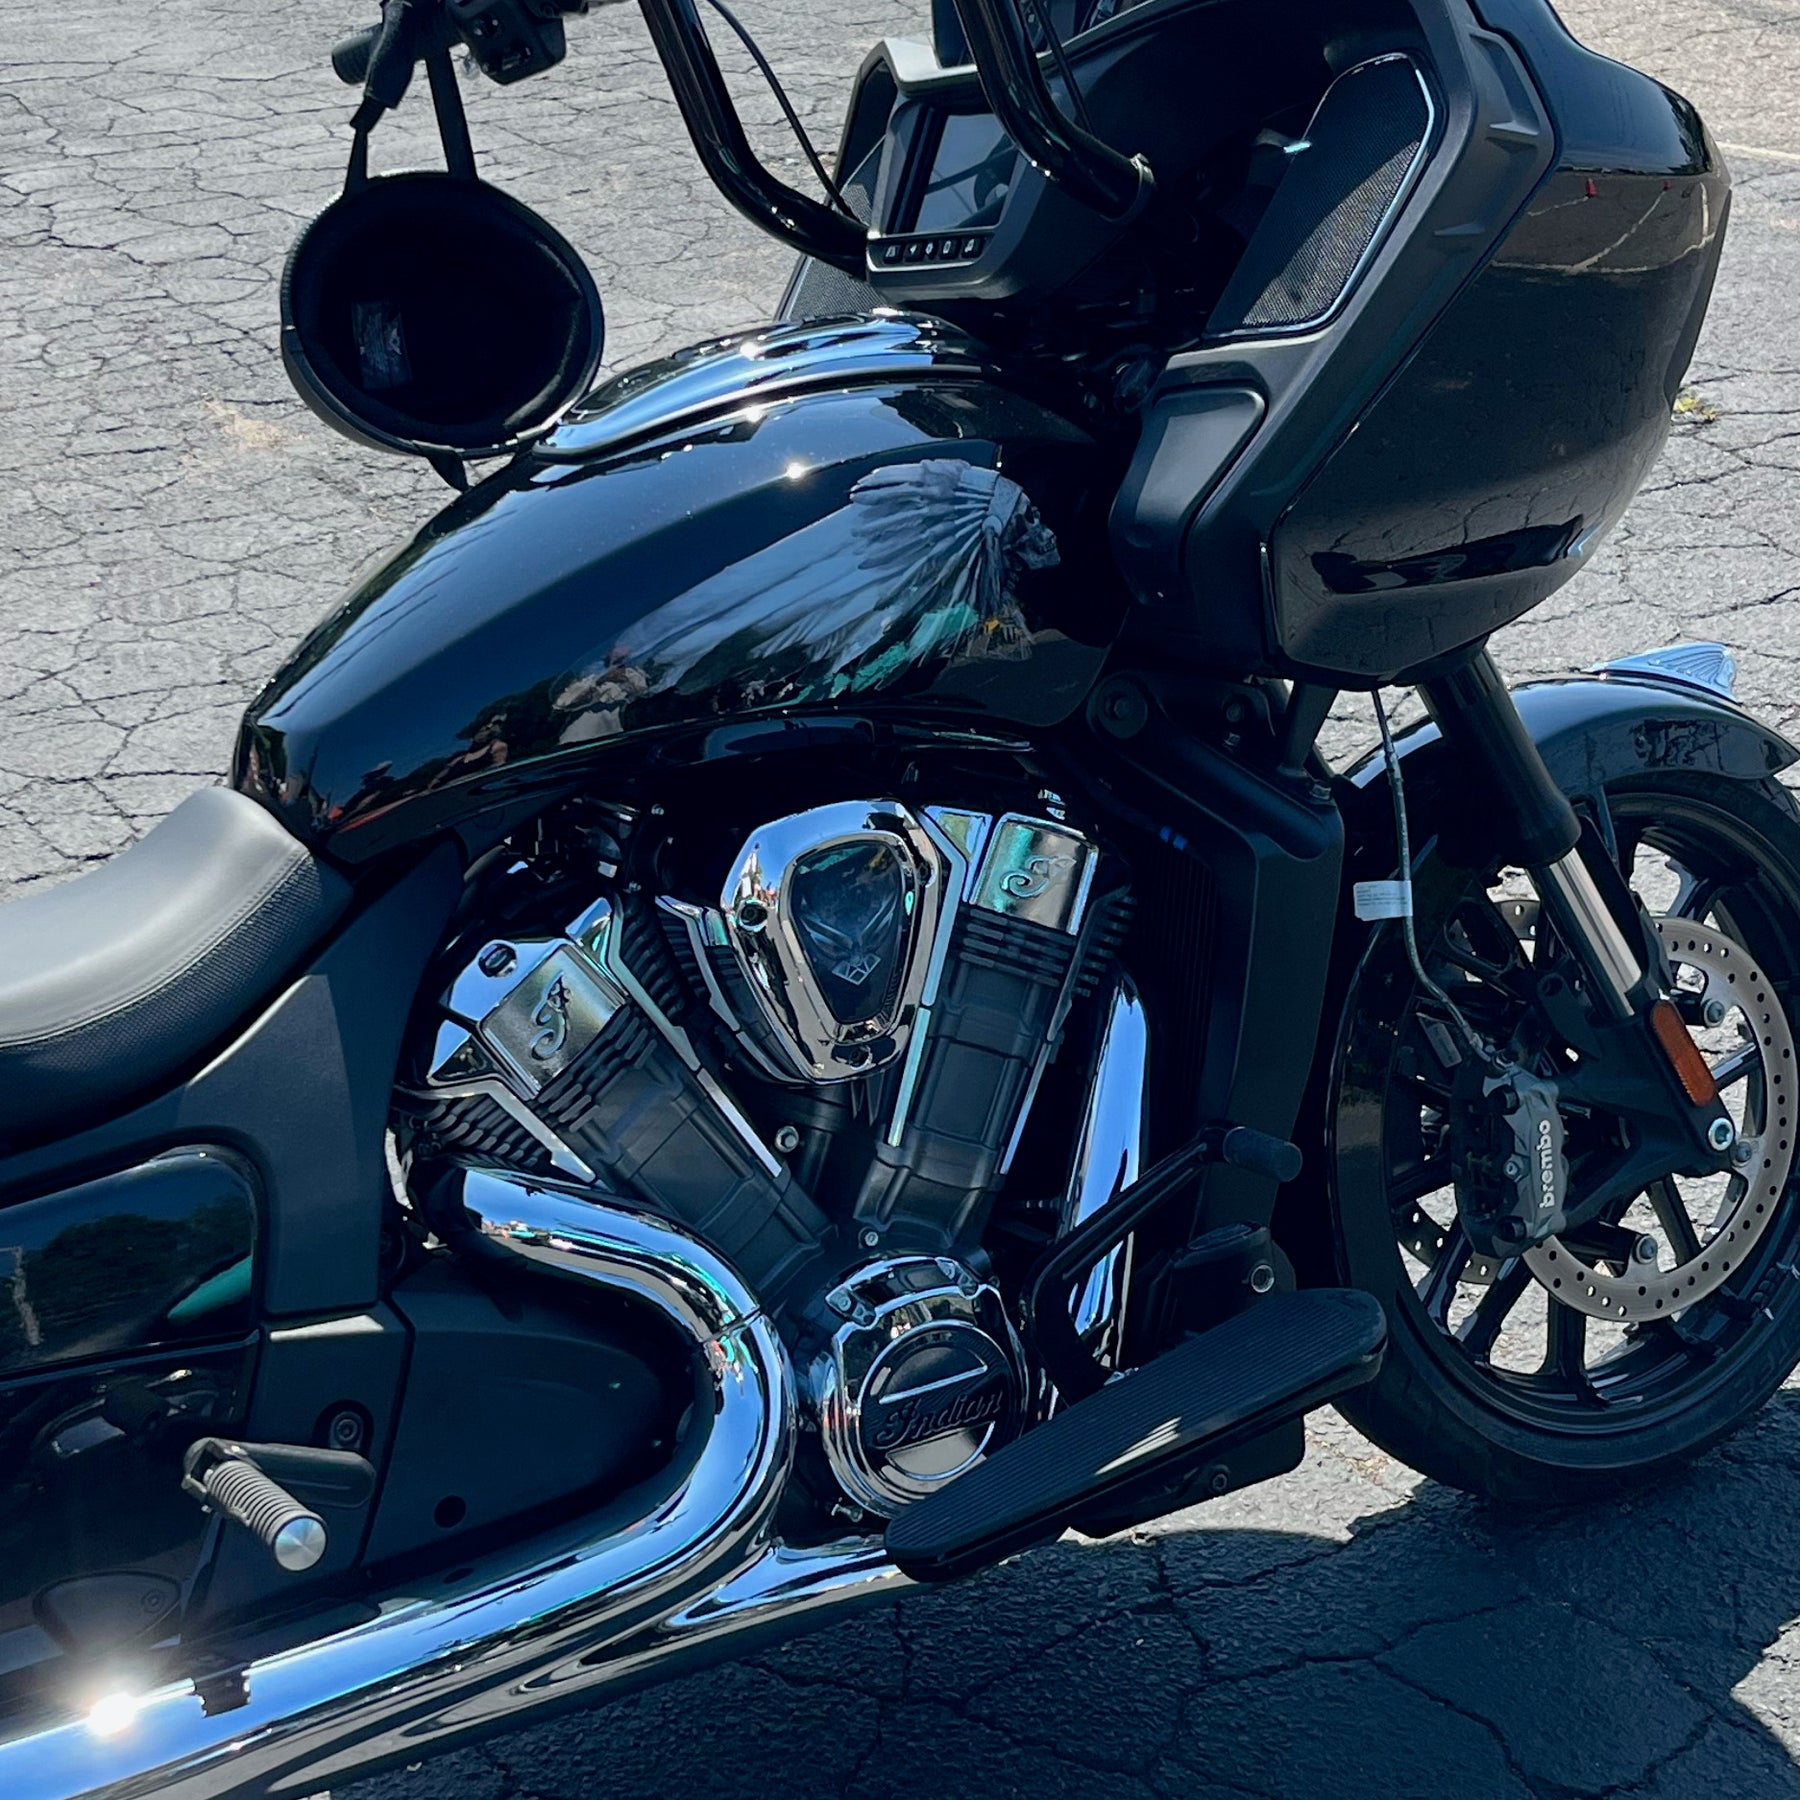
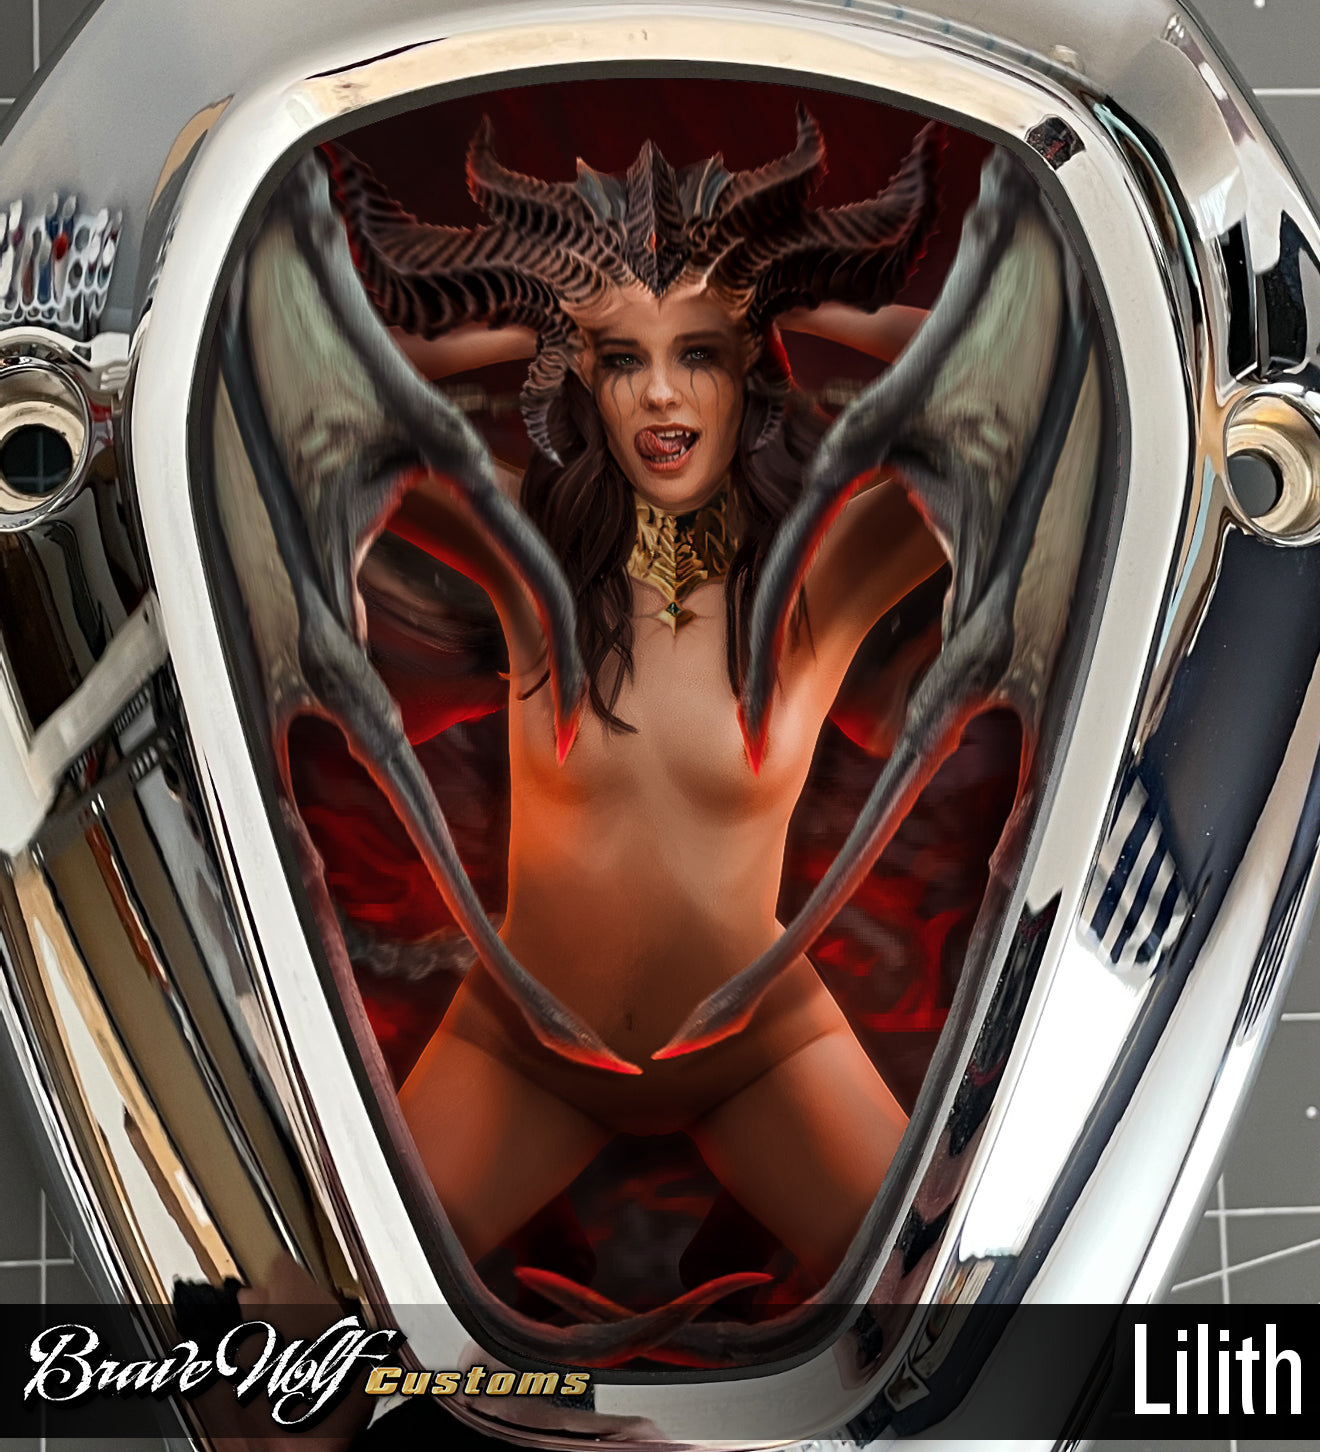
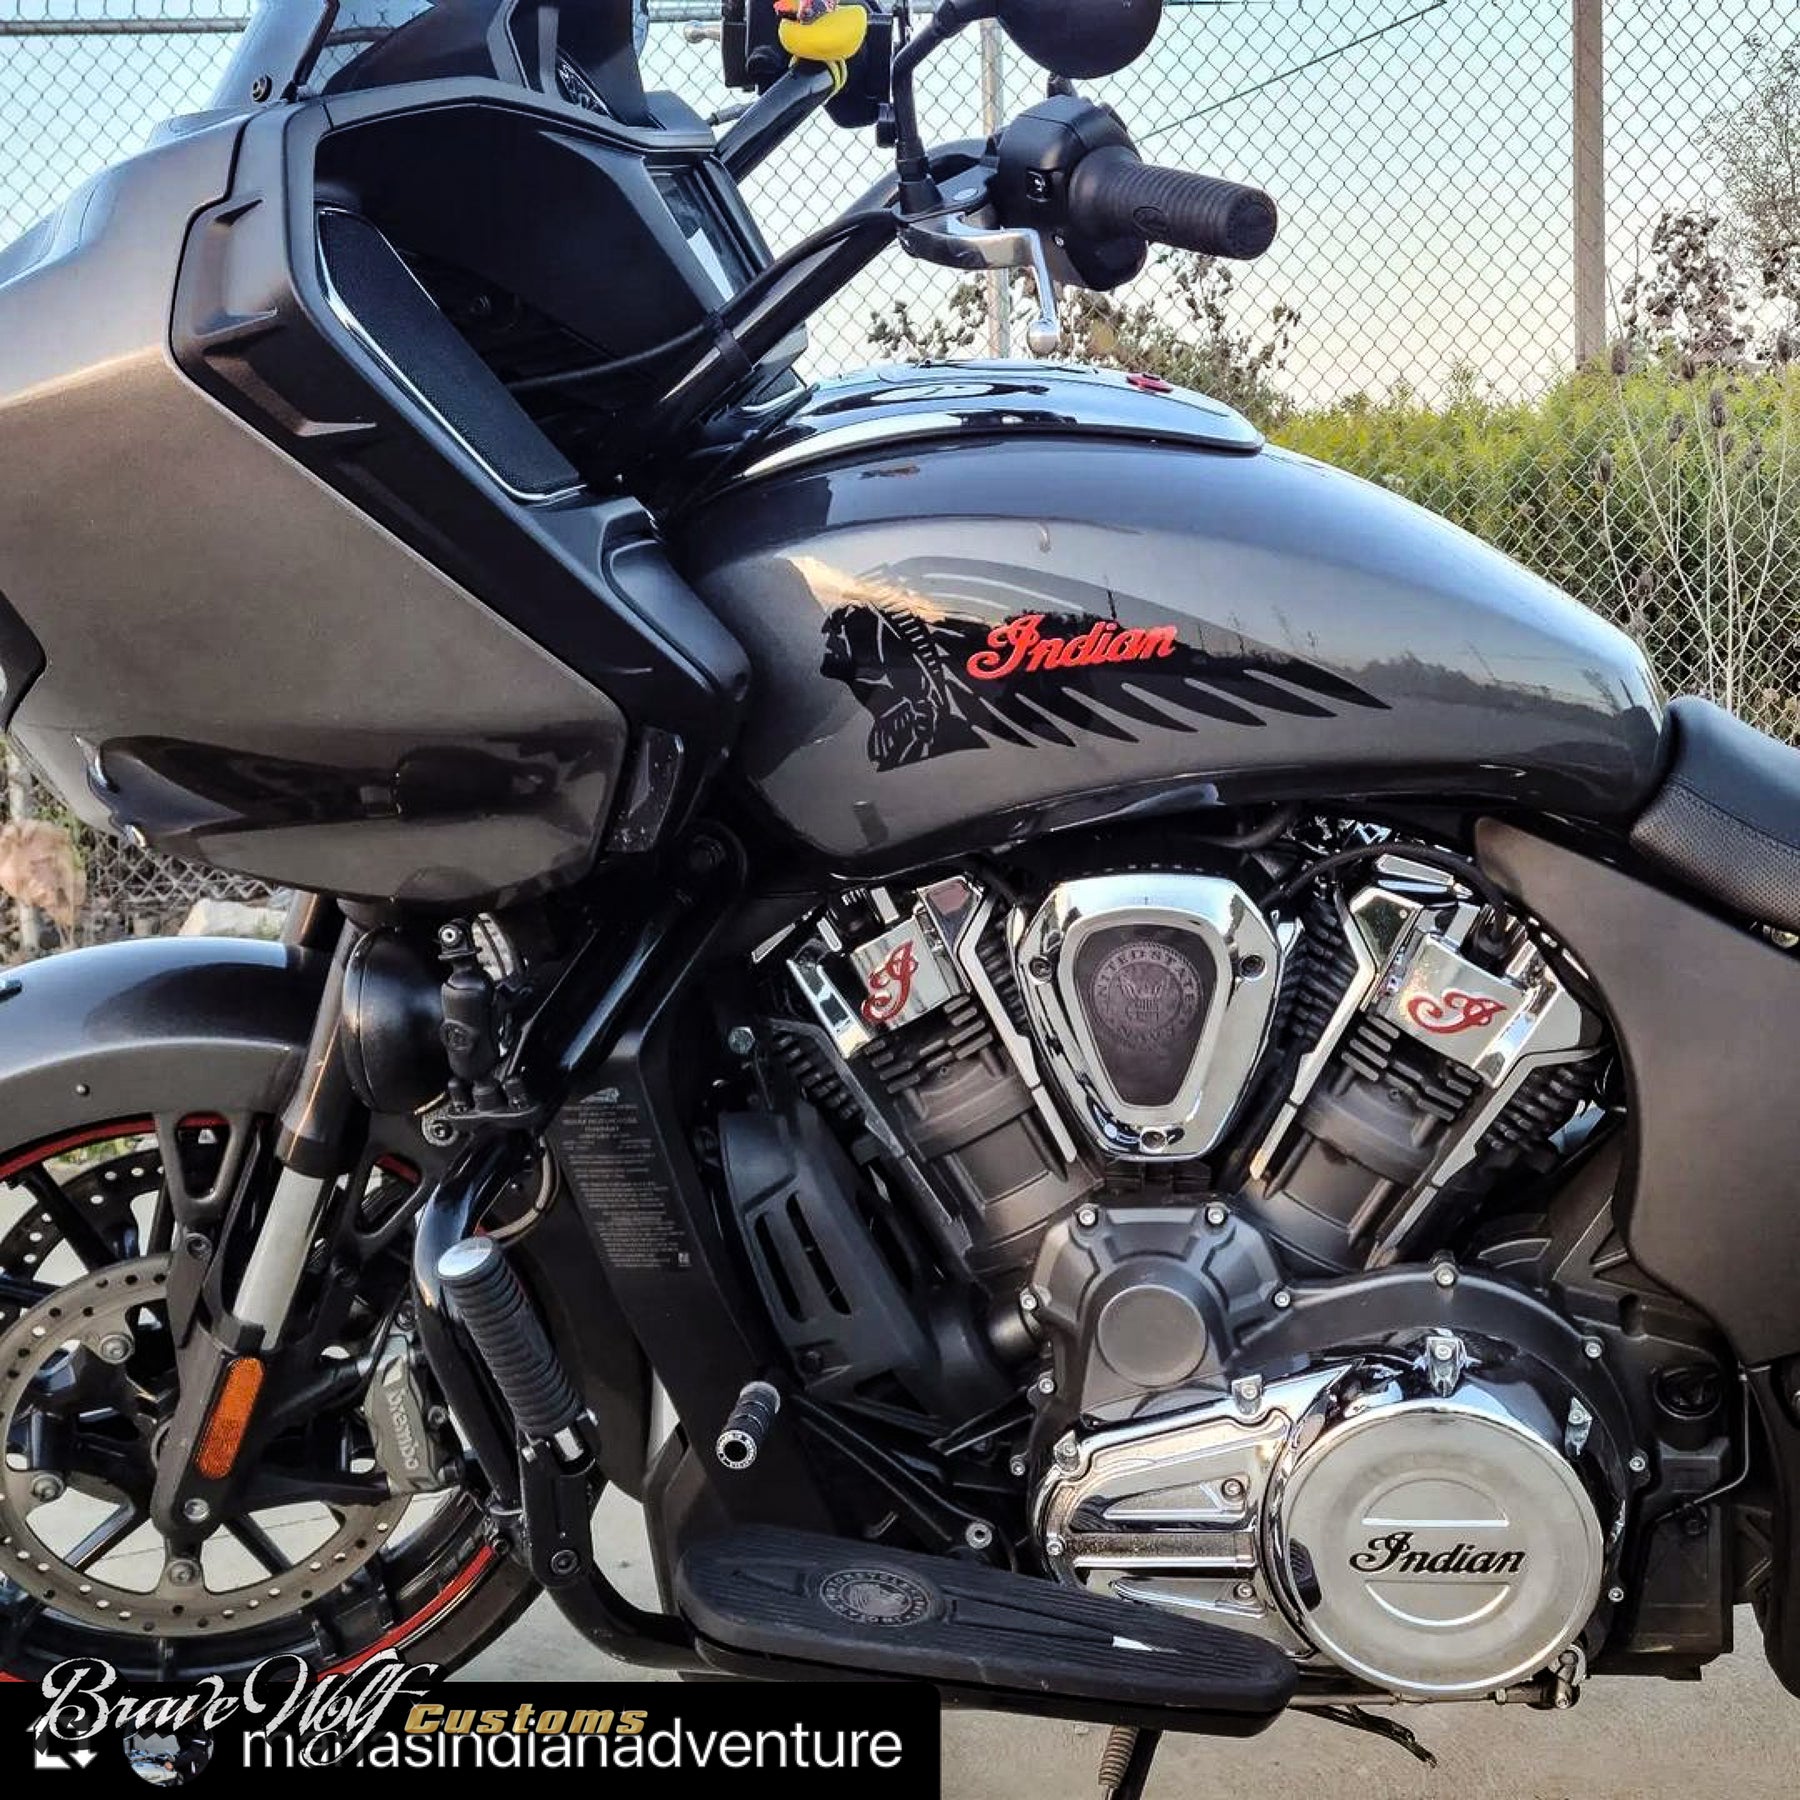
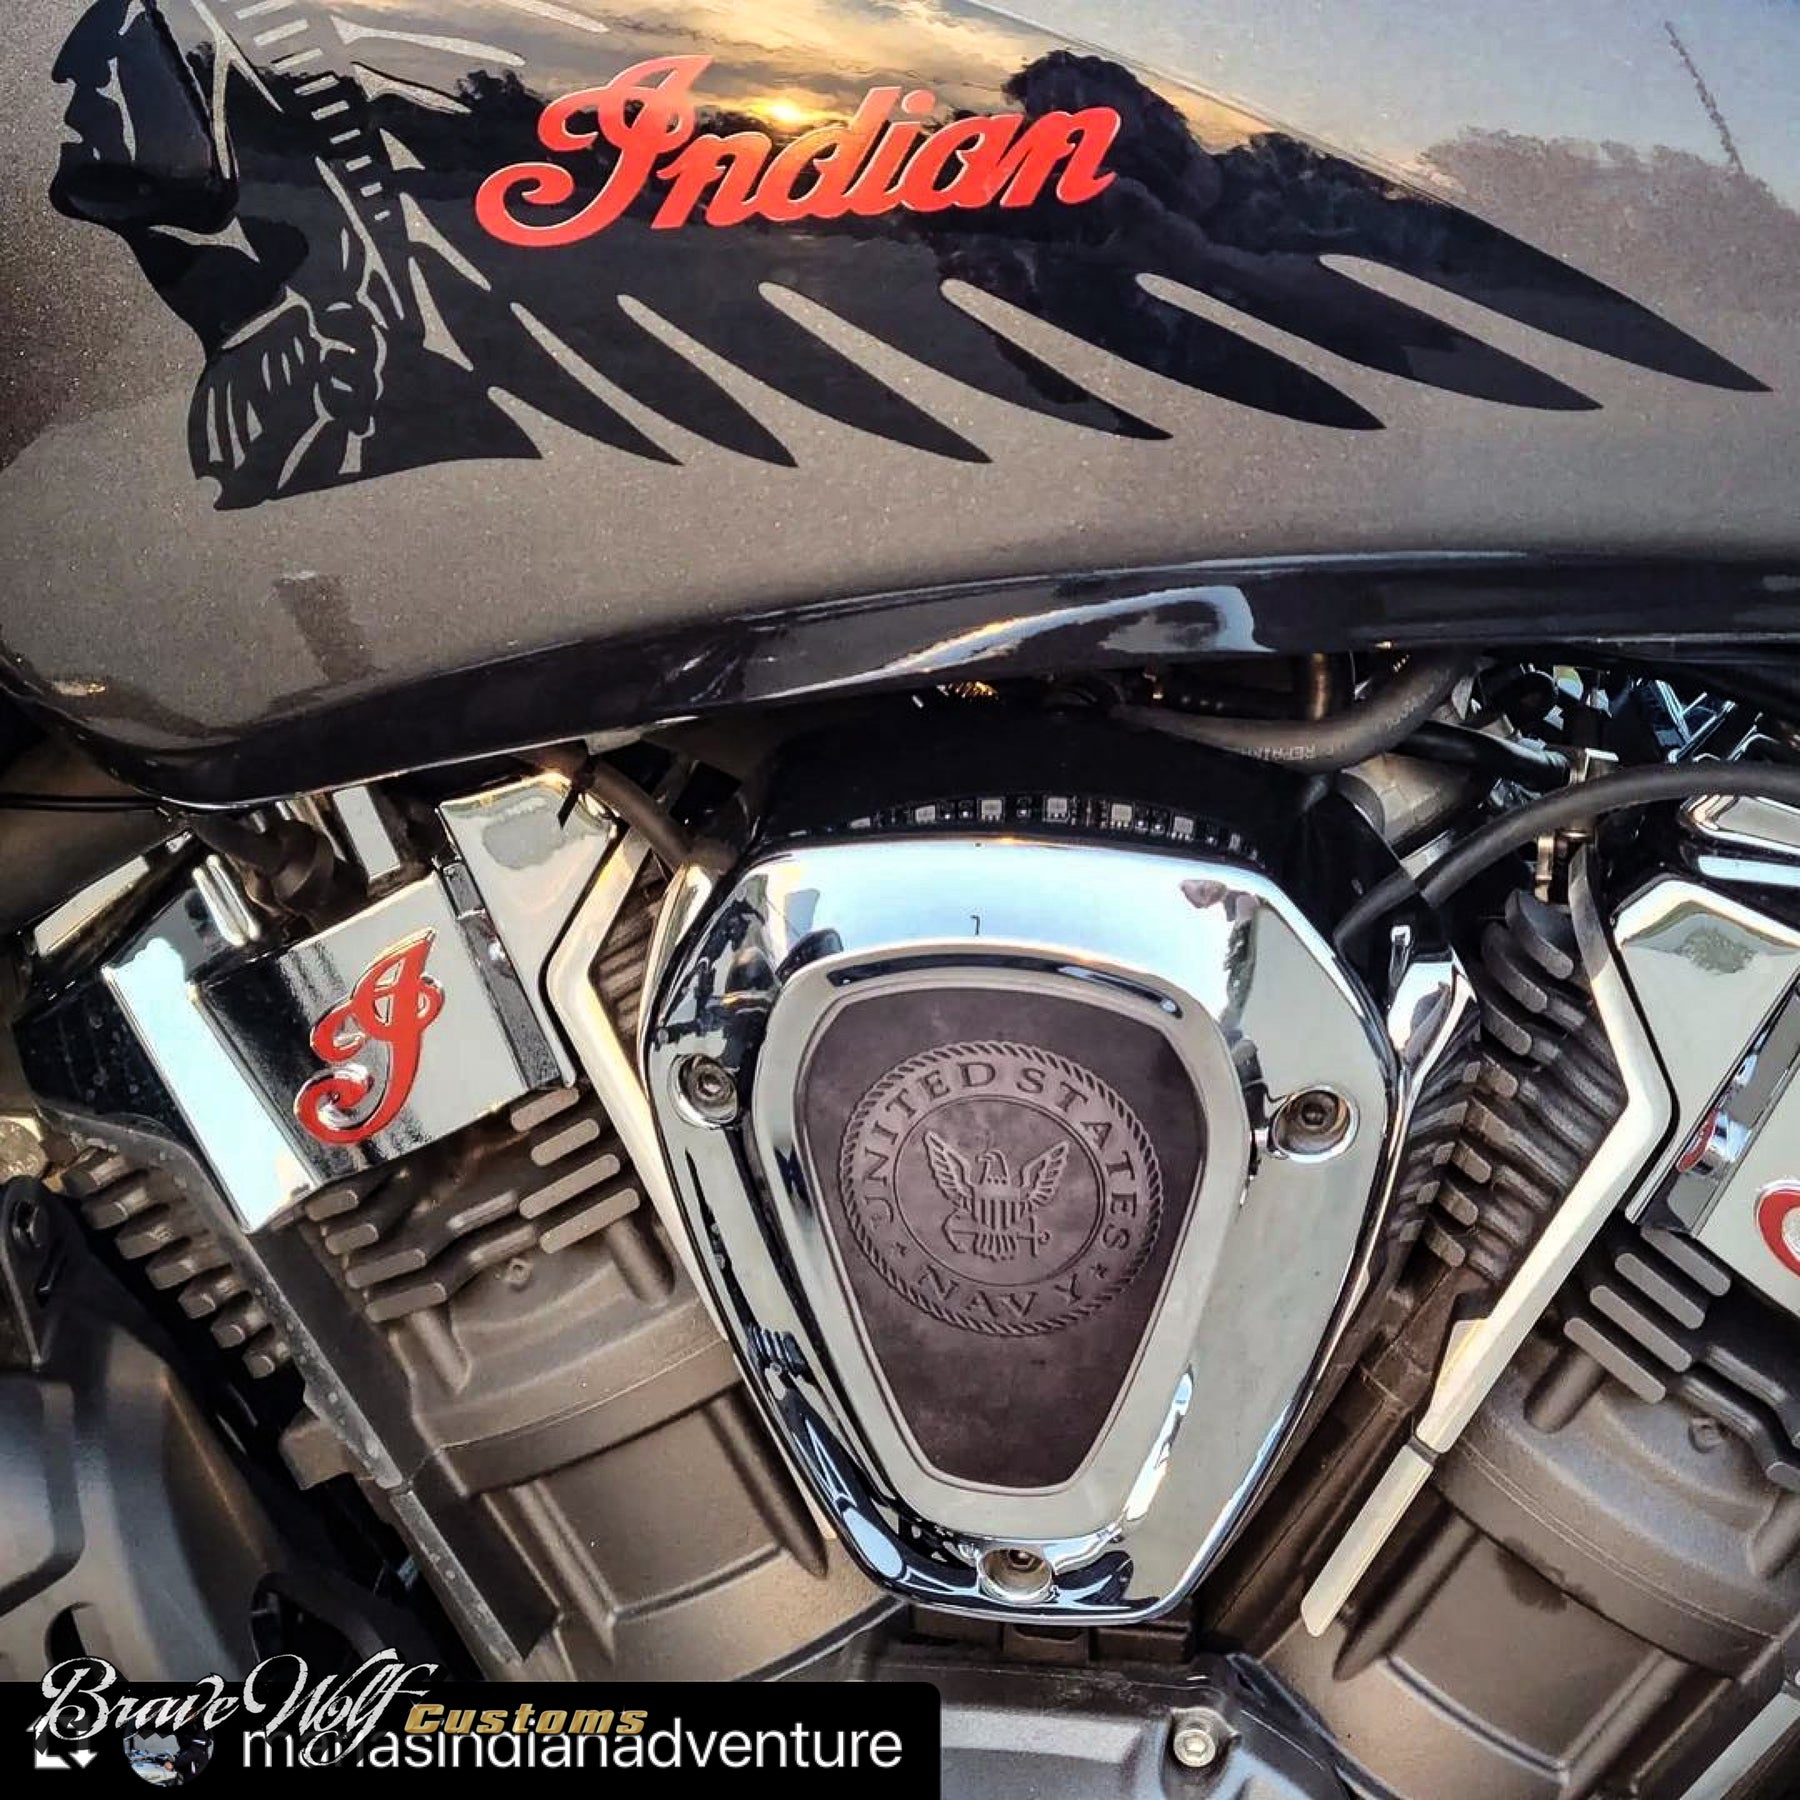
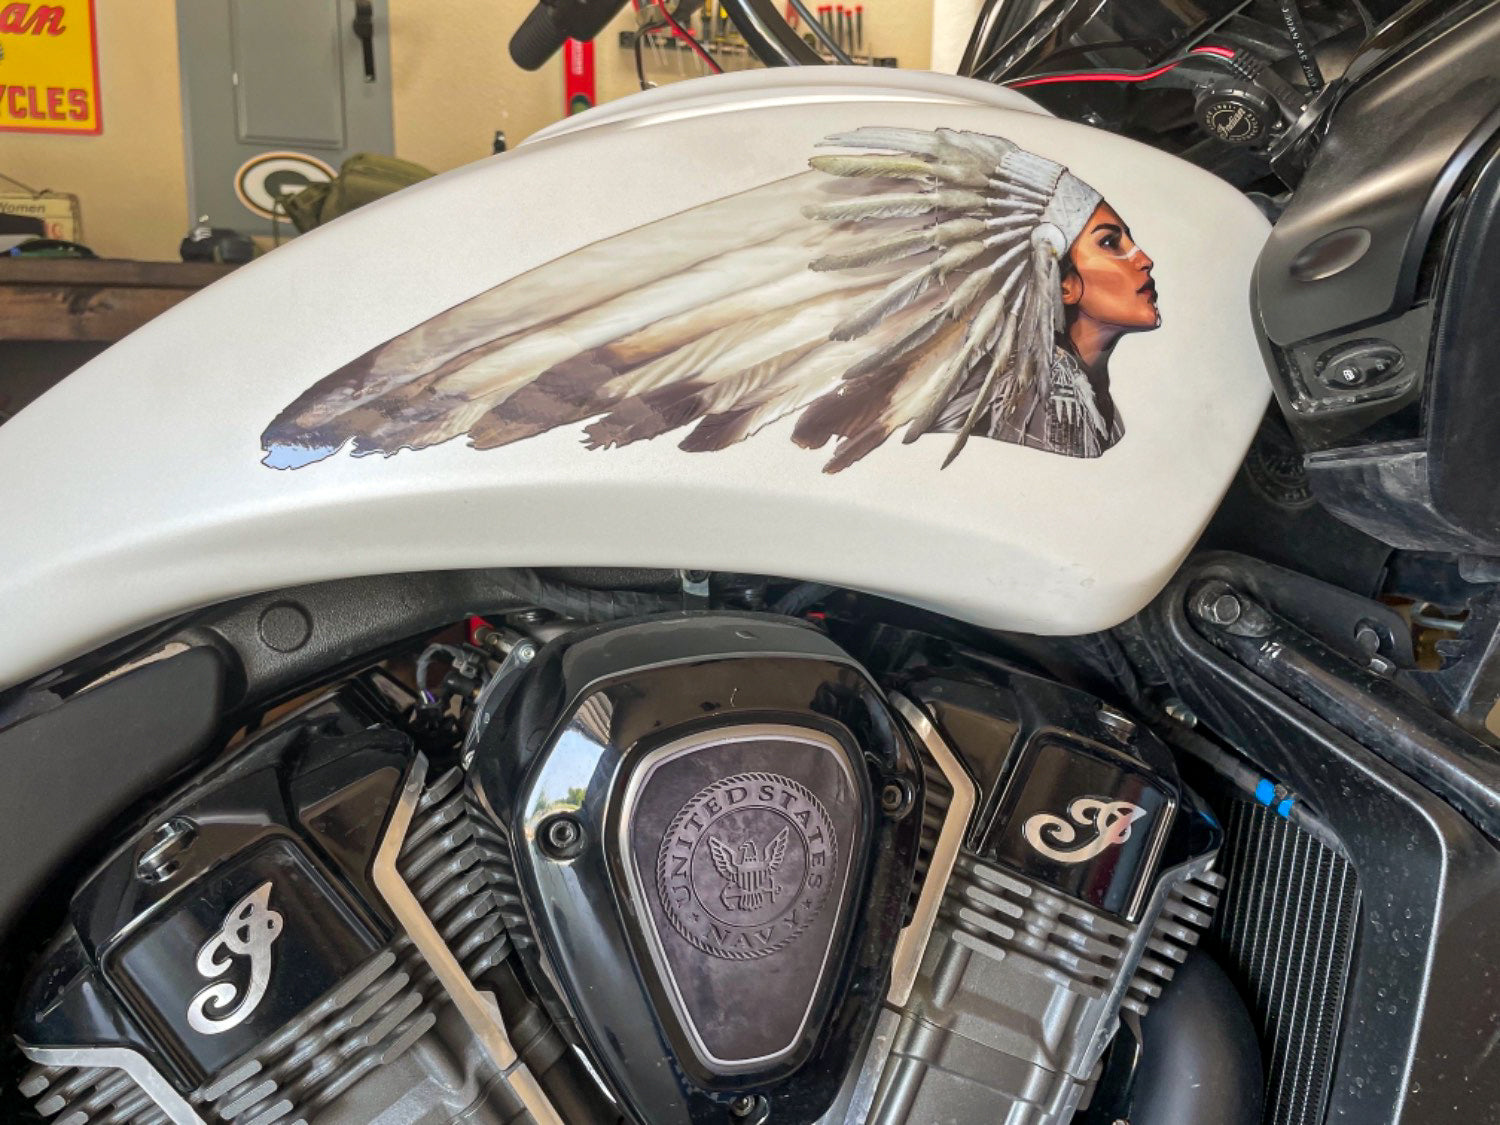
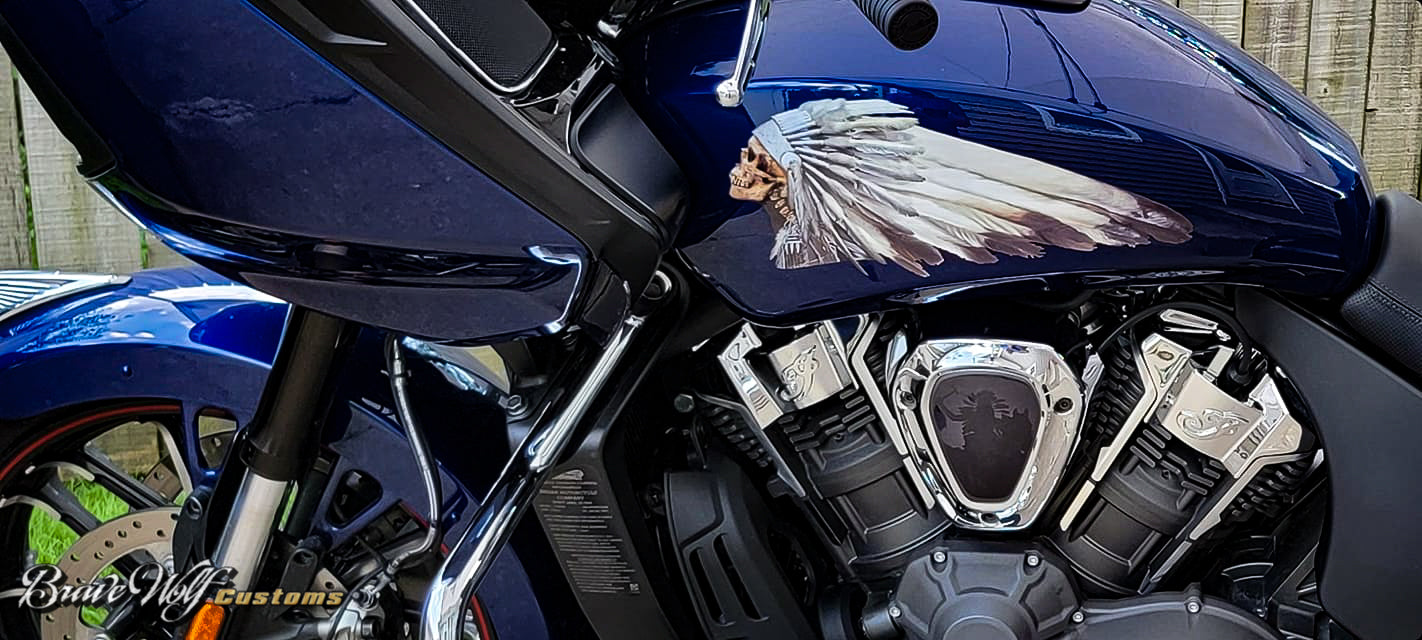
Fits the Indian Powerplus engine found on the Challenger, Pursuit, Powerplus Chieftain, and Powerplus Roadmaster models.
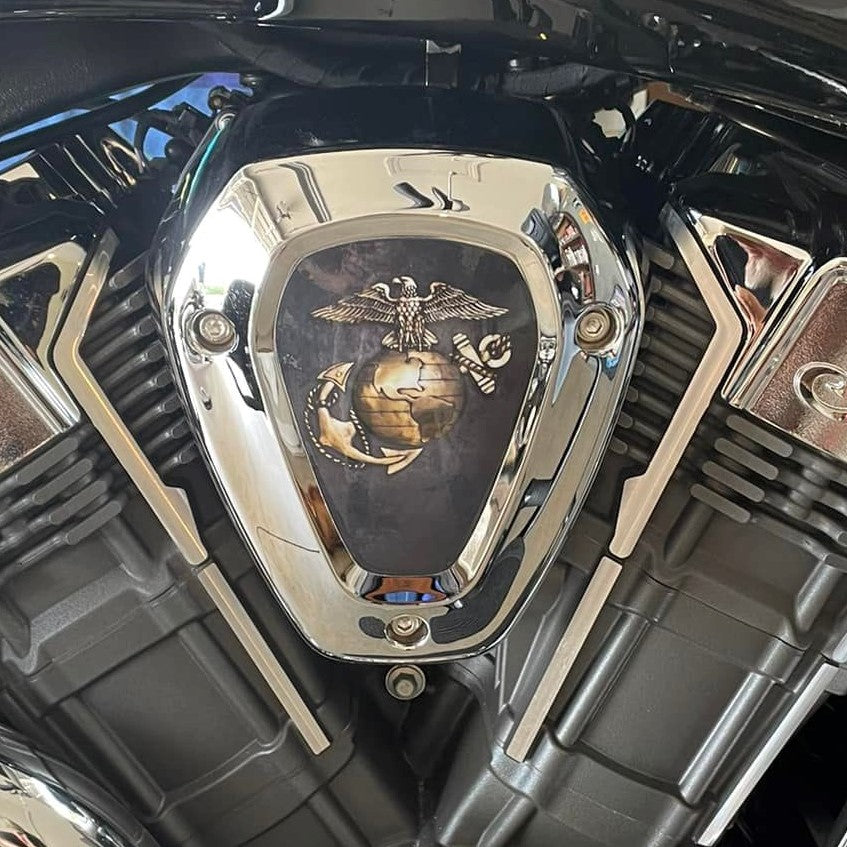
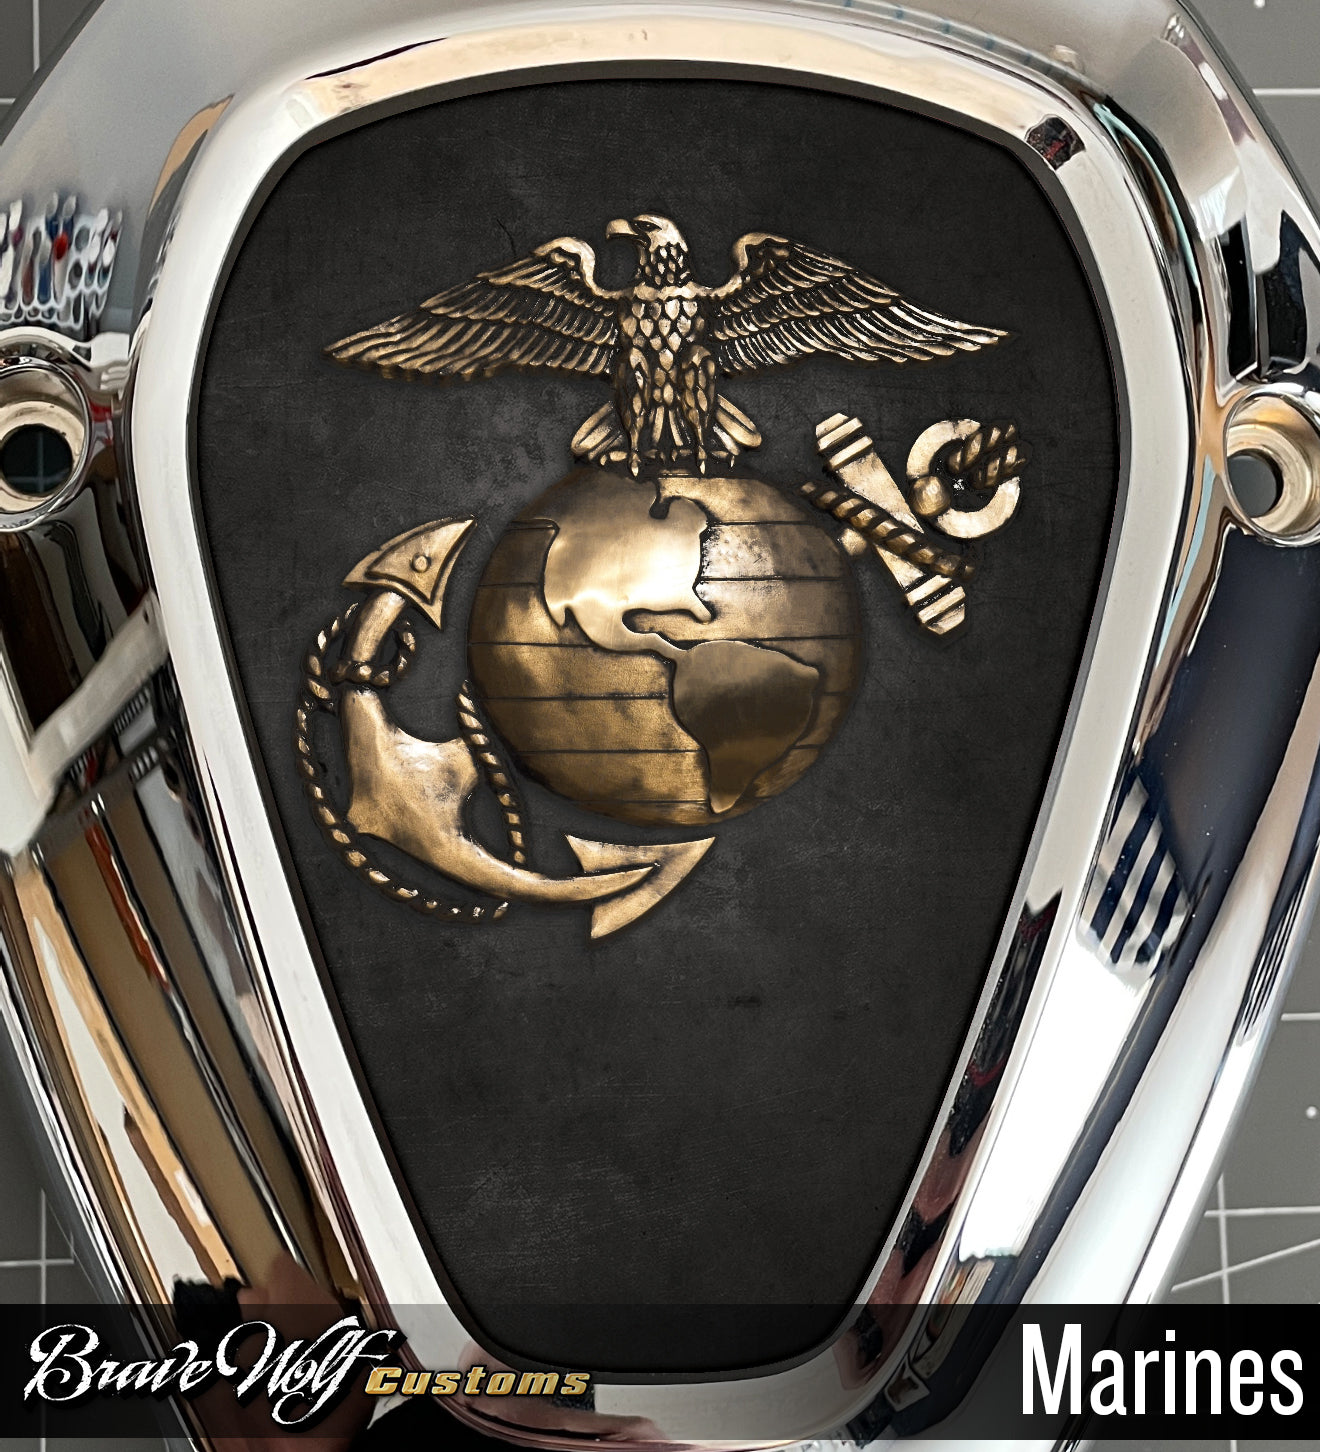
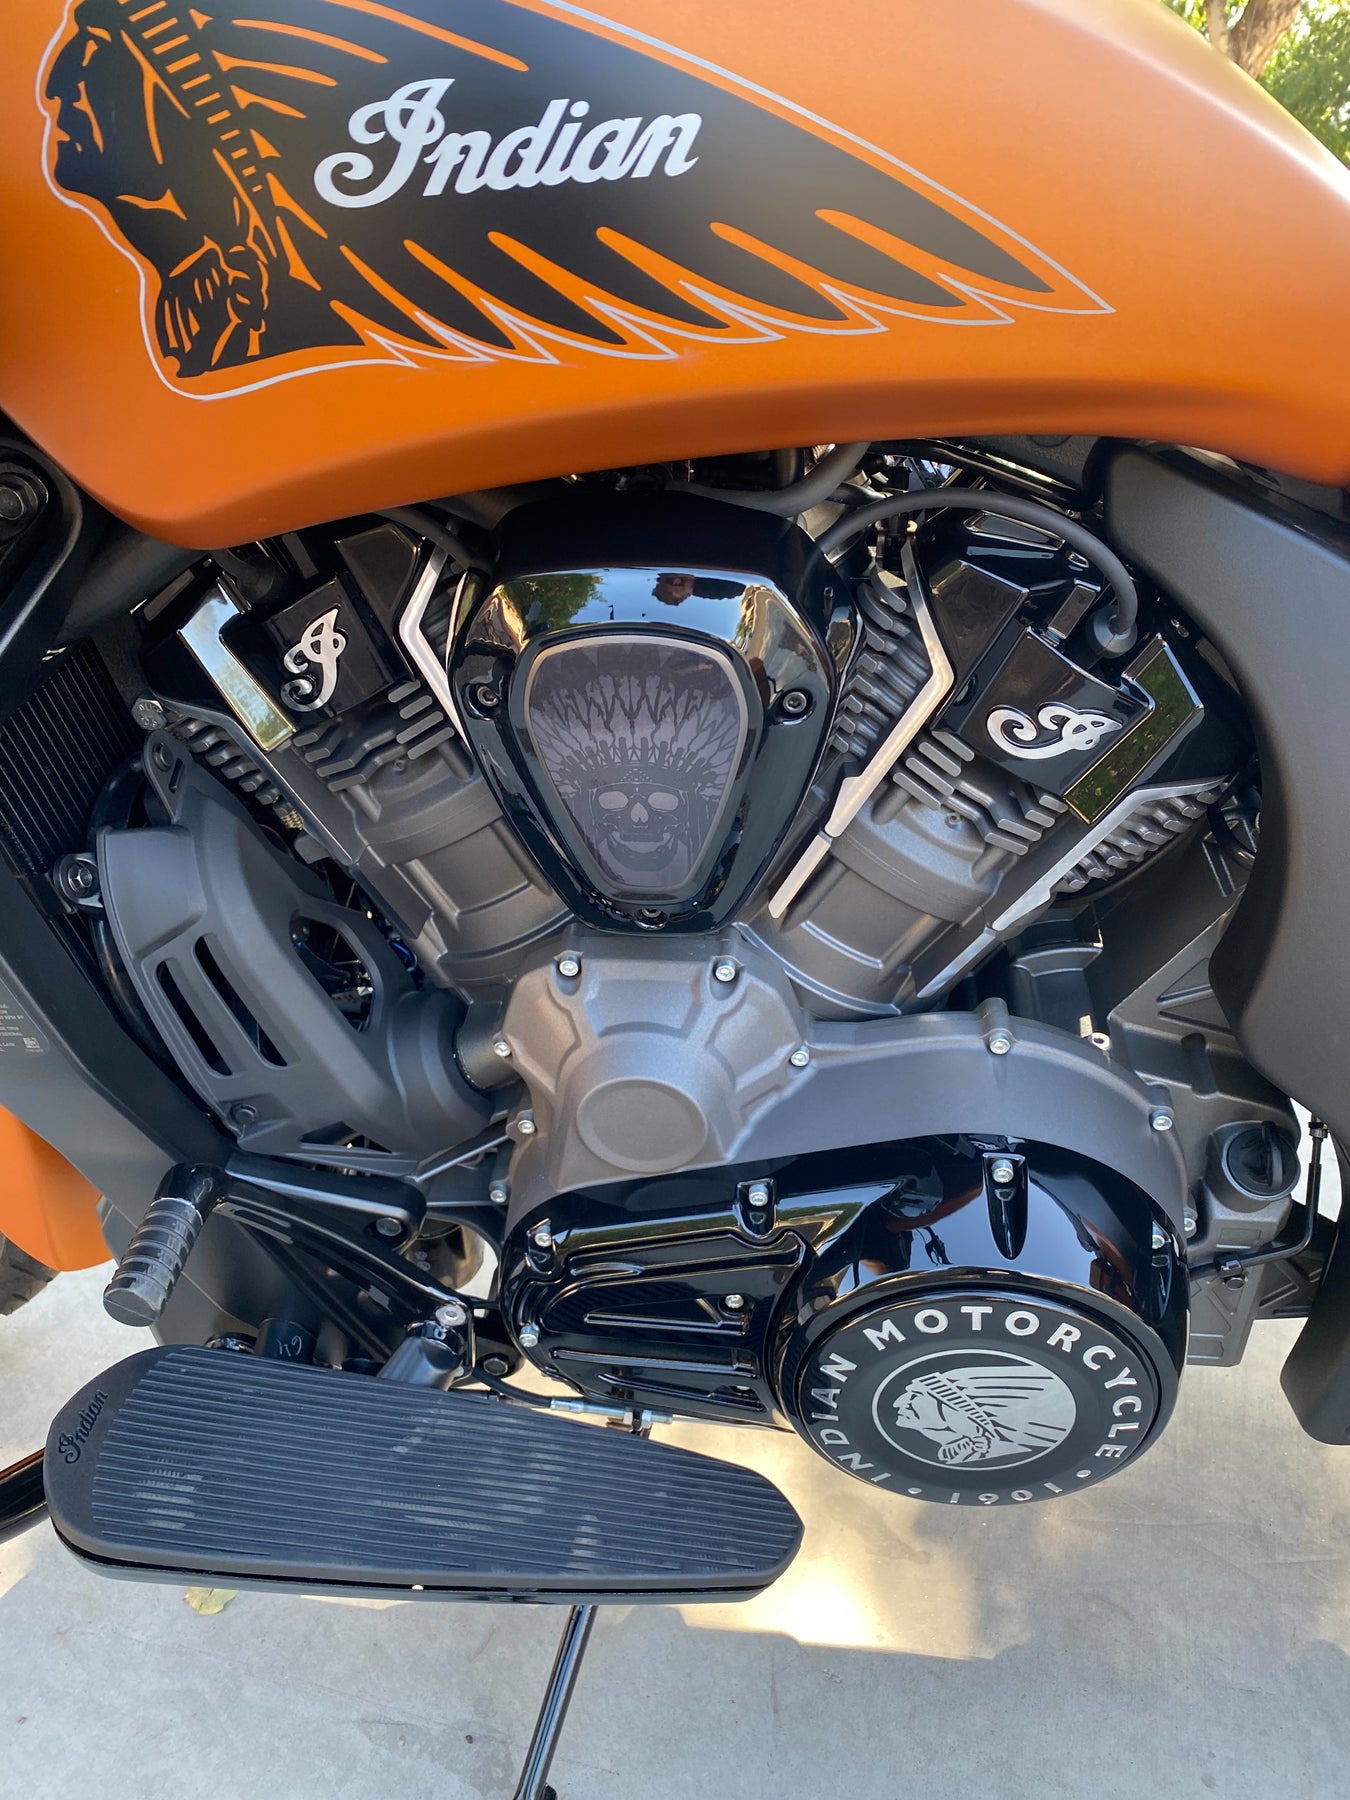
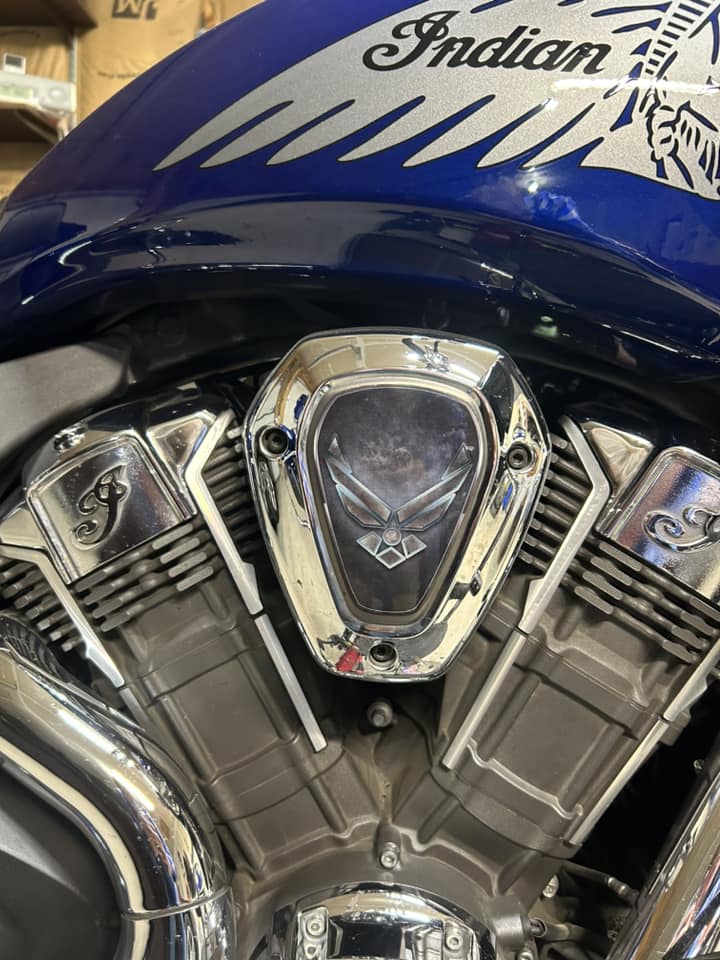
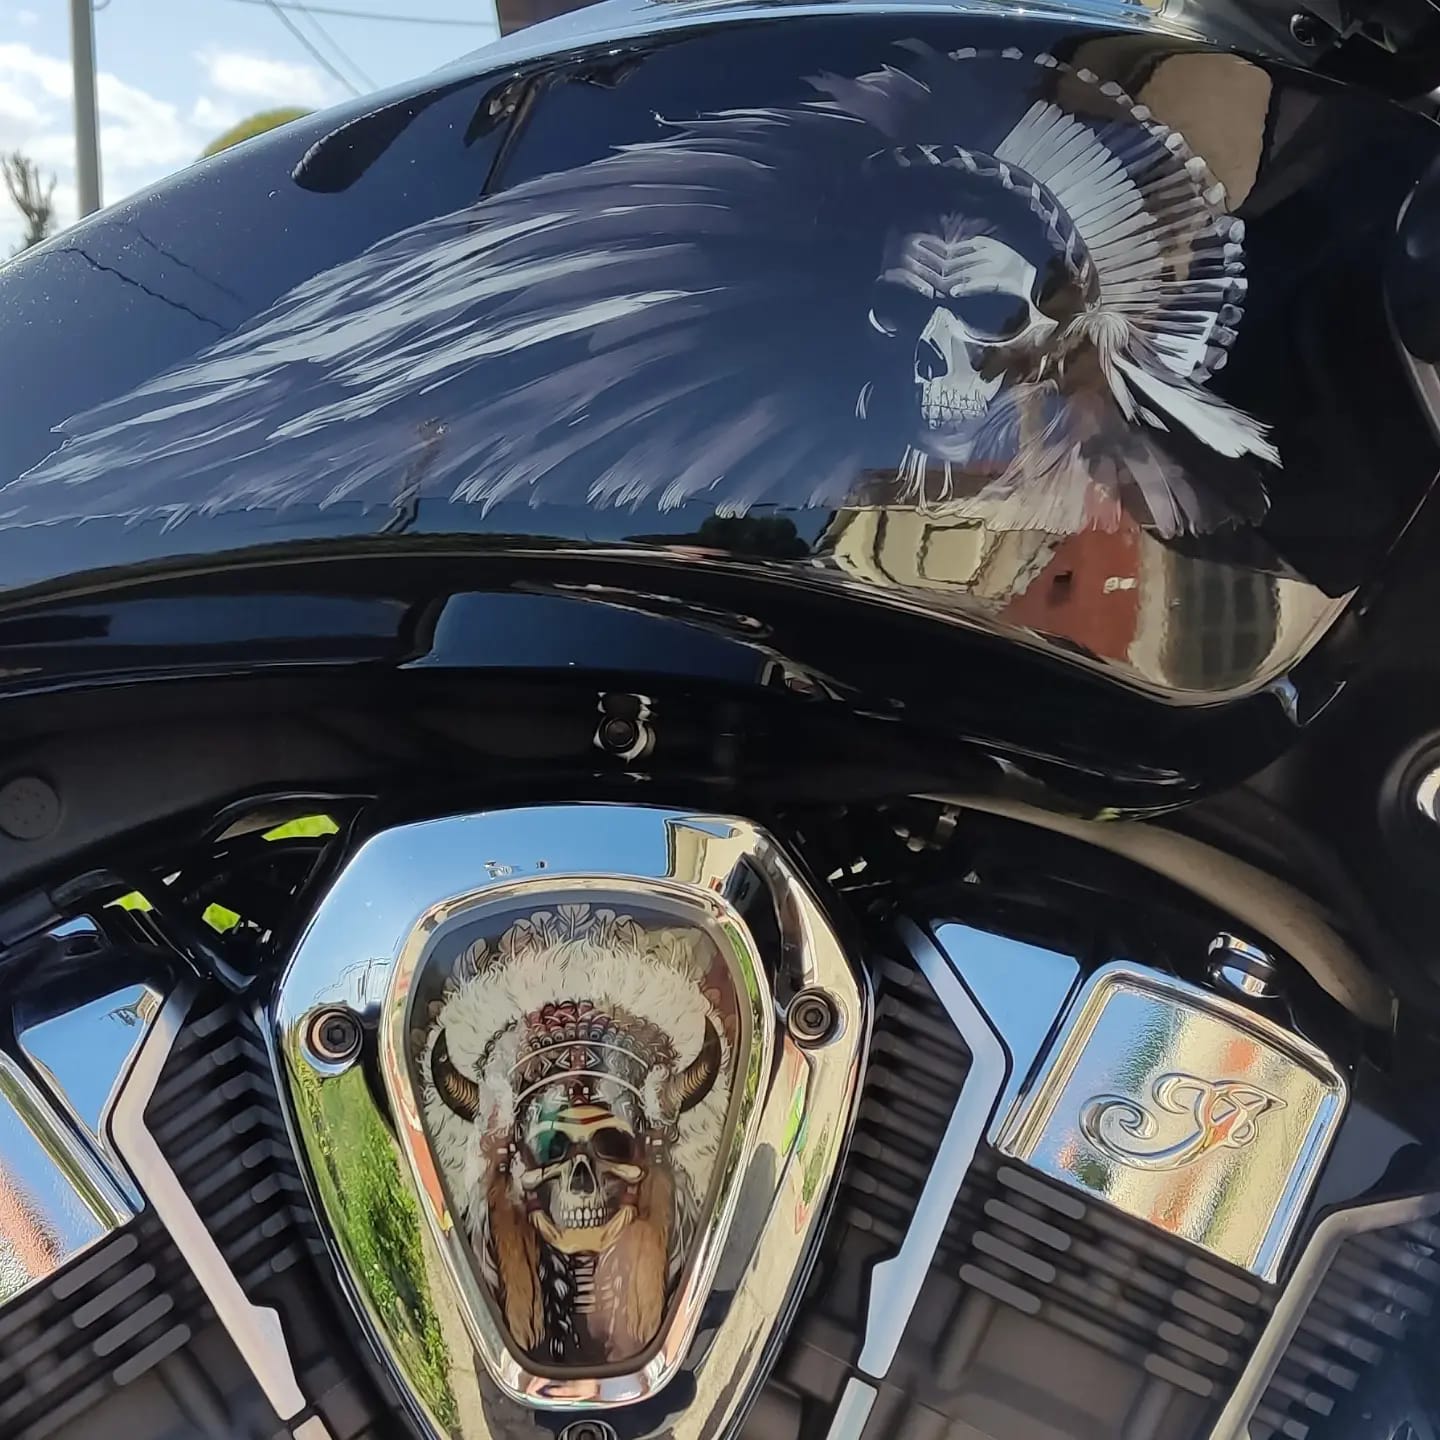
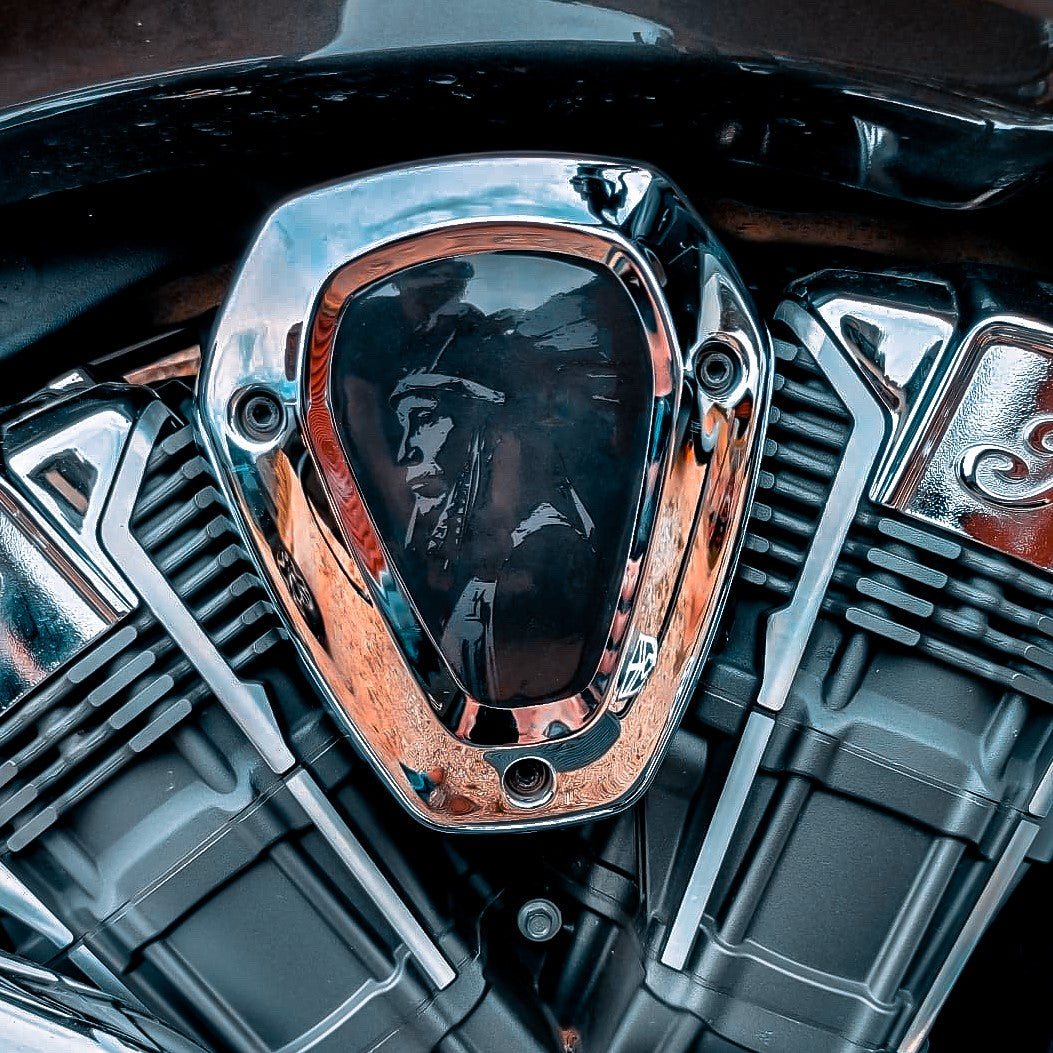
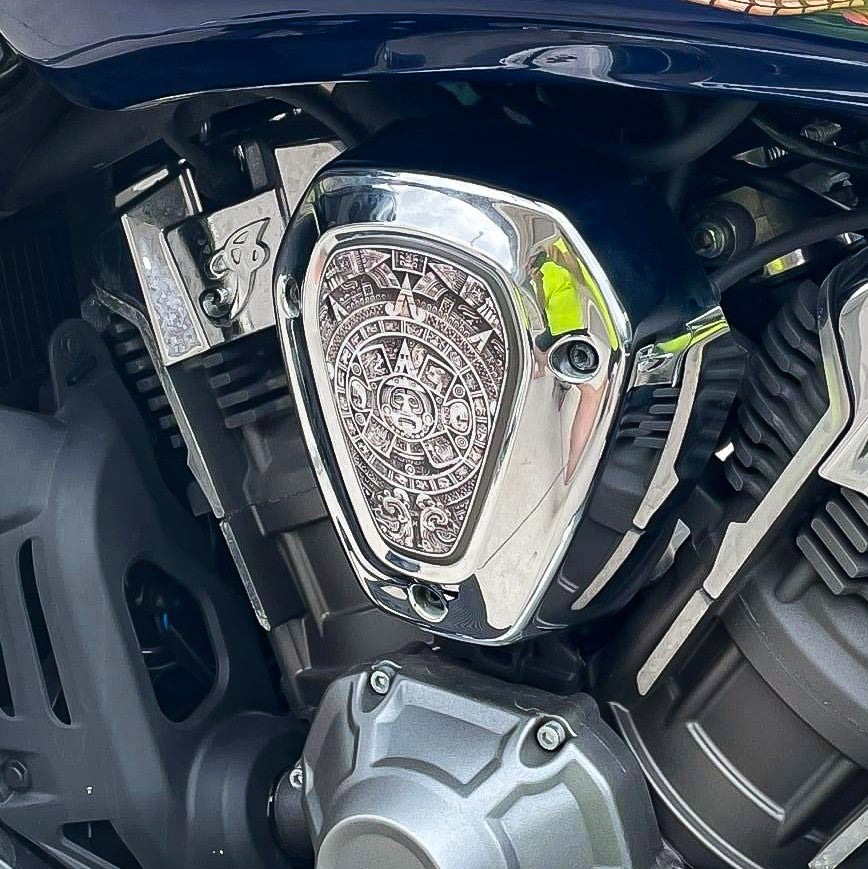
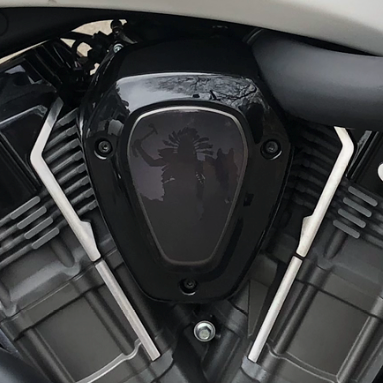
This premium finish badge cover takes minutes to install and provides a completely custom look. They fit both the left and right v-cover so if you haven't removed the right side cover for another intake, don't forget to grab two!
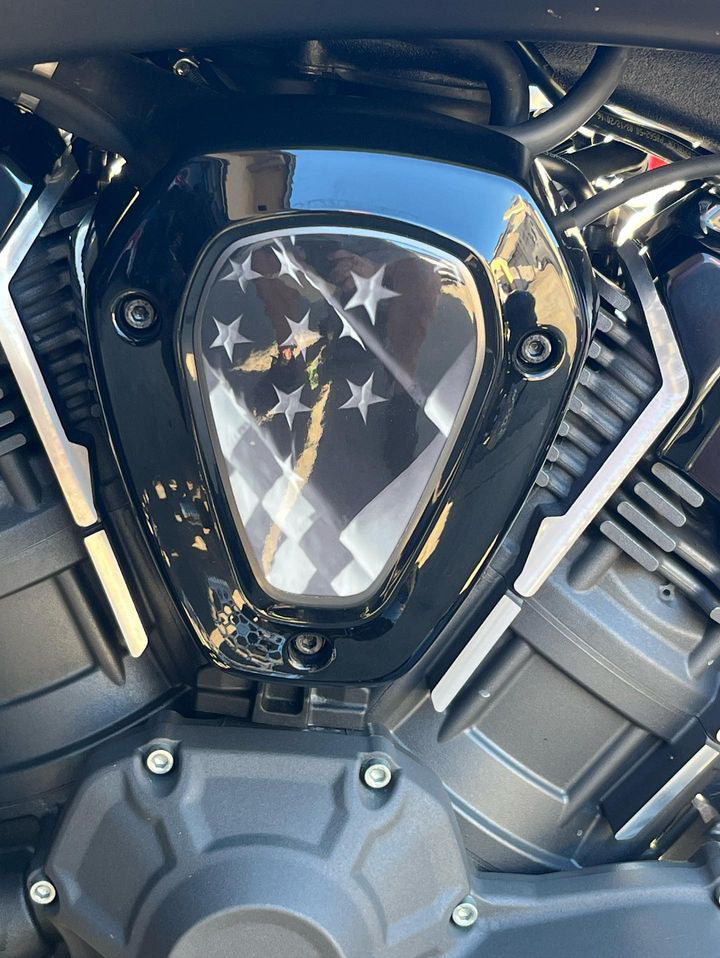
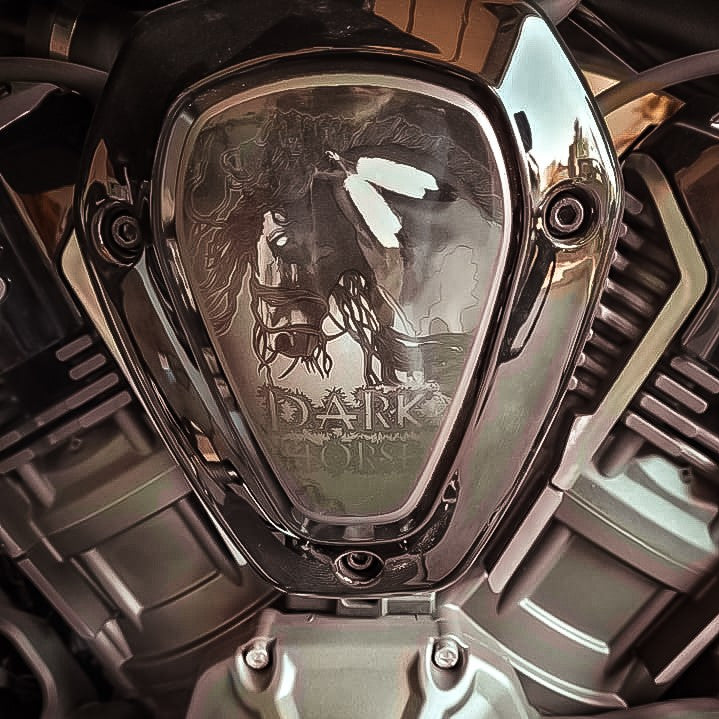
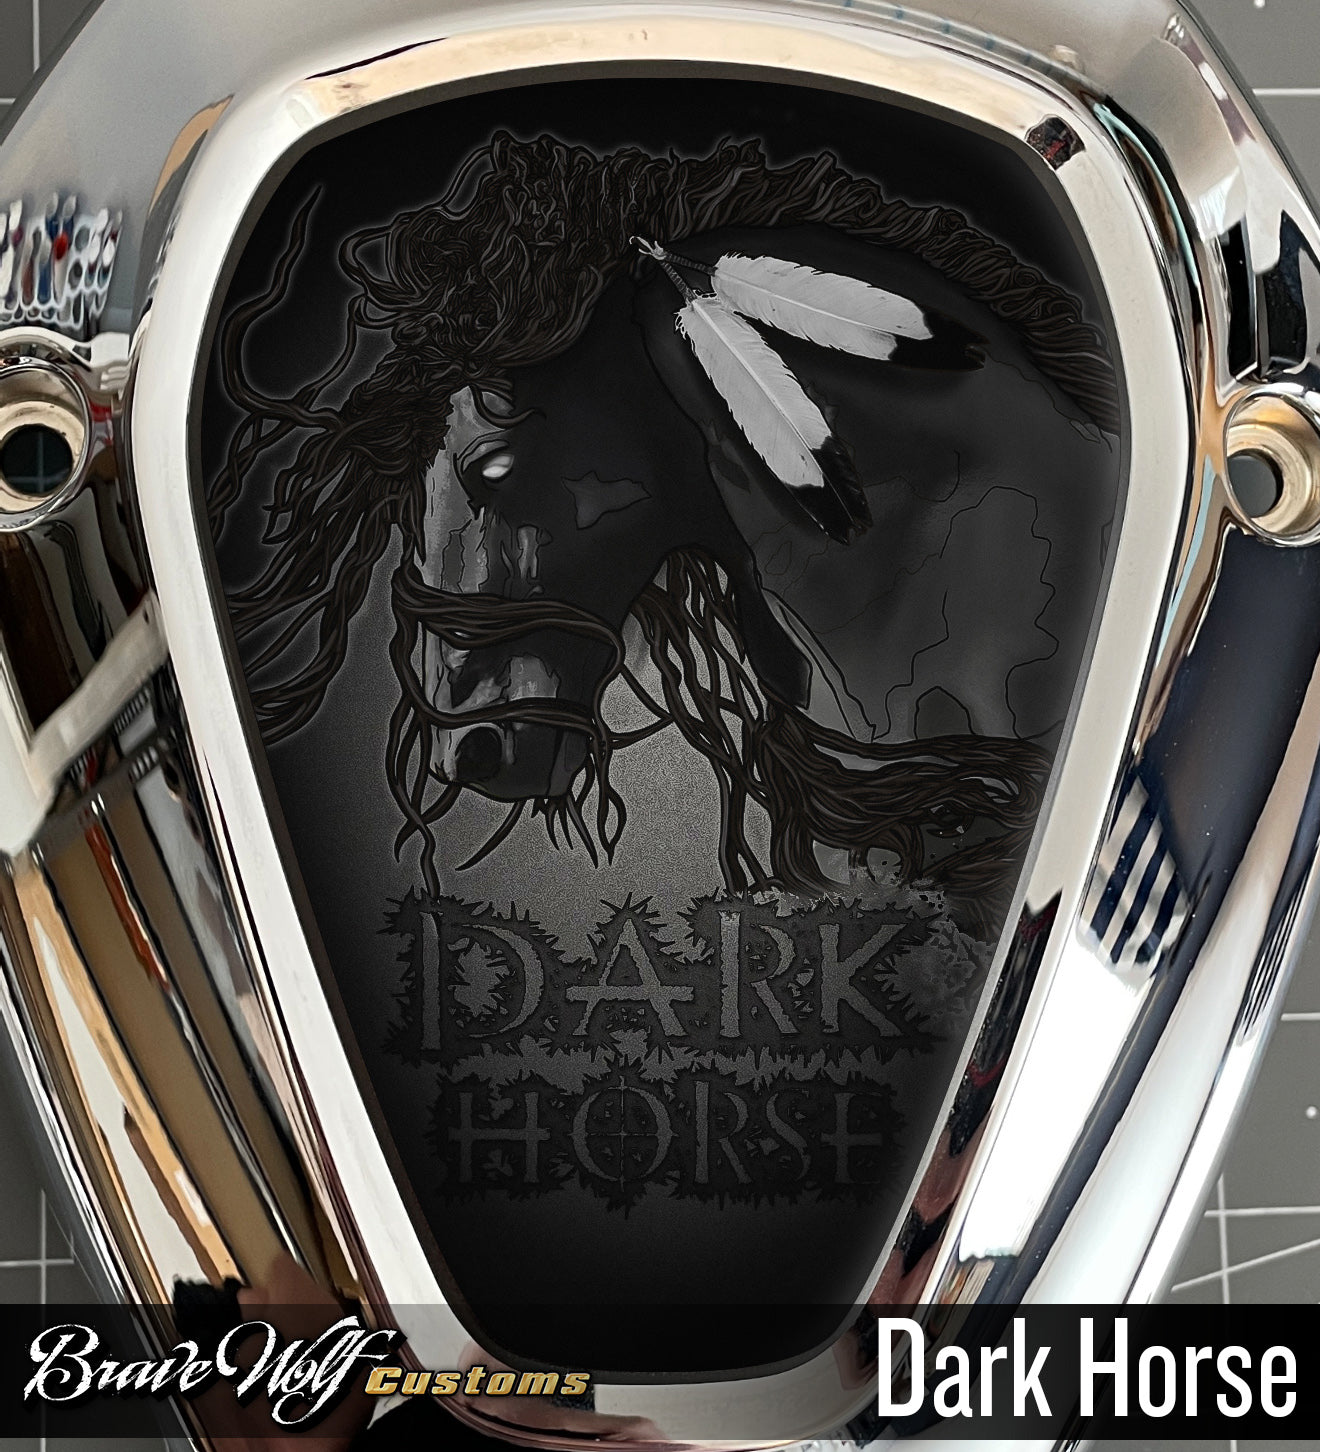
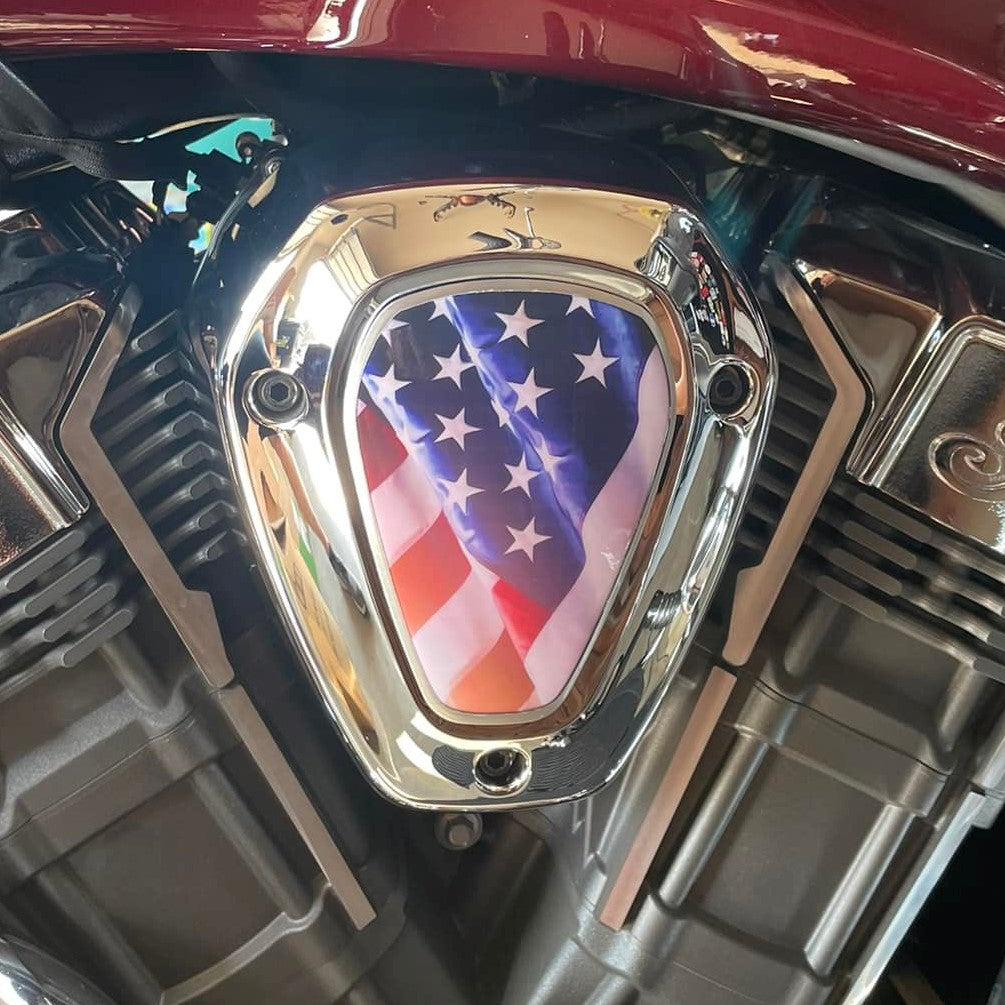
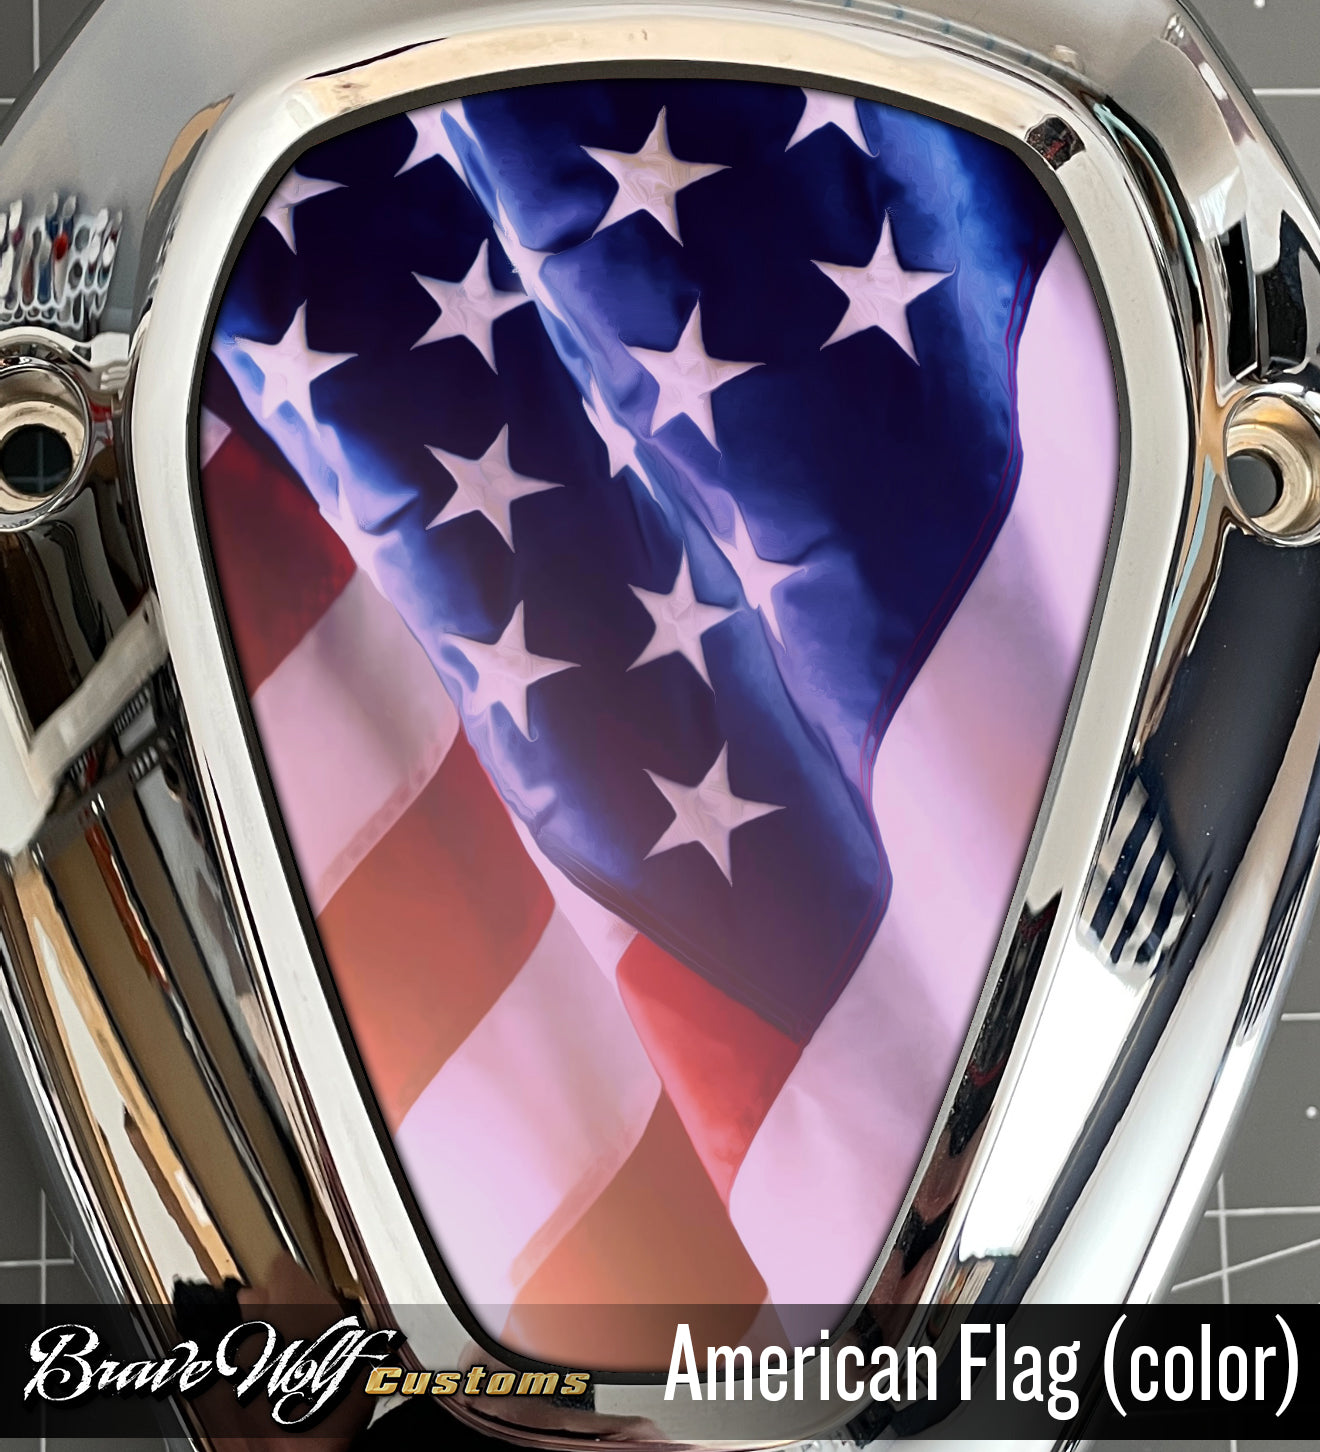
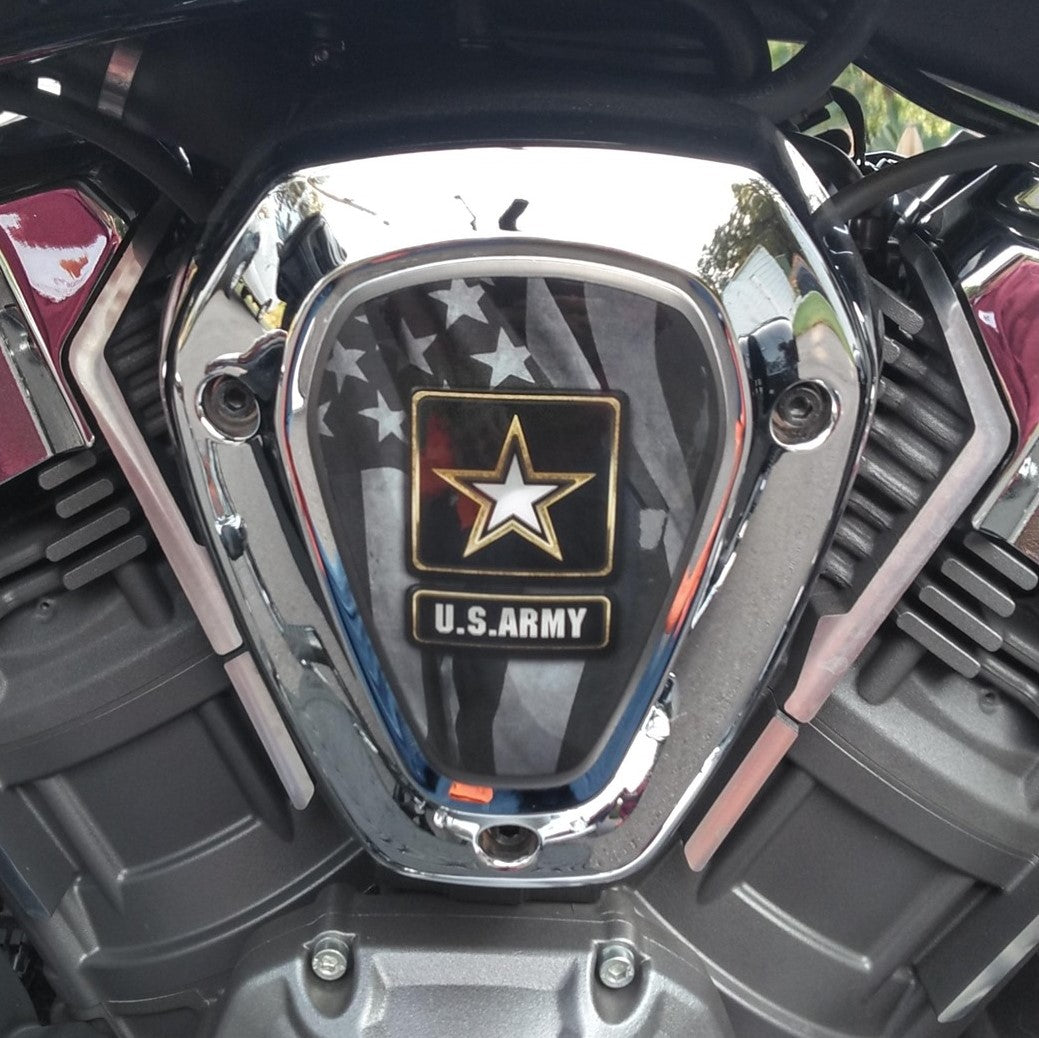
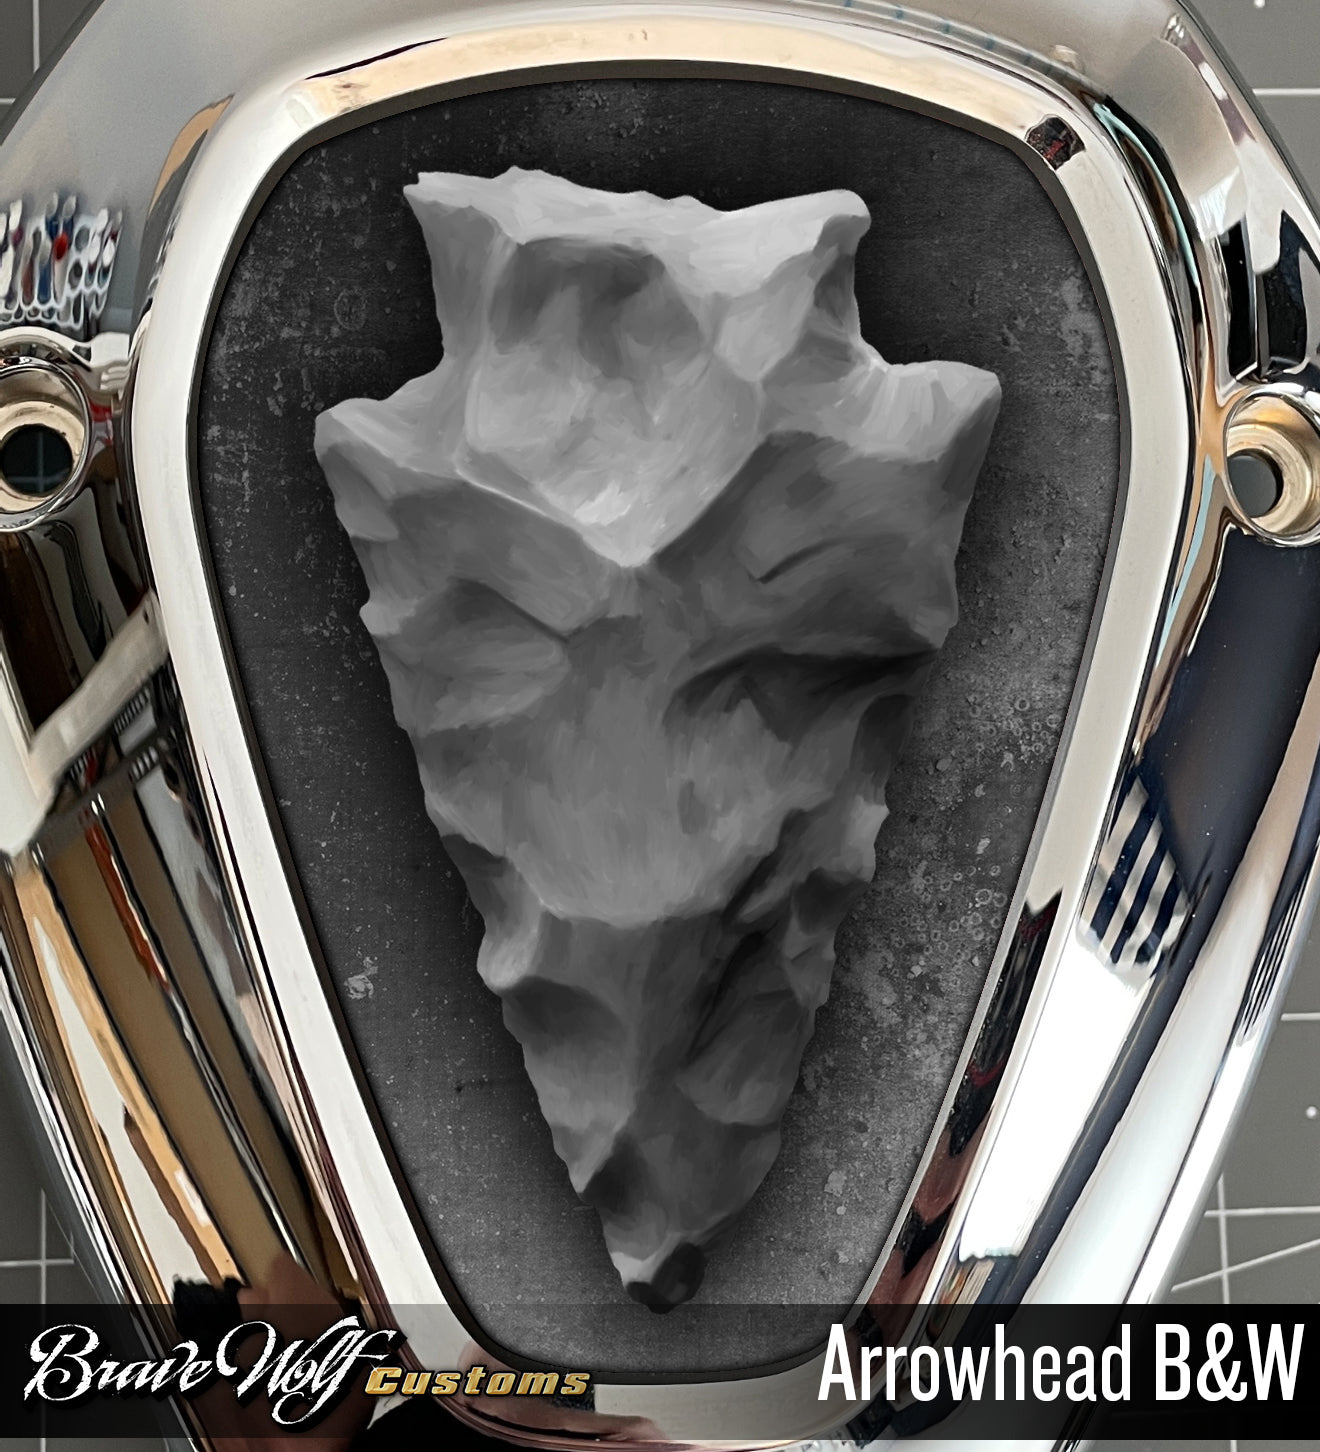
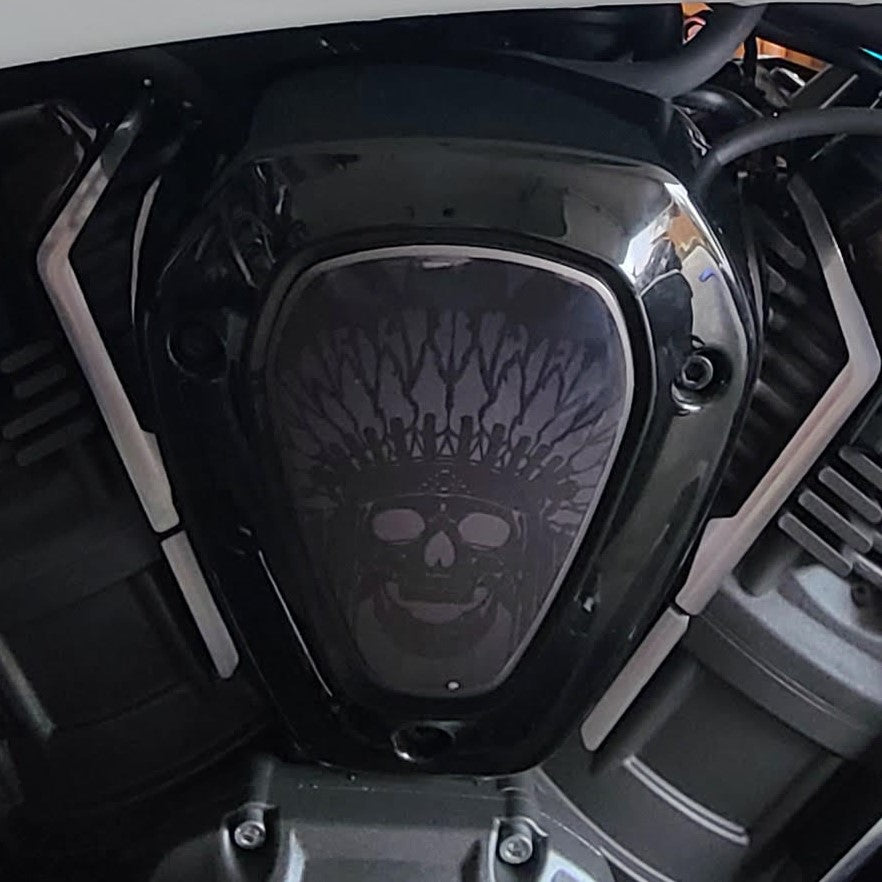
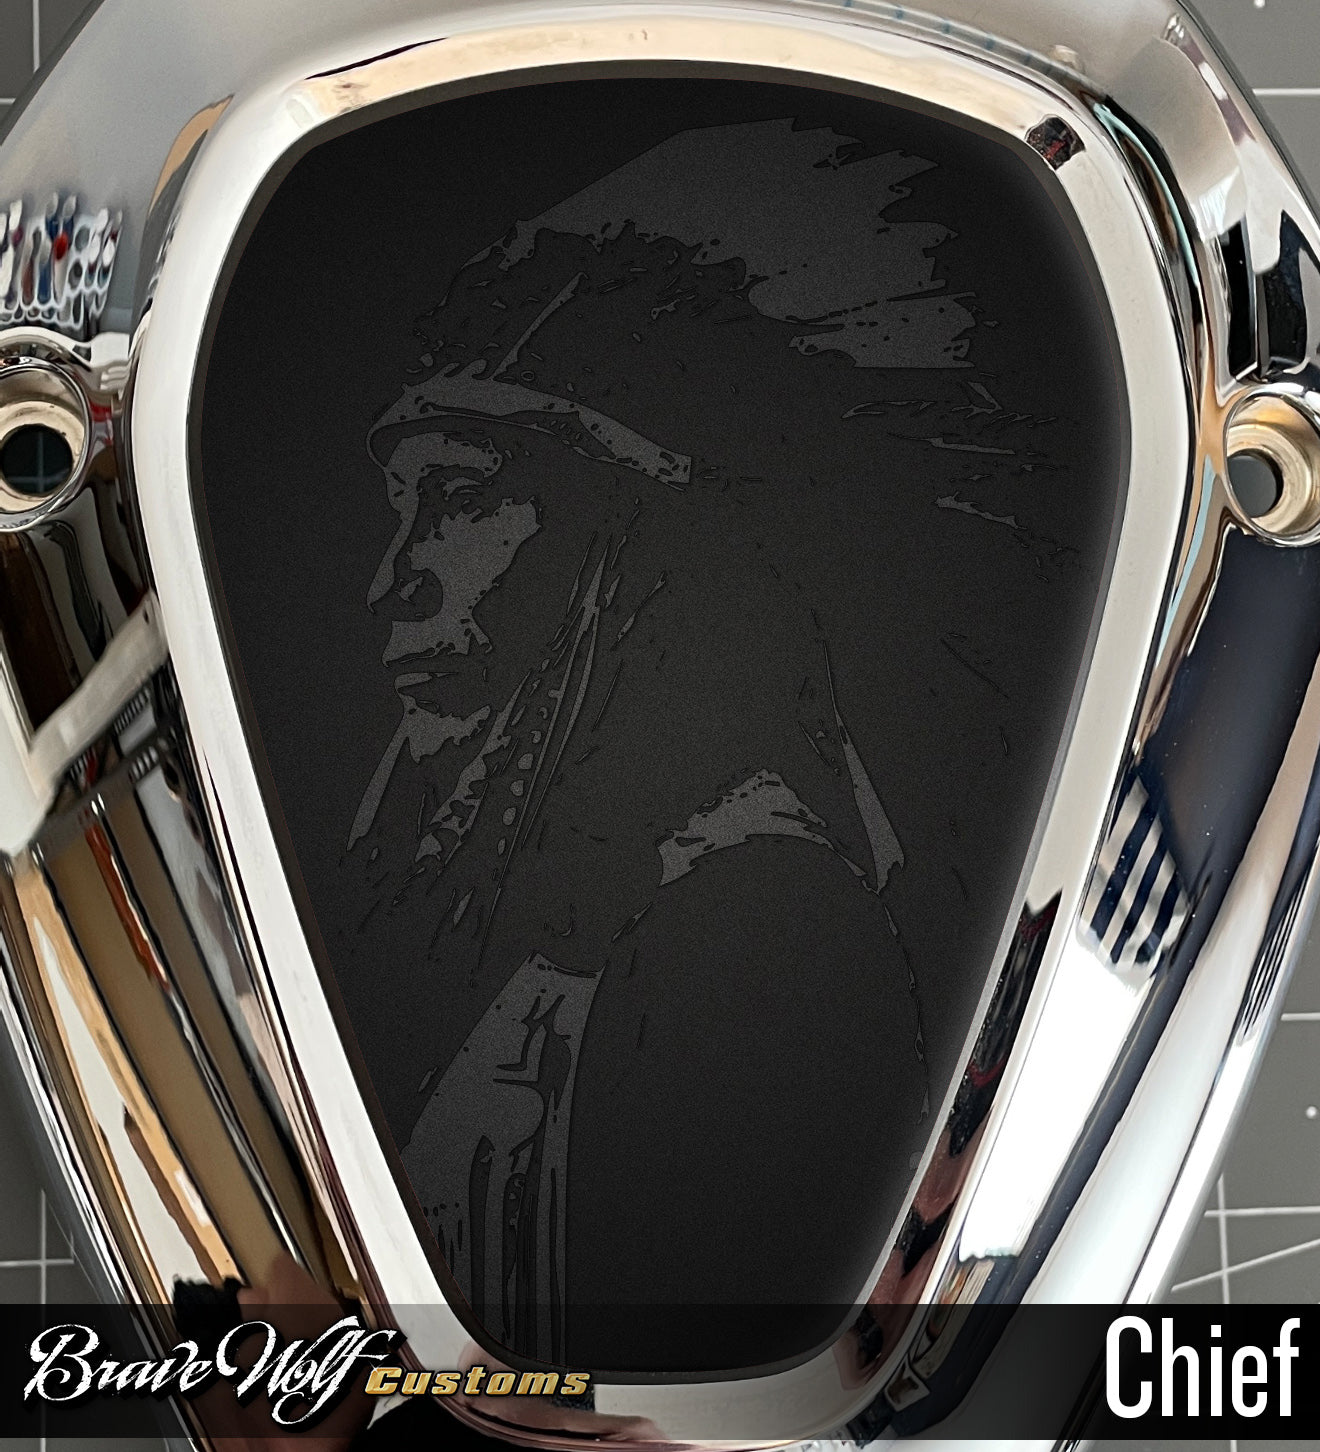
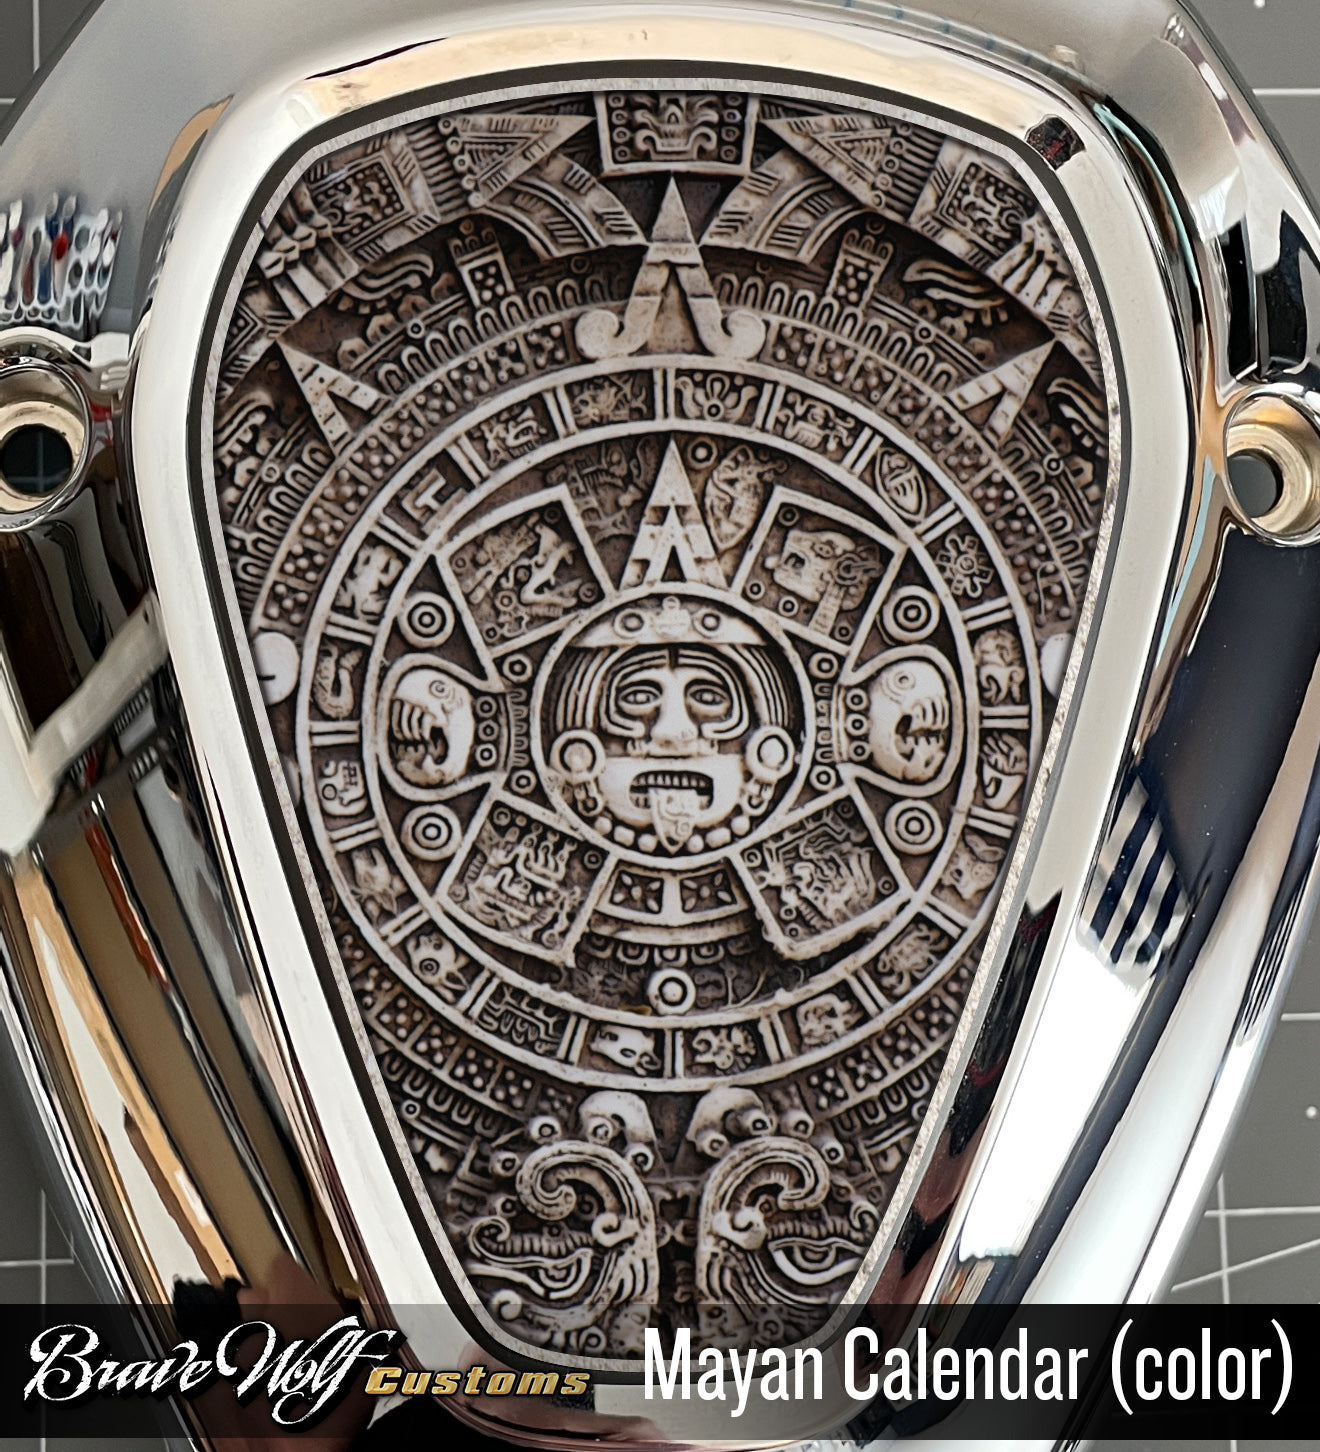
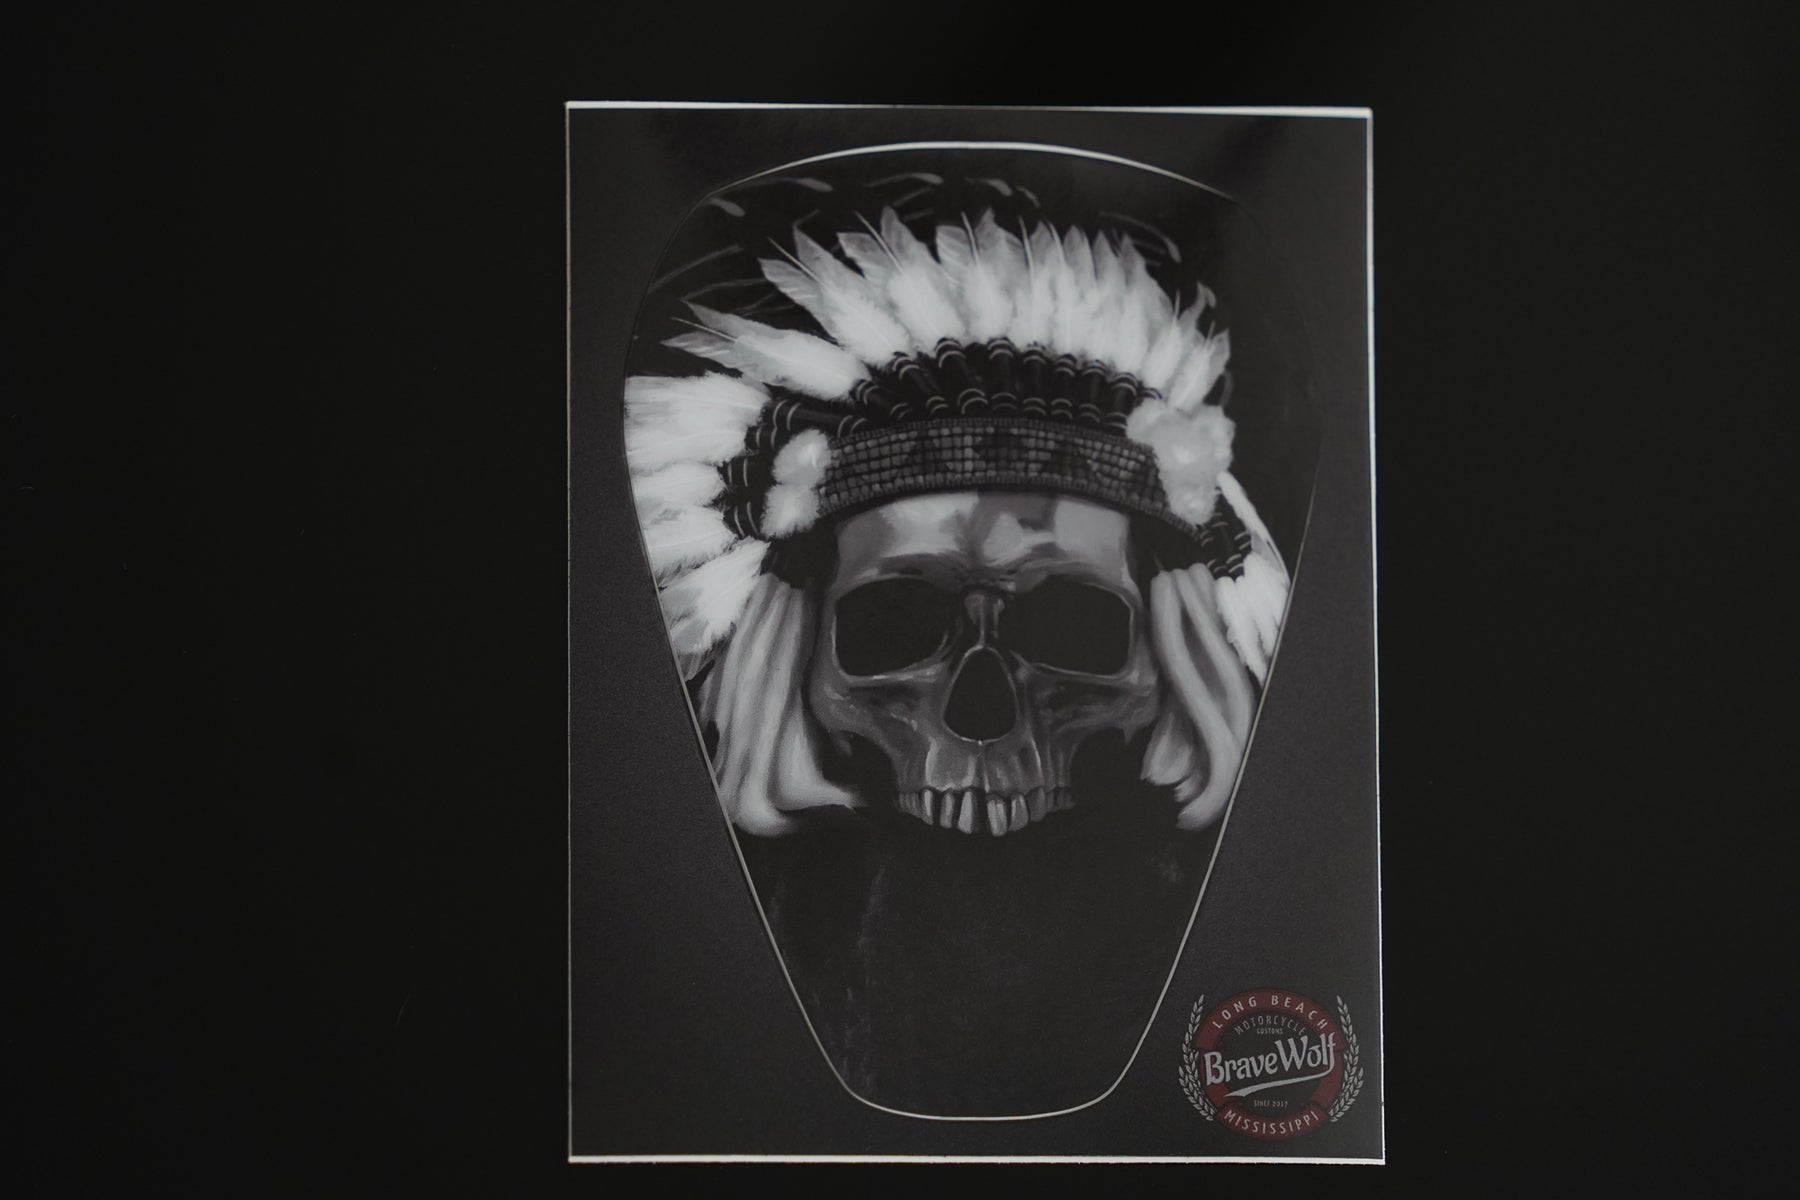
The v-cover decals are heavy-duty 12 mil laminated gloss vinyl that flow over the curves of the badge for a bespoke custom look.
These self-adhesive decals are applied by hand to the 1901 badge. If you've already removed the badge, you can use poster putty to fill in the embossed letters before applying our decal over it.

Installation: Be sure your v-cover badge is clean before installing the decal. Peel the decal off of the backing sheet, careful not to touch the adhesive side of the decal too much. Carefully align it to a centered position (the decal is slightly smaller than the badge). Press the decal firmly down in the center to stick it in place, then use your thumbs to push out from the center to the edges. Repeat this process until you've stretched/pressed it firmly down around the curves. And that's it!
How-to Video: