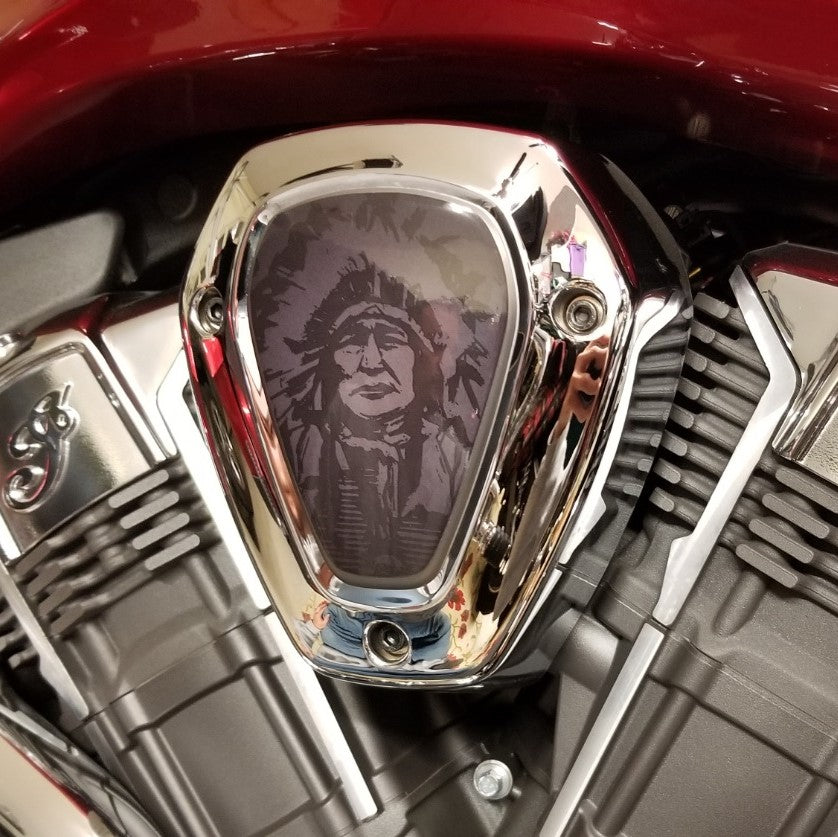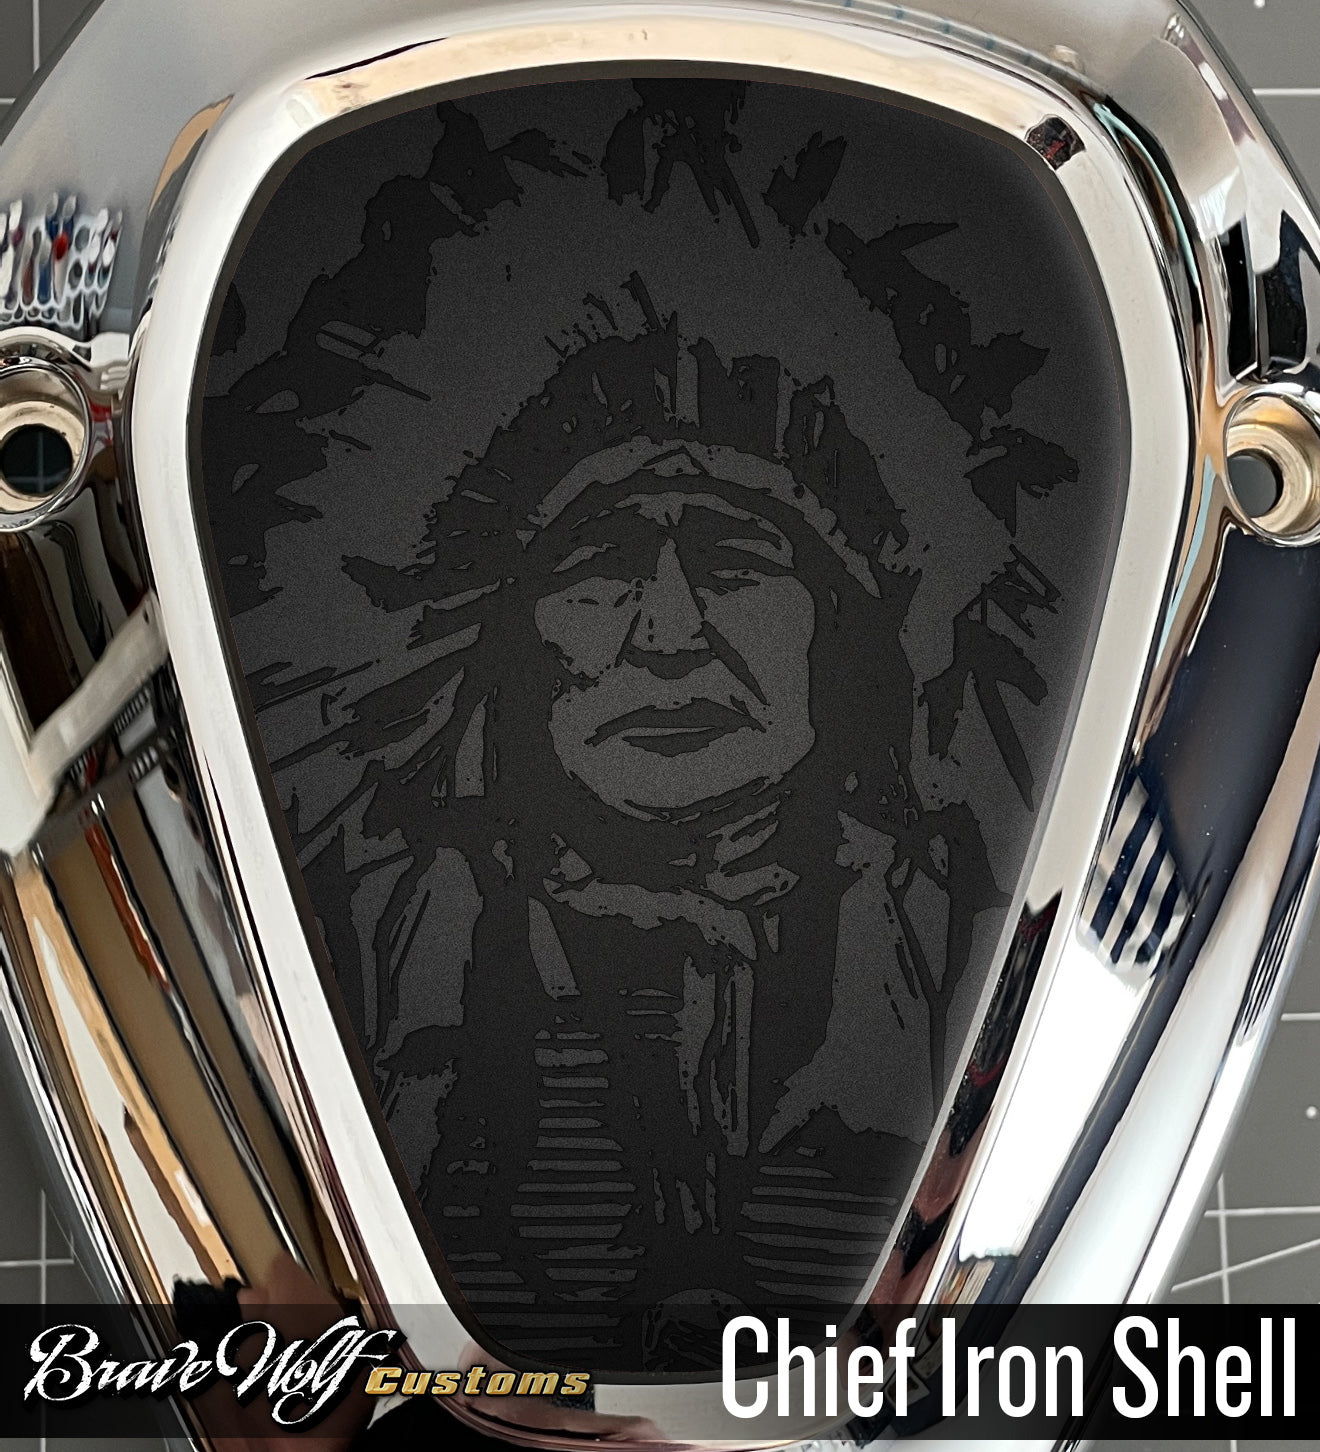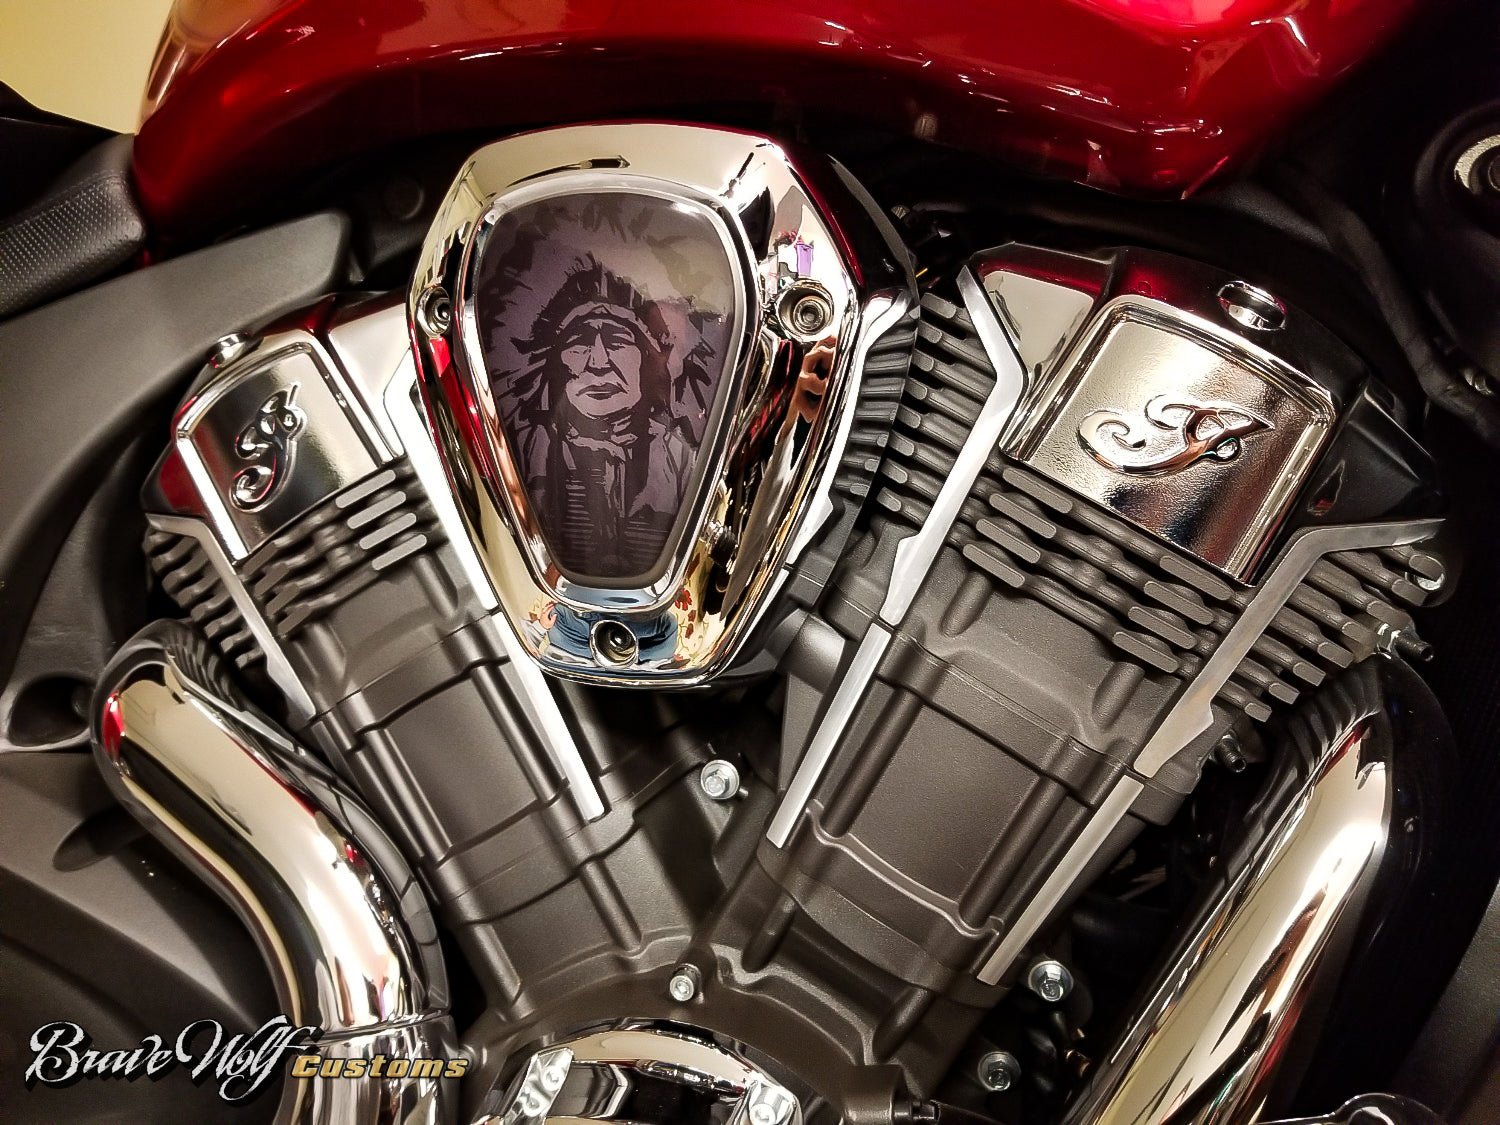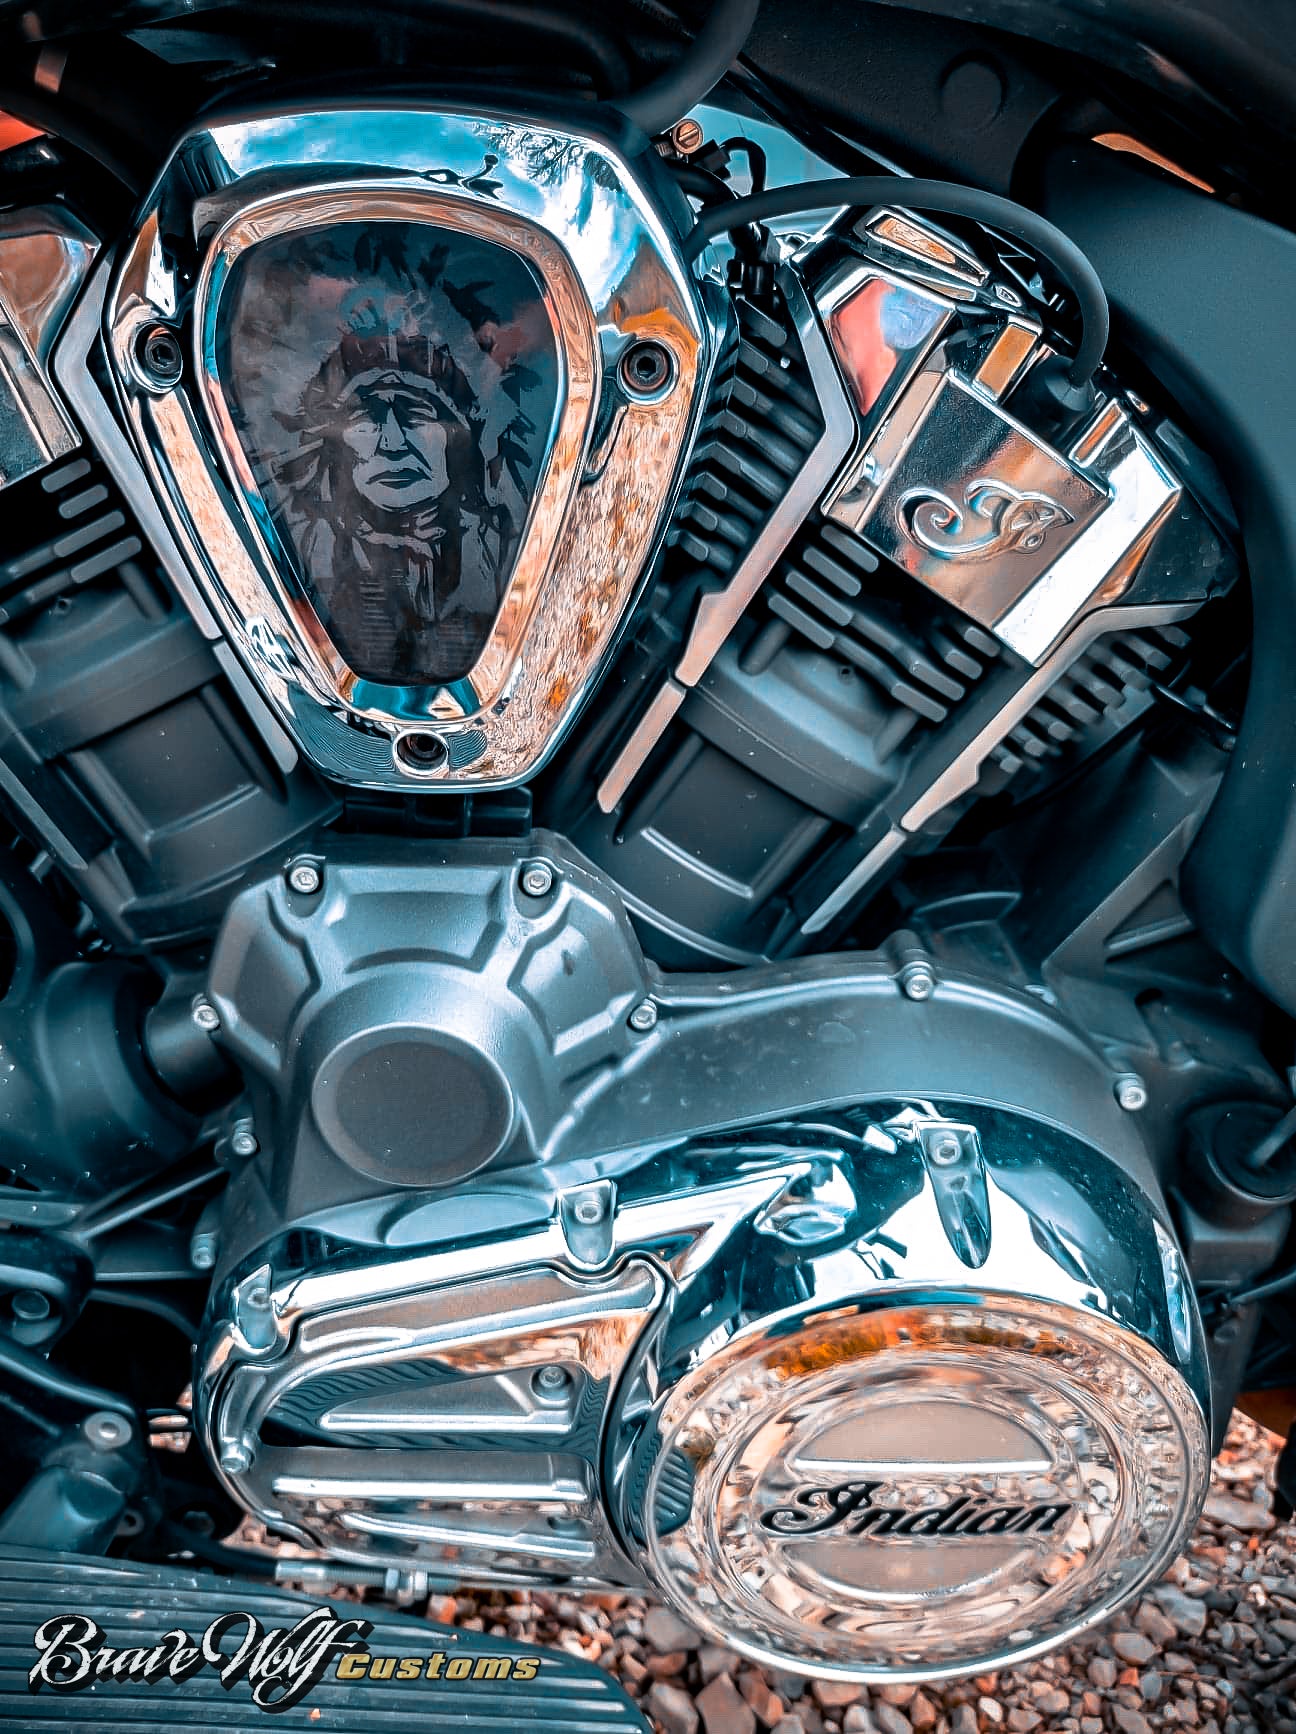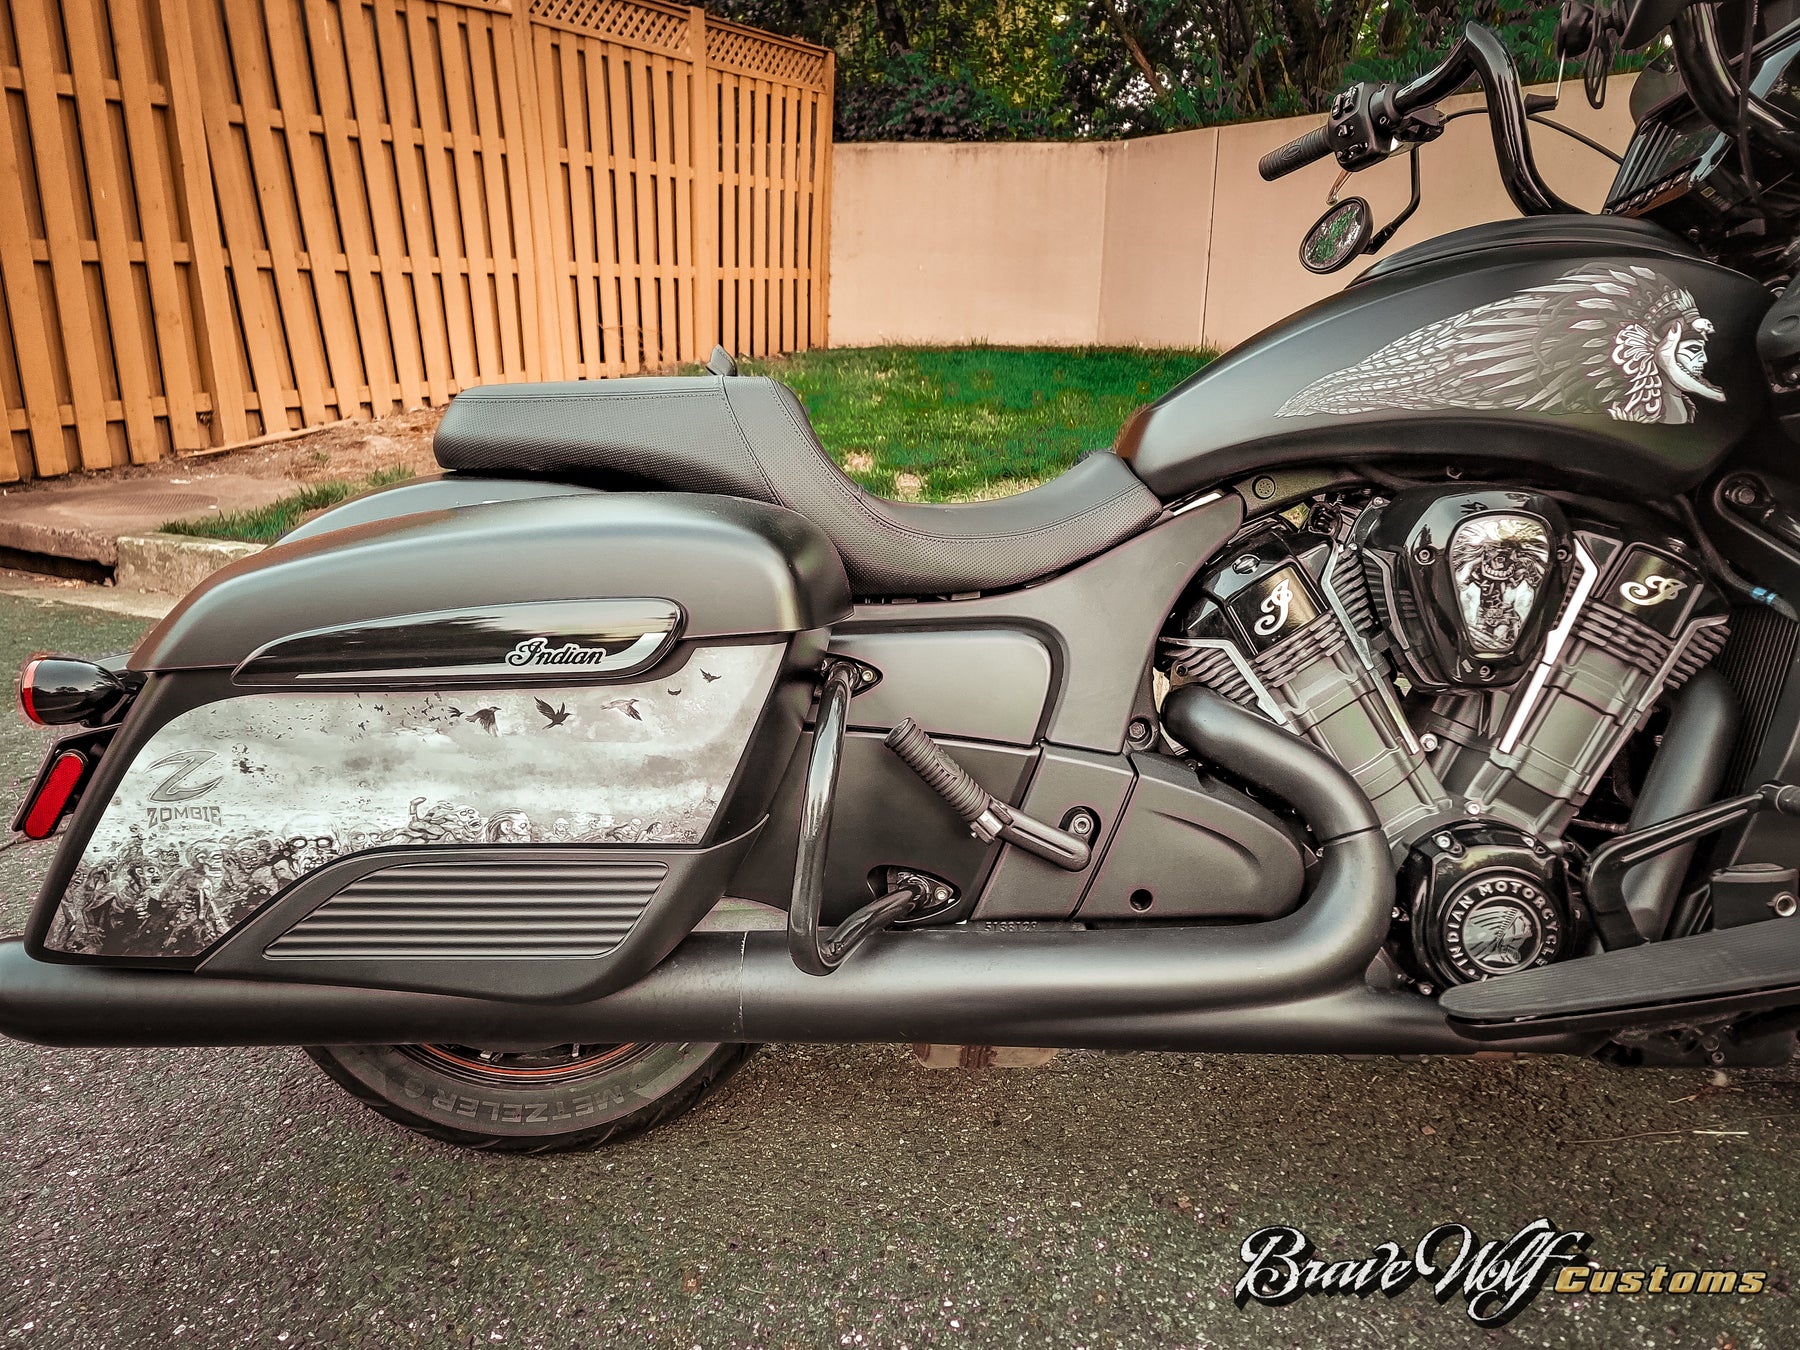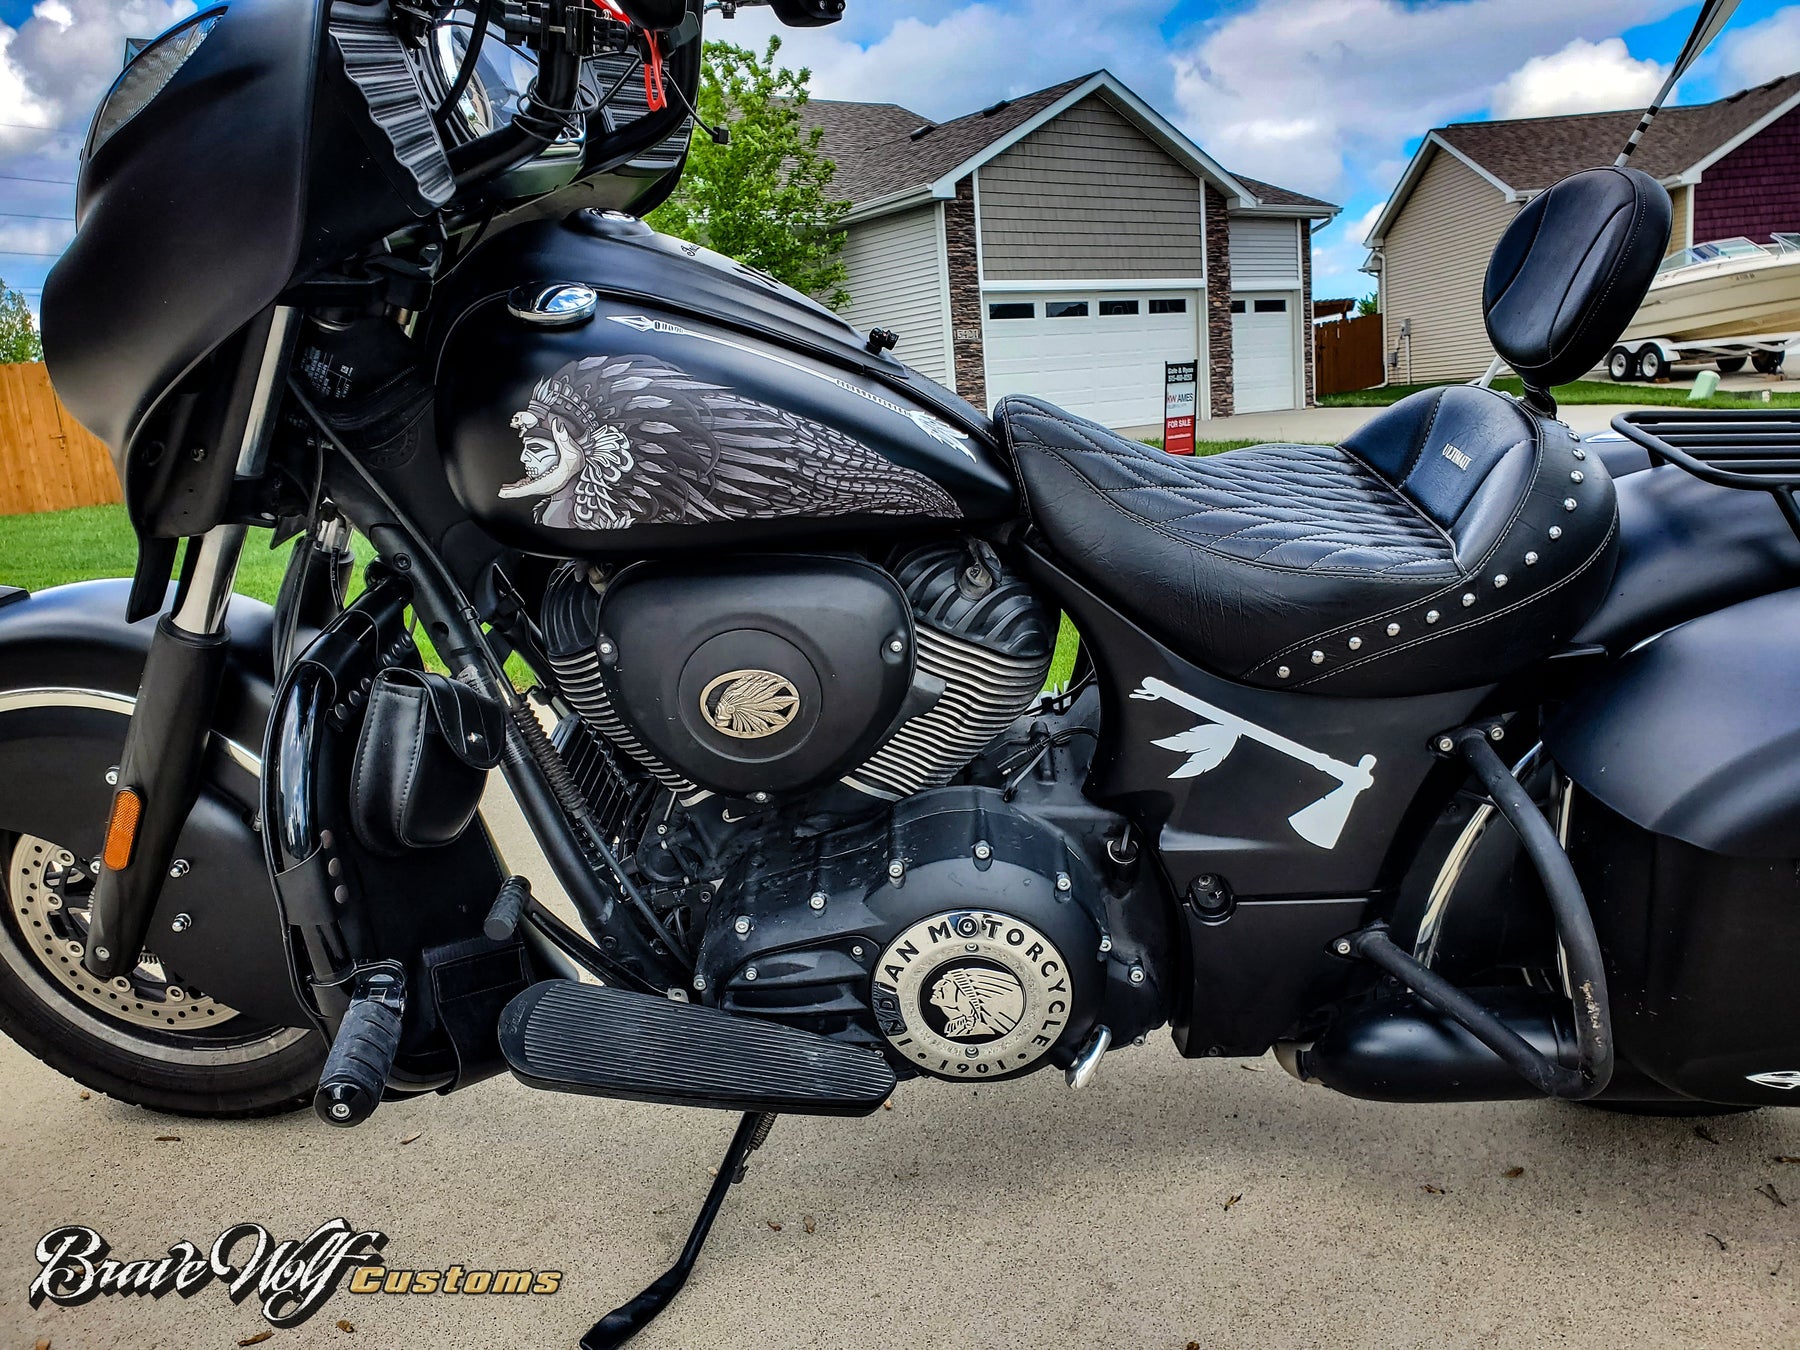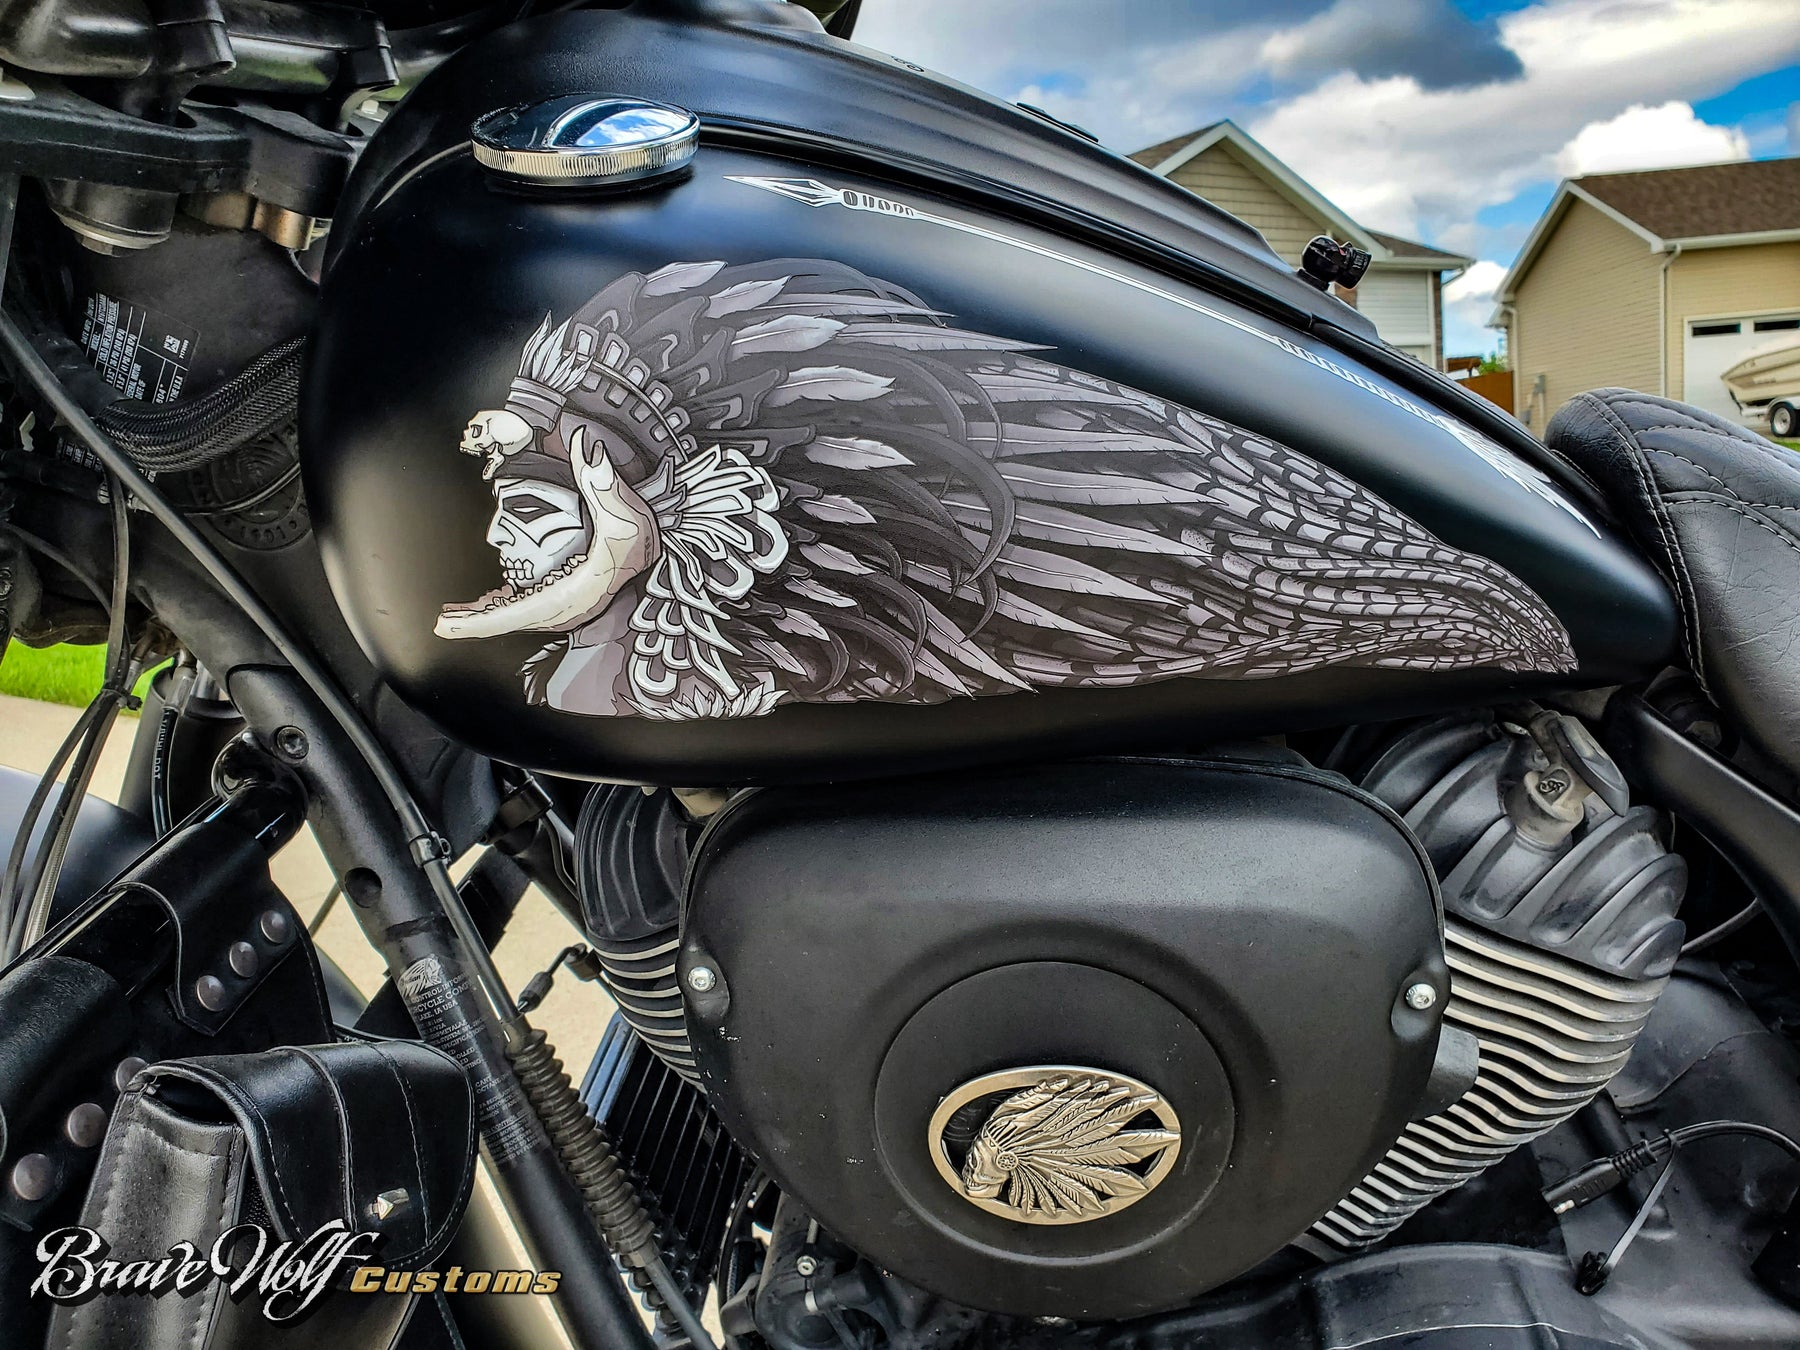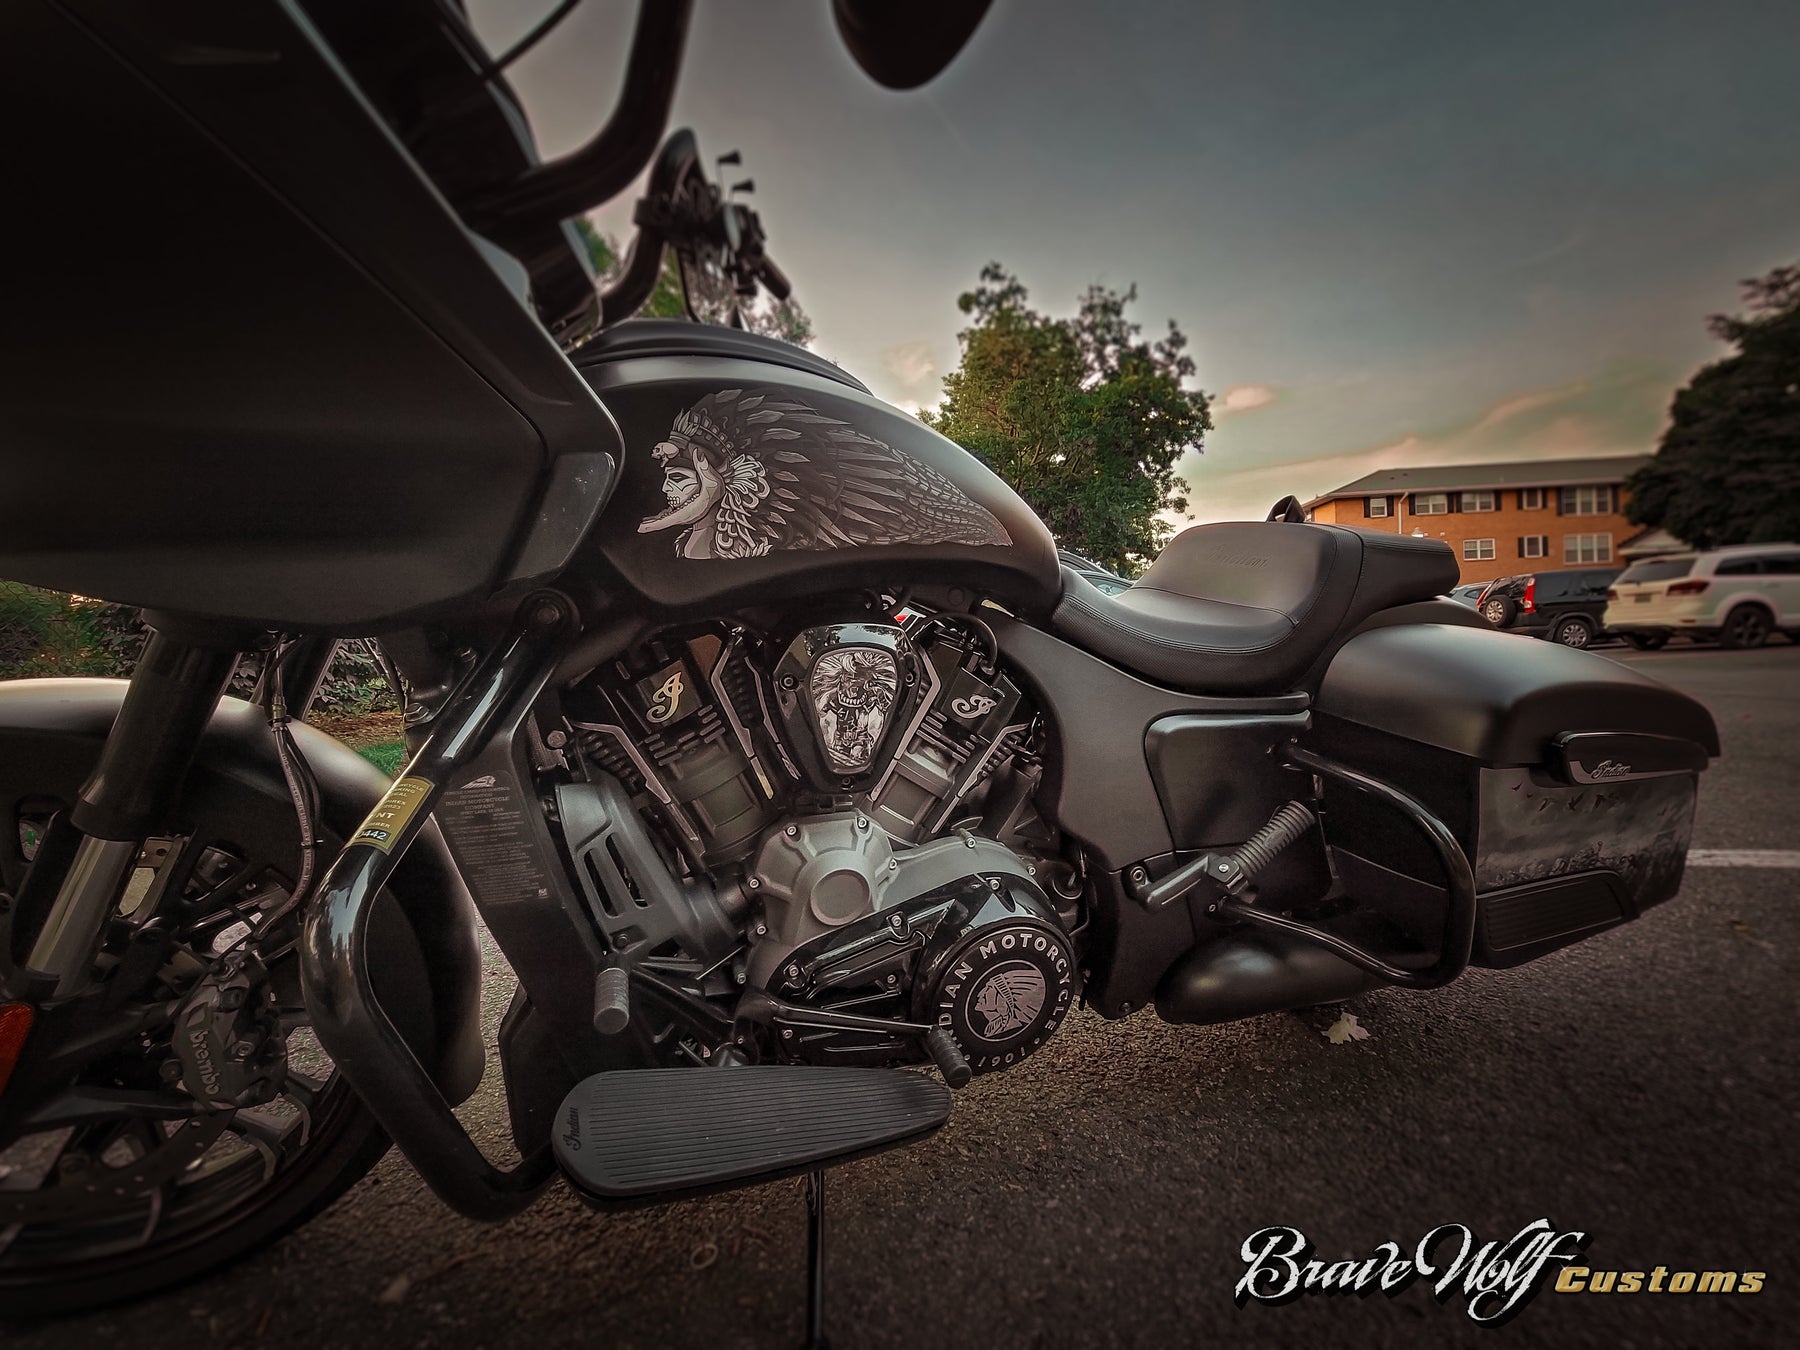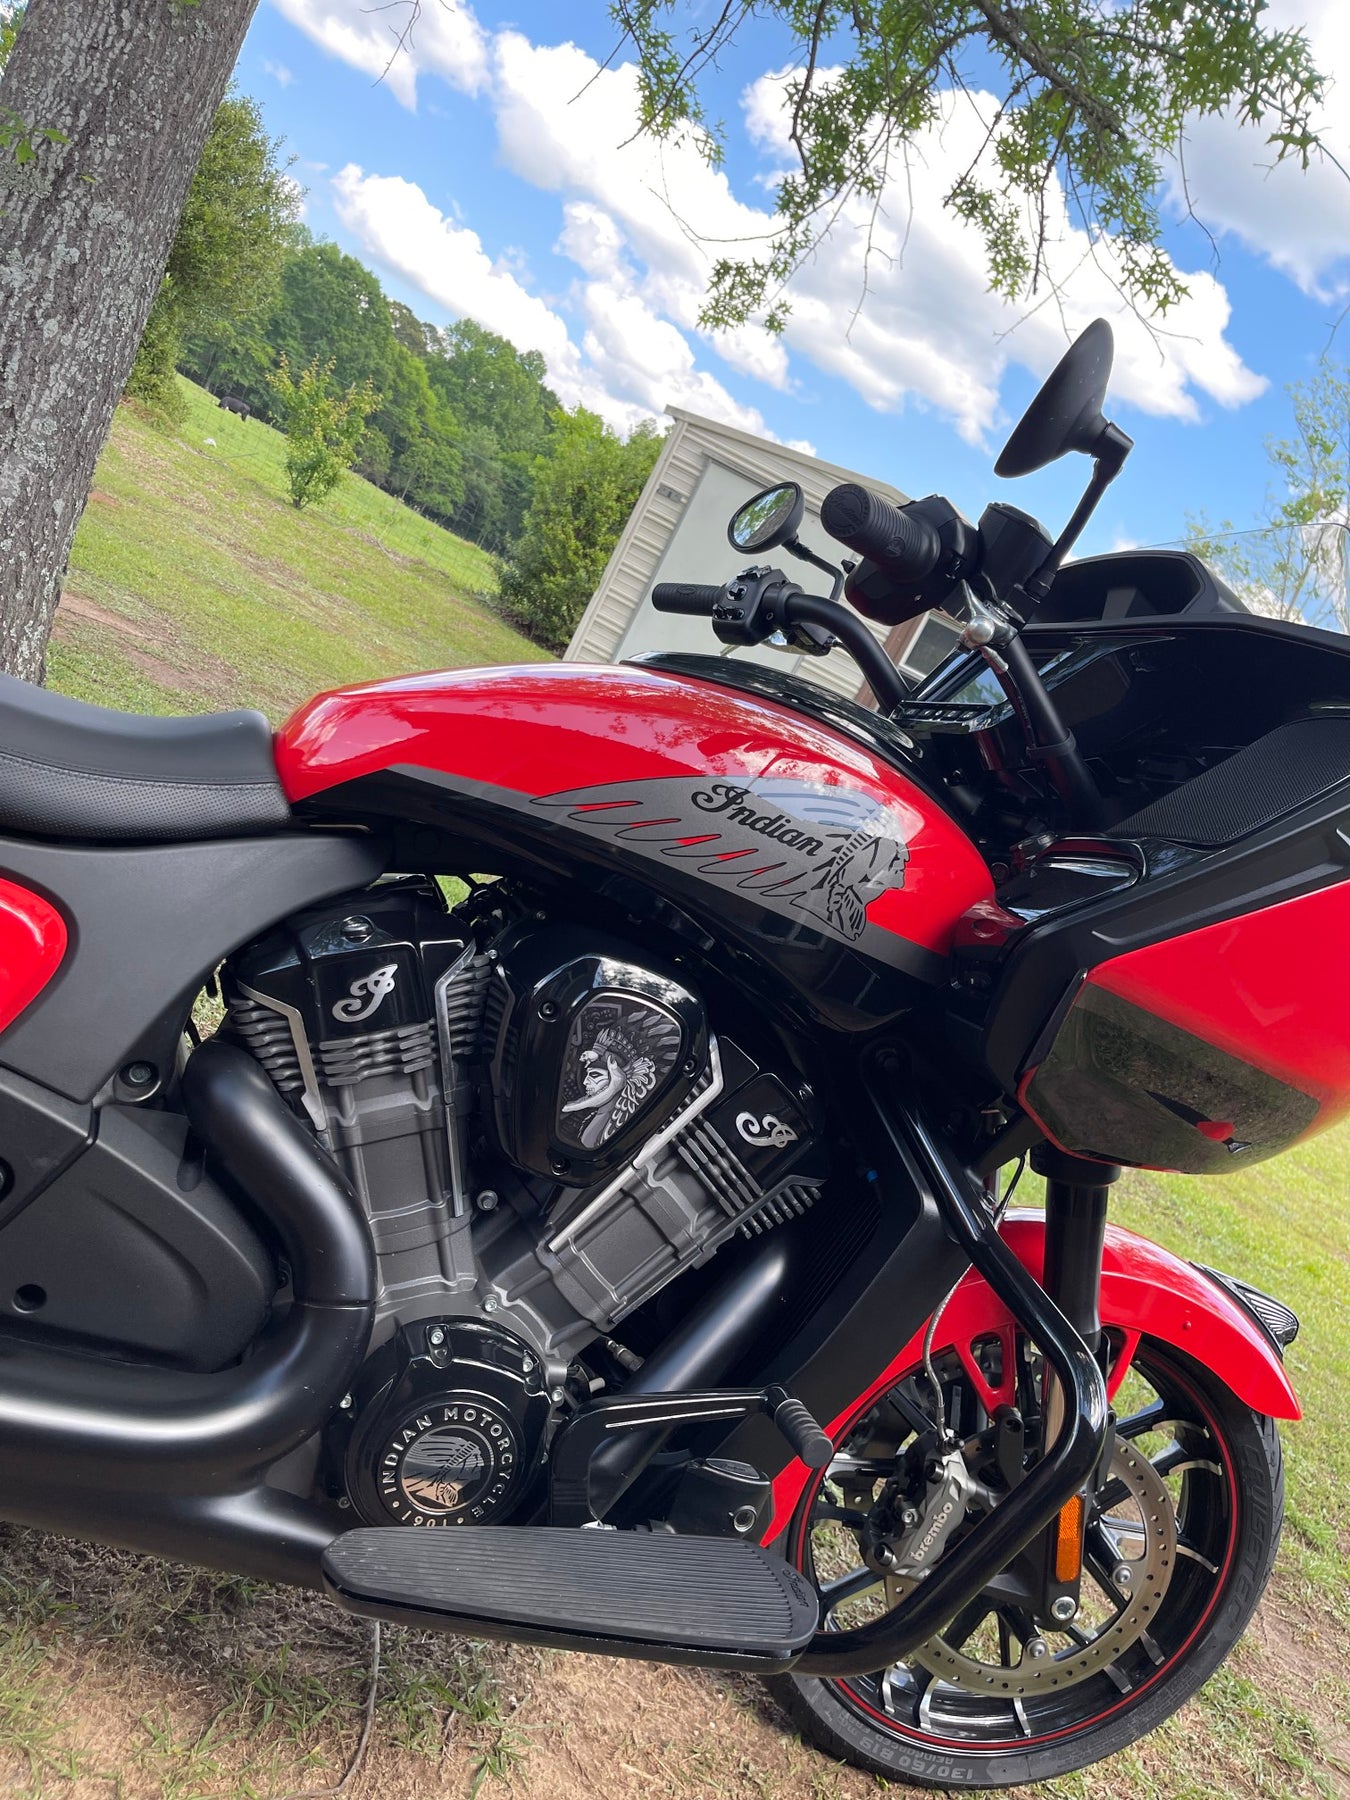
At Brave Wolf Customs, you'll find weatherproof motorcycle decals and a comprehensive selection of aftermarket parts and accessories for your Indian Challenger or Pursuit. Our assortment is designed to personalize your bike, making it distinctly yours. We've joined forces with industry partners and friends to ensure you find everything you need under one roof. Aftermarket selection available on our site now also includes handpicked products from their offerings.
Stock Notice - Usually in stock (may take approximately 2-3 weeks before shipping if not in stock at time of order)
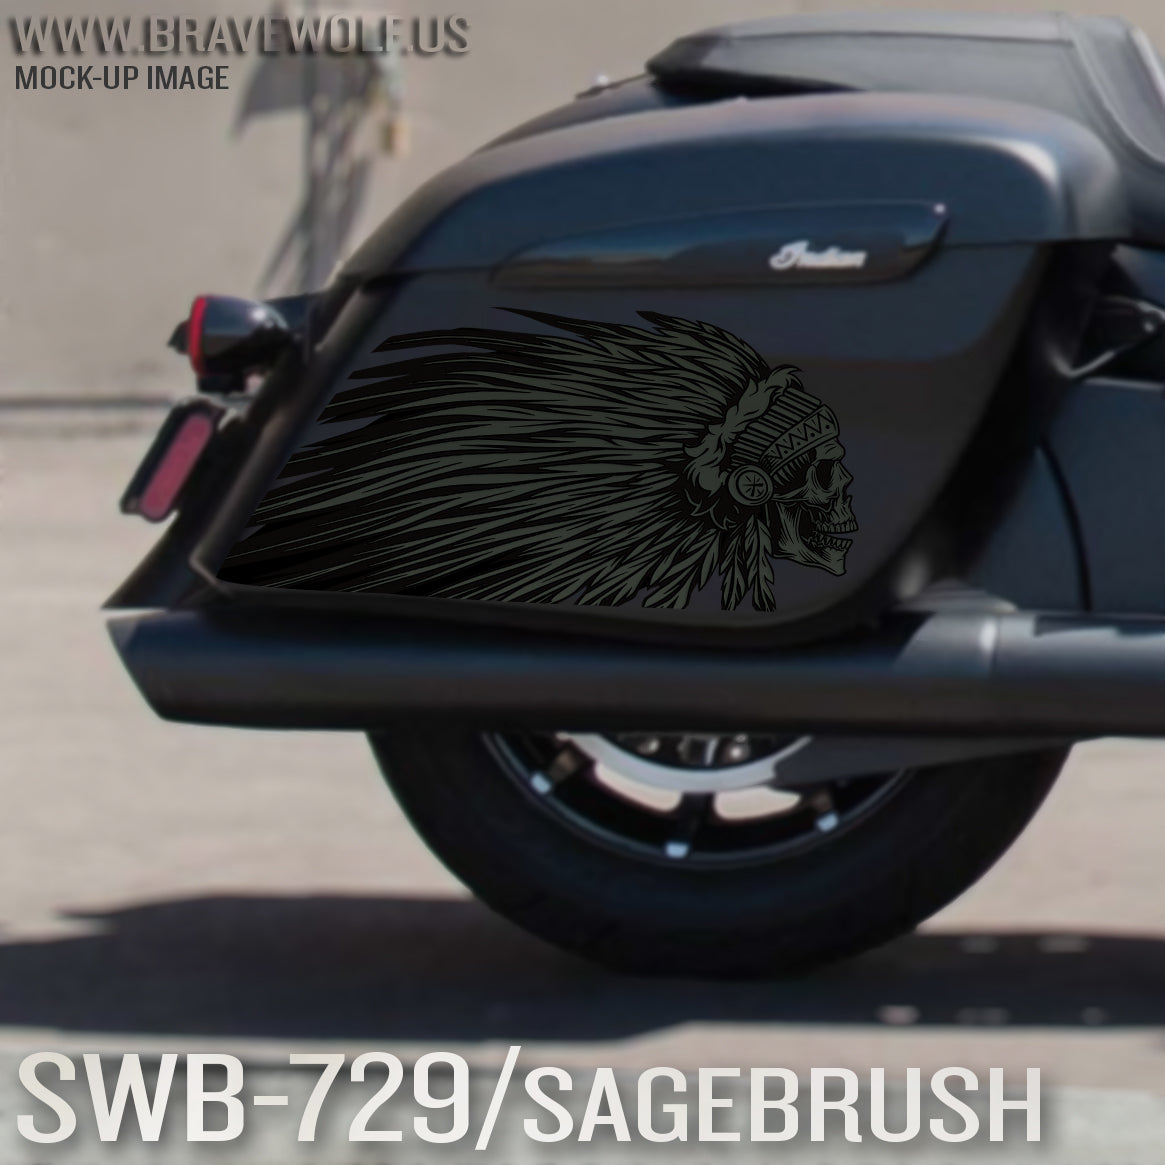
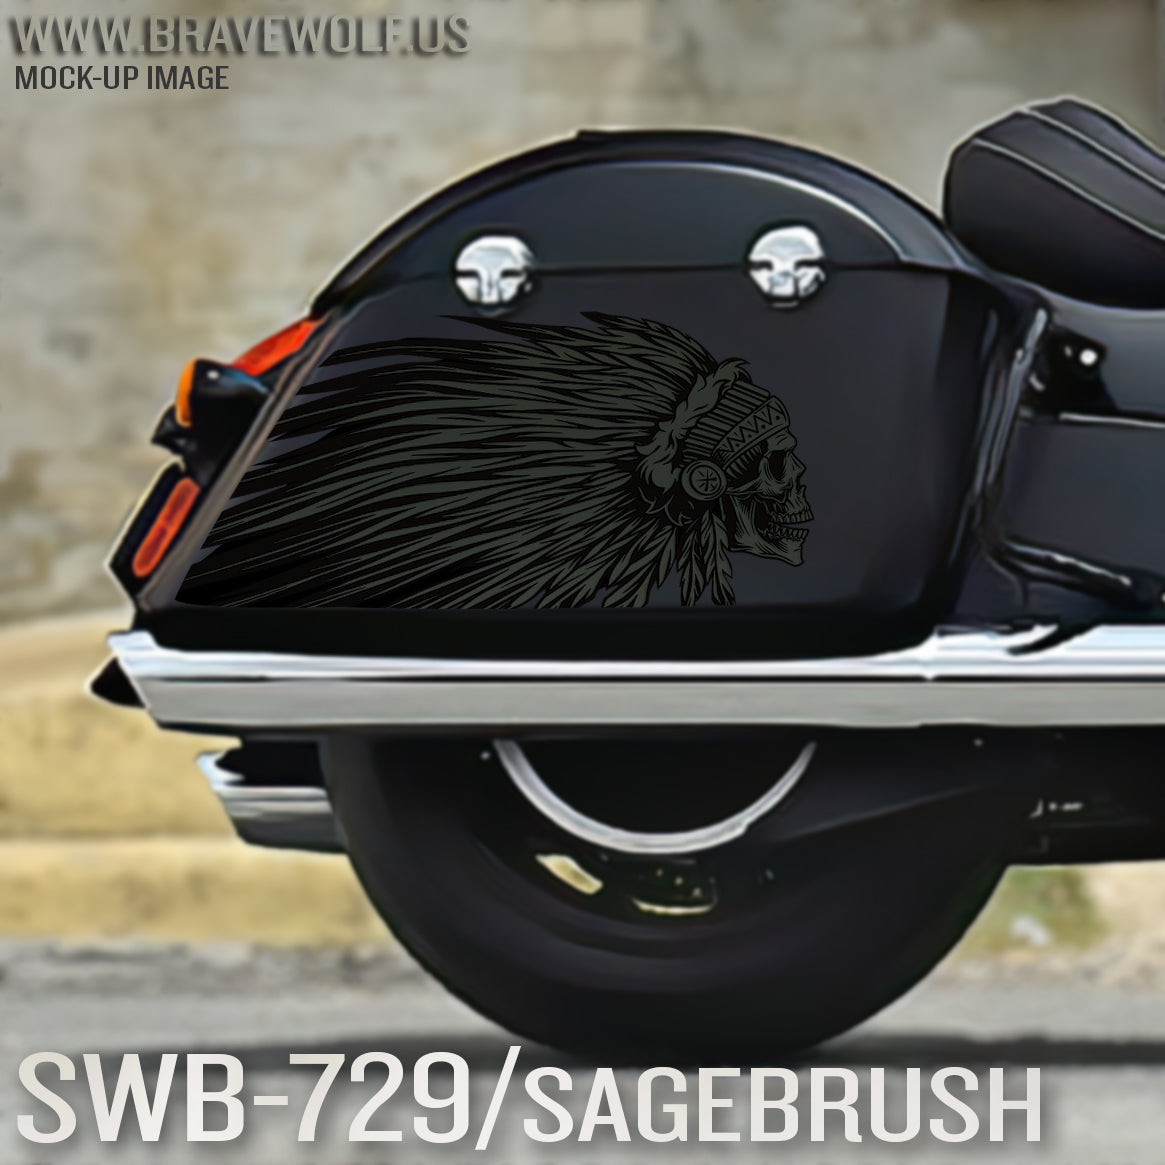
Our saddlebag decals are made from premium weatherproof hi-tack vinyl with a long lifespan that will keep them looking new for years. They are available in two finishes, heavy-duty 12 mil laminated Gloss (looks like it's painted on), or a heavy-duty sandy matte textured premium finish.
Fitment Guide: Fits the new style (squared) Indian OEM saddlebags. Also fits the Challenger & Pursuit when the plastic bag guard is removed.
Installation:
Installing our decals is easy to do yourself at home. We recommend removing all of the excess decal material (the background image) before installing the decals. This will allow you to dispose of all the small cut-out pieces so that the pieces do not get trapped underneath your decal when installing it on the bike. Once you have all of the small pieces and background removed, you can use the "wet method" to install the decals to your saddlebags. The wet method involves using a spray bottle of water with a couple drops of dish soap in the mixture and spraying the surface of your saddlebags to wet the entire surface. Then carefully remove the backing from your decal and use the spray bottle to wet the adhesive side of the decal. Now you can gently place the decal on your saddlebag. Because the surfaces are wet, you can pull the decal up to reposition it until you get it where you want it. Once it's in place, use a squeegee or other object such as a credit card wrapped in a microfiber towel to squeeze the water out from behind the decal. You can also use your hands to do this. You should take care not to use a hard/abrasive object that can scratch the decals or your bike's paint. The high-tack adhesive will begin to set/adhere to the bike as soon as the liquid is push out from behind the decal. Use caution to ensure the towel or object you are using does not catch any edges of the decal and pull it off your bike. If you take your time and be gentle during installation, it should be an easy process. A hair dryer can be used to speed up the drying process if needed.
Feel free to visit our How-To page on the website to watch a "wet method" installation video.
Stock Notice: (may take approximately 2-3 weeks before shipping if not in stock at the time of your order)
Our saddlebag decals are made from premium weatherproof hi-tack vinyl with a long lifespan that will keep them looking new for years. They are available in two finishes, heavy-duty 12 mil laminated Gloss (looks like it's painted on), or a heavy-duty sandy matte textured premium finish.
Fitment Guide: Fits the new style (squared) Indian OEM saddlebags. Also fits the Challenger & Pursuit when the plastic bag guard is removed.
Installation:
Installing our decals is easy to do yourself at home. We recommend removing all of the excess decal material (the background image) before installing the decals. This will allow you to dispose of all the small cut-out pieces so that the pieces do not get trapped underneath your decal when installing it on the bike. Once you have all of the small pieces and background removed, you can use the "wet method" to install the decals to your saddlebags. The wet method involves using a spray bottle of water with a couple drops of dish soap in the mixture and spraying the surface of your saddlebags to wet the entire surface. Then carefully remove the backing from your decal and use the spray bottle to wet the adhesive side of the decal. Now you can gently place the decal on your saddlebag. Because the surfaces are wet, you can pull the decal up to reposition it until you get it where you want it. Once it's in place, use a squeegee or other object such as a credit card wrapped in a microfiber towel to squeeze the water out from behind the decal. You can also use your hands to do this. You should take care not to use a hard/abrasive object that can scratch the decals or your bike's paint. The high-tack adhesive will begin to set/adhere to the bike as soon as the liquid is push out from behind the decal. Use caution to ensure the towel or object you are using does not catch any edges of the decal and pull it off your bike. If you take your time and be gentle during installation, it should be an easy process. A hair dryer can be used to speed up the drying process if needed.
Feel free to visit our How-To page on the website to watch a "wet method" installation video.
Stock Notice - Usually in stock (may take approximately 2-3 weeks before shipping if not in stock at time of order)
Our saddlebag decals are made from premium weatherproof hi-tack vinyl with a long lifespan that will keep them looking new for years. They are available in two finishes, heavy-duty 12 mil laminated Gloss (looks like it's painted on), or a heavy-duty sandy matte textured premium finish.
Fitment Guide: Fits the new style (squared) Indian OEM saddlebags. Also fits the Challenger & Pursuit when the plastic bag guard is removed.
Installation:
Installing our decals is easy to do yourself at home. We recommend removing all of the excess decal material (the background image) before installing the decals. This will allow you to dispose of all the small cut-out pieces so that the pieces do not get trapped underneath your decal when installing it on the bike. Once you have all of the small pieces and background removed, you can use the "wet method" to install the decals to your saddlebags. The wet method involves using a spray bottle of water with a couple drops of dish soap in the mixture and spraying the surface of your saddlebags to wet the entire surface. Then carefully remove the backing from your decal and use the spray bottle to wet the adhesive side of the decal. Now you can gently place the decal on your saddlebag. Because the surfaces are wet, you can pull the decal up to reposition it until you get it where you want it. Once it's in place, use a squeegee or other object such as a credit card wrapped in a microfiber towel to squeeze the water out from behind the decal. You can also use your hands to do this. You should take care not to use a hard/abrasive object that can scratch the decals or your bike's paint. The high-tack adhesive will begin to set/adhere to the bike as soon as the liquid is push out from behind the decal. Use caution to ensure the towel or object you are using does not catch any edges of the decal and pull it off your bike. If you take your time and be gentle during installation, it should be an easy process. A hair dryer can be used to speed up the drying process if needed.
Feel free to visit our How-To page on the website to watch a "wet method" installation video.
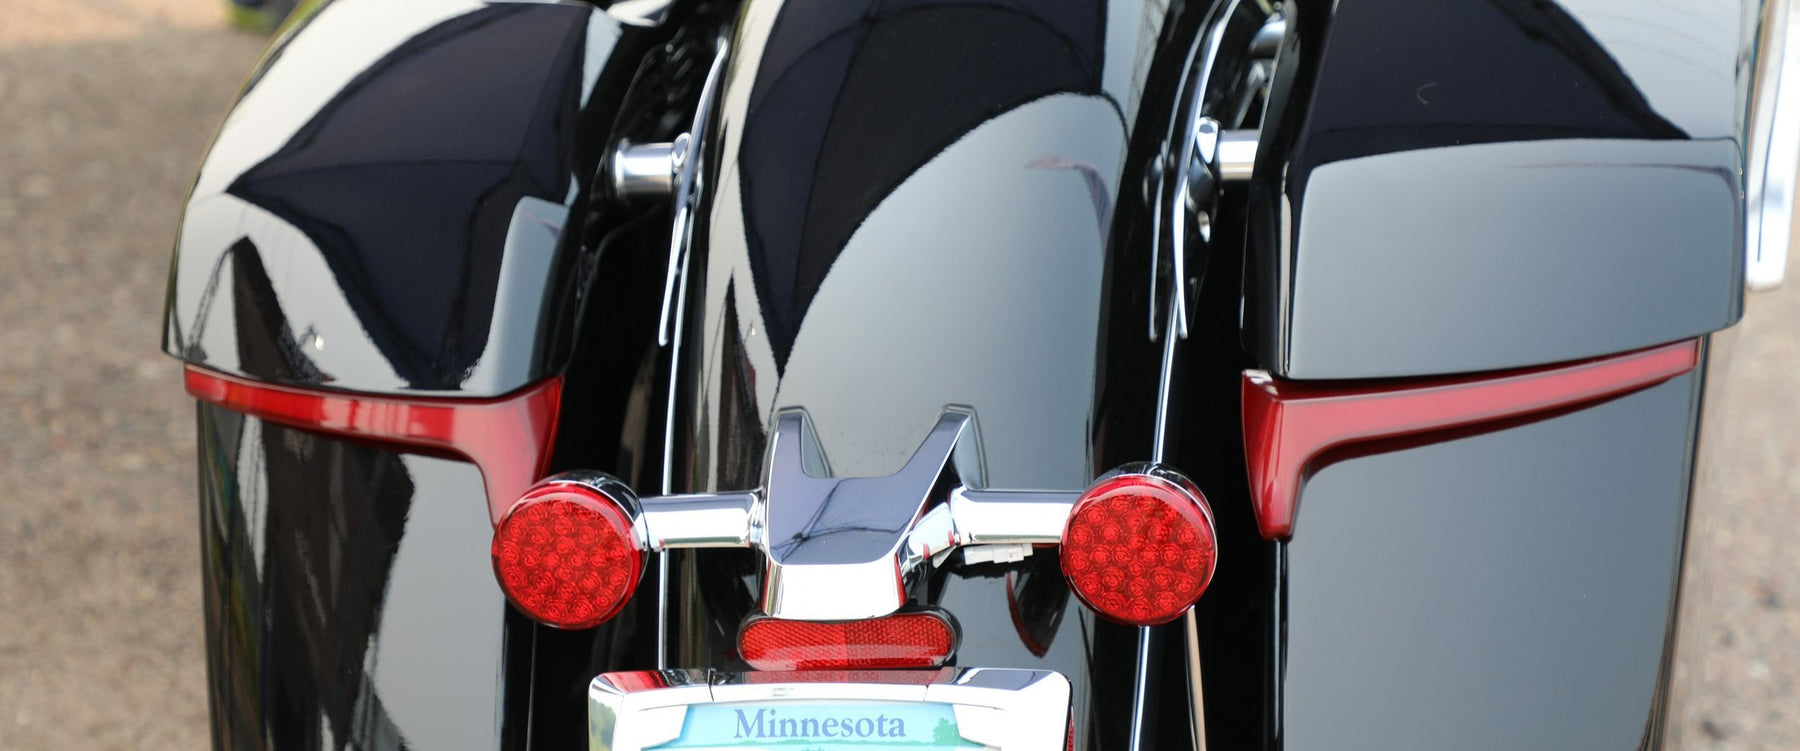
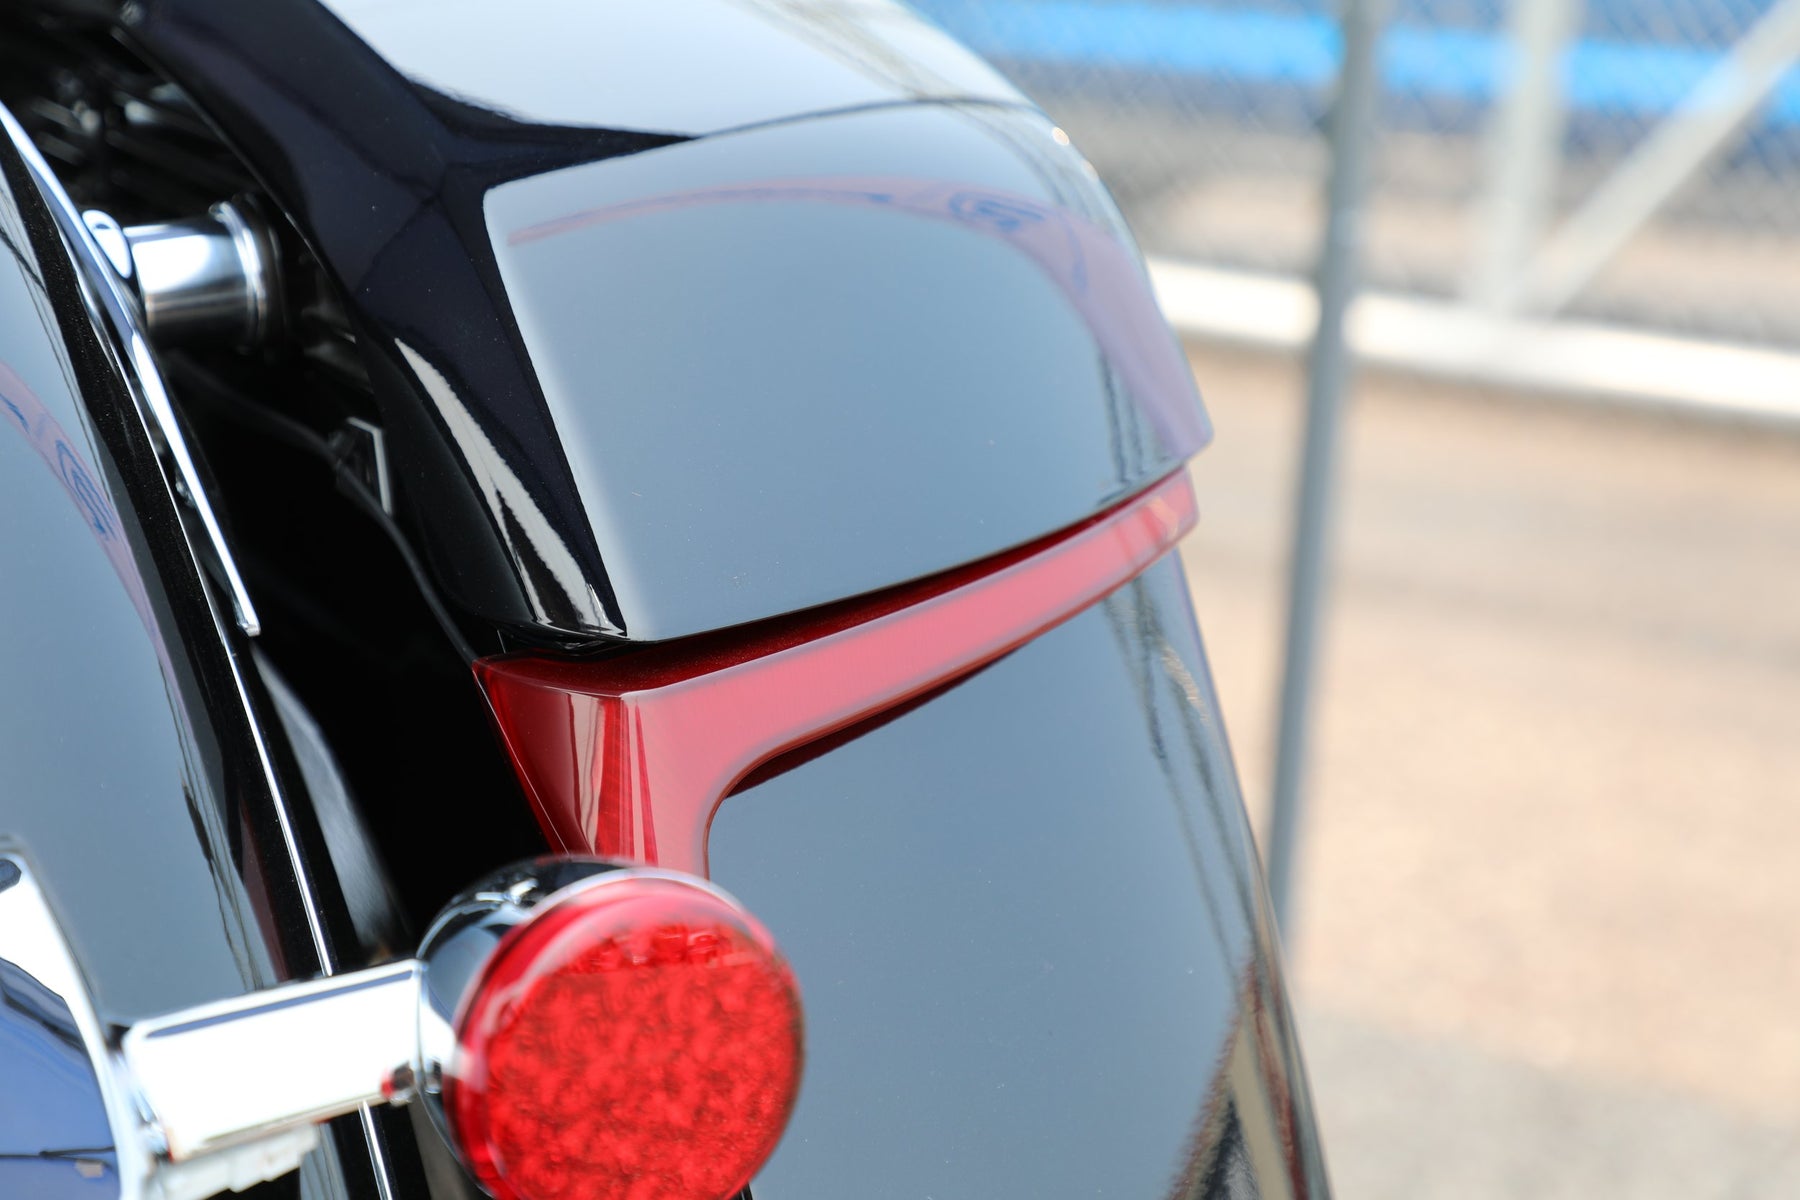
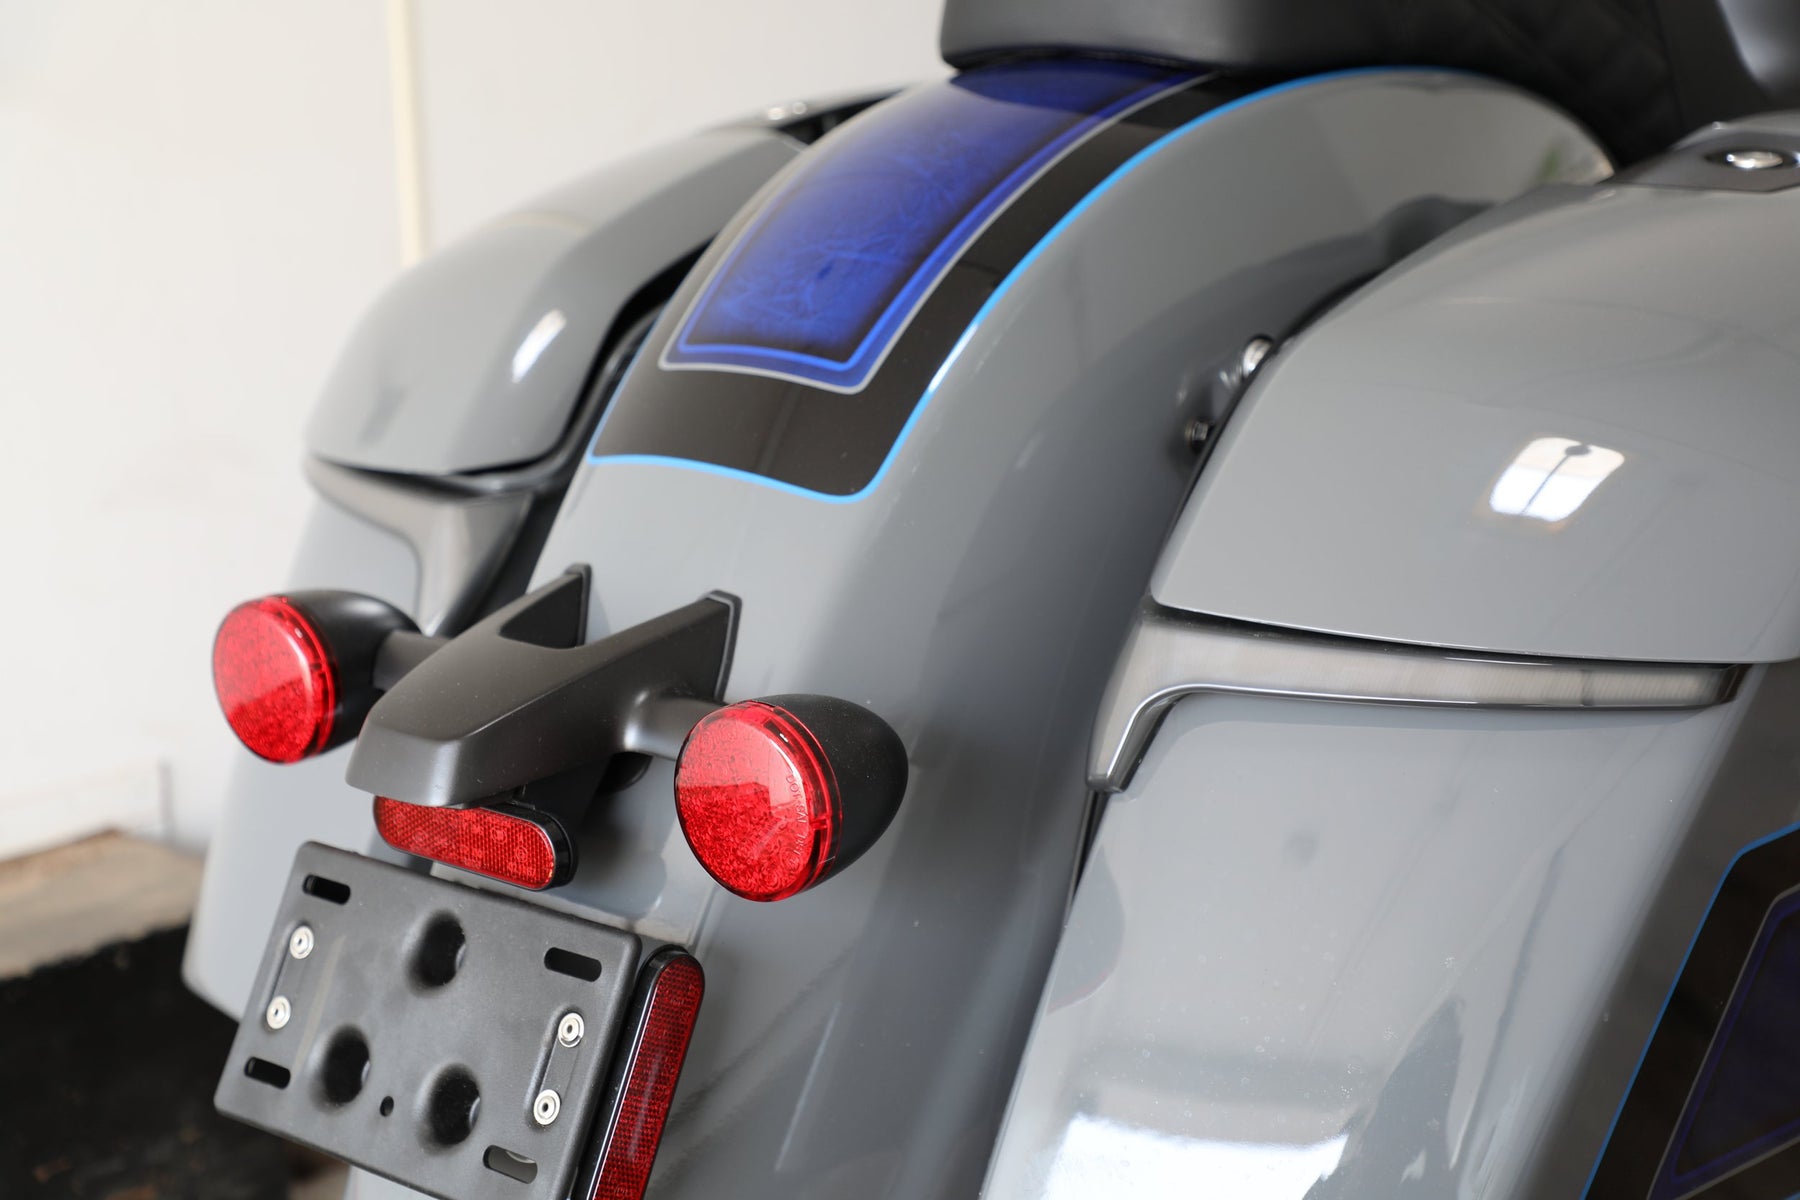
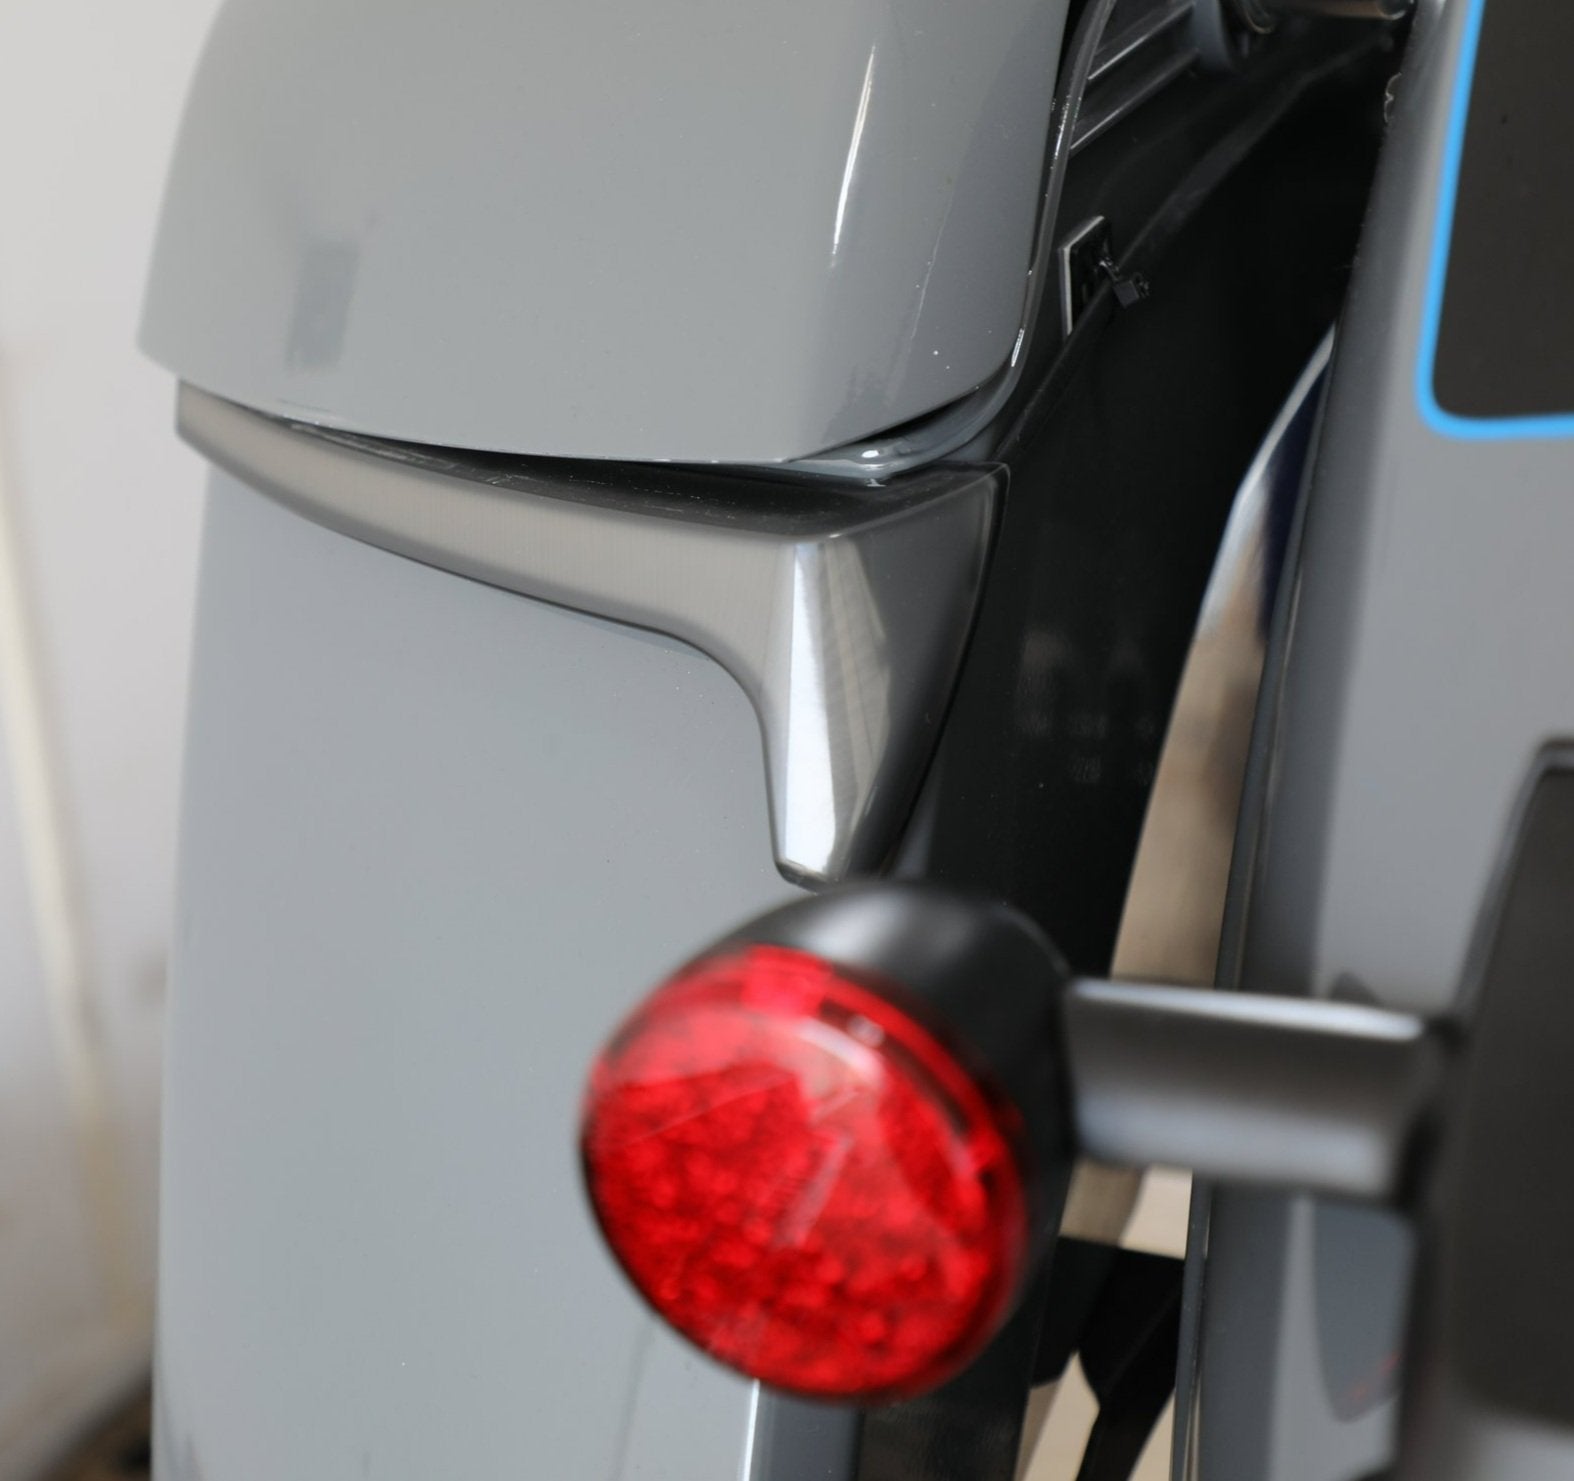
RydeCulture - Byant M1 Bag Lights - Amber with Red lens
RydeCulture’s Bryant M1 lights are designed to distinguish your Indian Motorcycle away from the pack in a subtle and classy manner. There’s no reason to go down the road looking like a Christmas tree. These lights accentuate the Indian Motorcycles body lines and follow the curves of the bag. The amber sequential turn signals also give your Indian a unique personal stamp.
INTERNATIONAL ORDERS - please order directly from www.RydeCulture.com
All style options for our Powerplus Engine Accent kits are usually in stock. However, they are produced in manufacturing runs so if they're out of stock at the time of your order, there may be a waiting period before we ship them out. If your order is time sensitive, feel free to contact us to check stock before ordering.
Engine accent kits for Indian Challenger and Pursuit, Powerplus Chieftain, and Powerplus Roadmaster.
Our UV DTF 3D PermaSticker Engine Accent kits combine the latest UV DTF technology with exceptional adhesive properties, ensuring that your accents will stick around for the long haul. With unparalleled durability, remarkable adhesive properties, and heat resistance capable of direct contact with your engine, they're the perfect material to add a custom touch to your bike.
Kit includes a total of 41 pieces. All the accents you need to do both sides of your engine AND plenty of extras in case you make a mistake during installation. + 2 Brave Wolf logos. The kit comes on a 17.5" backing sheet with with a transfer layer on top.
We're offering these in a stunning 20 different color combination styles, but if we don't have the combo you want, consider purchasing multiple sets to mix-and-match and you'll save 20% on each. We've priced them affordably so this should be an option.
Material Finish: an enamel-like finish. I wouldn't classify it as gloss or matte. Similar to egg-shell finish.
Installation:
These accents will need to be installed on a warm, clean, and dry engine. Do not attempt to install them cold or with condensation on the surface. You can run your bike to get the engine warm, but not hot, or use a hair dryer/heat gun. Installing these in winter months will be more difficult. Use scissors to separate each individual piece from the sheet. A pair of tweezers can be helpful to hold the accents in proper placement during installation. Once in place, use a firm object to press/rub over the full surface before peeling off the top transfer layer. Go slow while peeling the transfer layer. If the accent peels up without separating from the transfer, place it back down and press it more firmly into place. Because the surface is curved, the “I” will be the most challenging piece, so cut out around it as closely as possible to make it easier to position.
Powerplus V-Cover Decal - Panama Flag
Regular price
$20.00
Sale price
$10.00
Save $10.00
We usually have this product in stock and can ship right away but there can be a wait if it sells out before the restock arrives.
Buy 2 and get an automatic 10% off both v-covers
Fits the Indian Powerplus engine found on the Challenger, Pursuit, Powerplus Chieftain, and Powerplus Roadmaster models.
This premium finish badge cover takes minutes to install and provides a completely custom look. They fit both the left and right v-cover so if you haven't removed the right side cover for another intake, don't forget to grab two!
The v-cover decals are heavy-duty 12 mil laminated gloss vinyl that flow over the curves of the badge for a bespoke custom look.
These self-adhesive decals are applied by hand to the 1901 badge. If you've already removed the badge, or if your model has embossed letters on the v-cover, you can fill those in with silicon or putty or cover it with some vinyl or tape before applying our decal over it.
Installation: Be sure your v-cover badge is clean before installing the decal. Peel the decal off of the backing sheet, careful not to touch the adhesive side of the decal too much. Carefully align it to a centered position (the decal is slightly smaller than the badge). Press the decal firmly down in the center to stick it in place, then use your thumbs to push out from the center to the edges. Repeat this process until you've stretched/pressed it firmly down around the curves. And that's it!
Stock Notice: (may take approximately 2-3 weeks before shipping if not in stock at the time of your order)
Our saddlebag decals are made from premium weatherproof hi-tack vinyl with a long lifespan that will keep them looking new for years. They are available in two finishes, heavy-duty 12 mil laminated Gloss (looks like it's painted on), or a heavy-duty sandy matte textured premium finish.
Fitment Guide:
Fits both styles of Indian OEM saddlebags (rounded and squared). Also fits the Challenger & Pursuit when the plastic bag guard is removed.
Installation:
Installing our decals is easy to do yourself at home. We recommend removing all of the excess decal material (the background image) before installing the decals. This will allow you to dispose of all the small cut-out pieces so that the pieces do not get trapped underneath your decal when installing it on the bike. Once you have all of the small pieces and background removed, you can use the "wet method" to install the decals to your saddlebags. The wet method involves using a spray bottle of water with a couple drops of dish soap in the mixture and spraying the surface of your saddlebags to wet the entire surface. Then carefully remove the backing from your decal and use the spray bottle to wet the adhesive side of the decal. Now you can gently place the decal on your saddlebag. Because the surfaces are wet, you can pull the decal up to reposition it until you get it where you want it. Once it's in place, use a squeegee or other object such as a credit card wrapped in a microfiber towel to squeeze the water out from behind the decal. You can also use your hands to do this. You should take care not to use a hard/abrasive object that can scratch the decals or your bike's paint. The high-tack adhesive will begin to set/adhere to the bike as soon as the liquid is push out from behind the decal. Use caution to ensure the towel or object you are using does not catch any edges of the decal and pull it off your bike. If you take your time and be gentle during installation, it should be an easy process. A hair dryer can be used to speed up the drying process if needed.
Feel free to visit our How-To page on the website to watch a "wet method" installation video TAB Performance made while installing our Zombie decals.
If this item isn't in stock when you order it, it could take approximately 4+ weeks for us to make it for you before we can ship. Due to the custom nature of this product, that you can choose different artwork for both sides of your bike, and the fact that we make these by hand in-house, please be patient while waiting for your order. If you'd like to know which designs we have in-stock and ready to ship before you choose, please contact us.
Premium saddlebag tethers from Brave Wolf Customs are an awesome way to add character to your bike. These tethers are available with a wide variety of artwork to choose from and are sold as singles with a Left OR Right option so that you can mix and match to pick the artwork you want.
Waterproof Ottertex fabric
Premium DTF graphics
Easy installation requiring no modification to your bike
Re-uses the Mounting brackets from your OEMtethers (If you are ordering these for aftermarket bags and do not have the mounting brackets from OEM tethers, send us an email and we can print some brackets for you with impact resistant ABS-like resin) The mounting brackets in your OEM tethers are held in place with a small bit of glue that will release when you slip a flat tip screwdriver or similar object between the tether and the bracket.
Choose LEFT or RIGHT then add to cart. Don't forget to choose a design for the other bag as well.
Stock Notice - Usually in stock (may take approximately 2-3 weeks before shipping if not in stock at time of order)
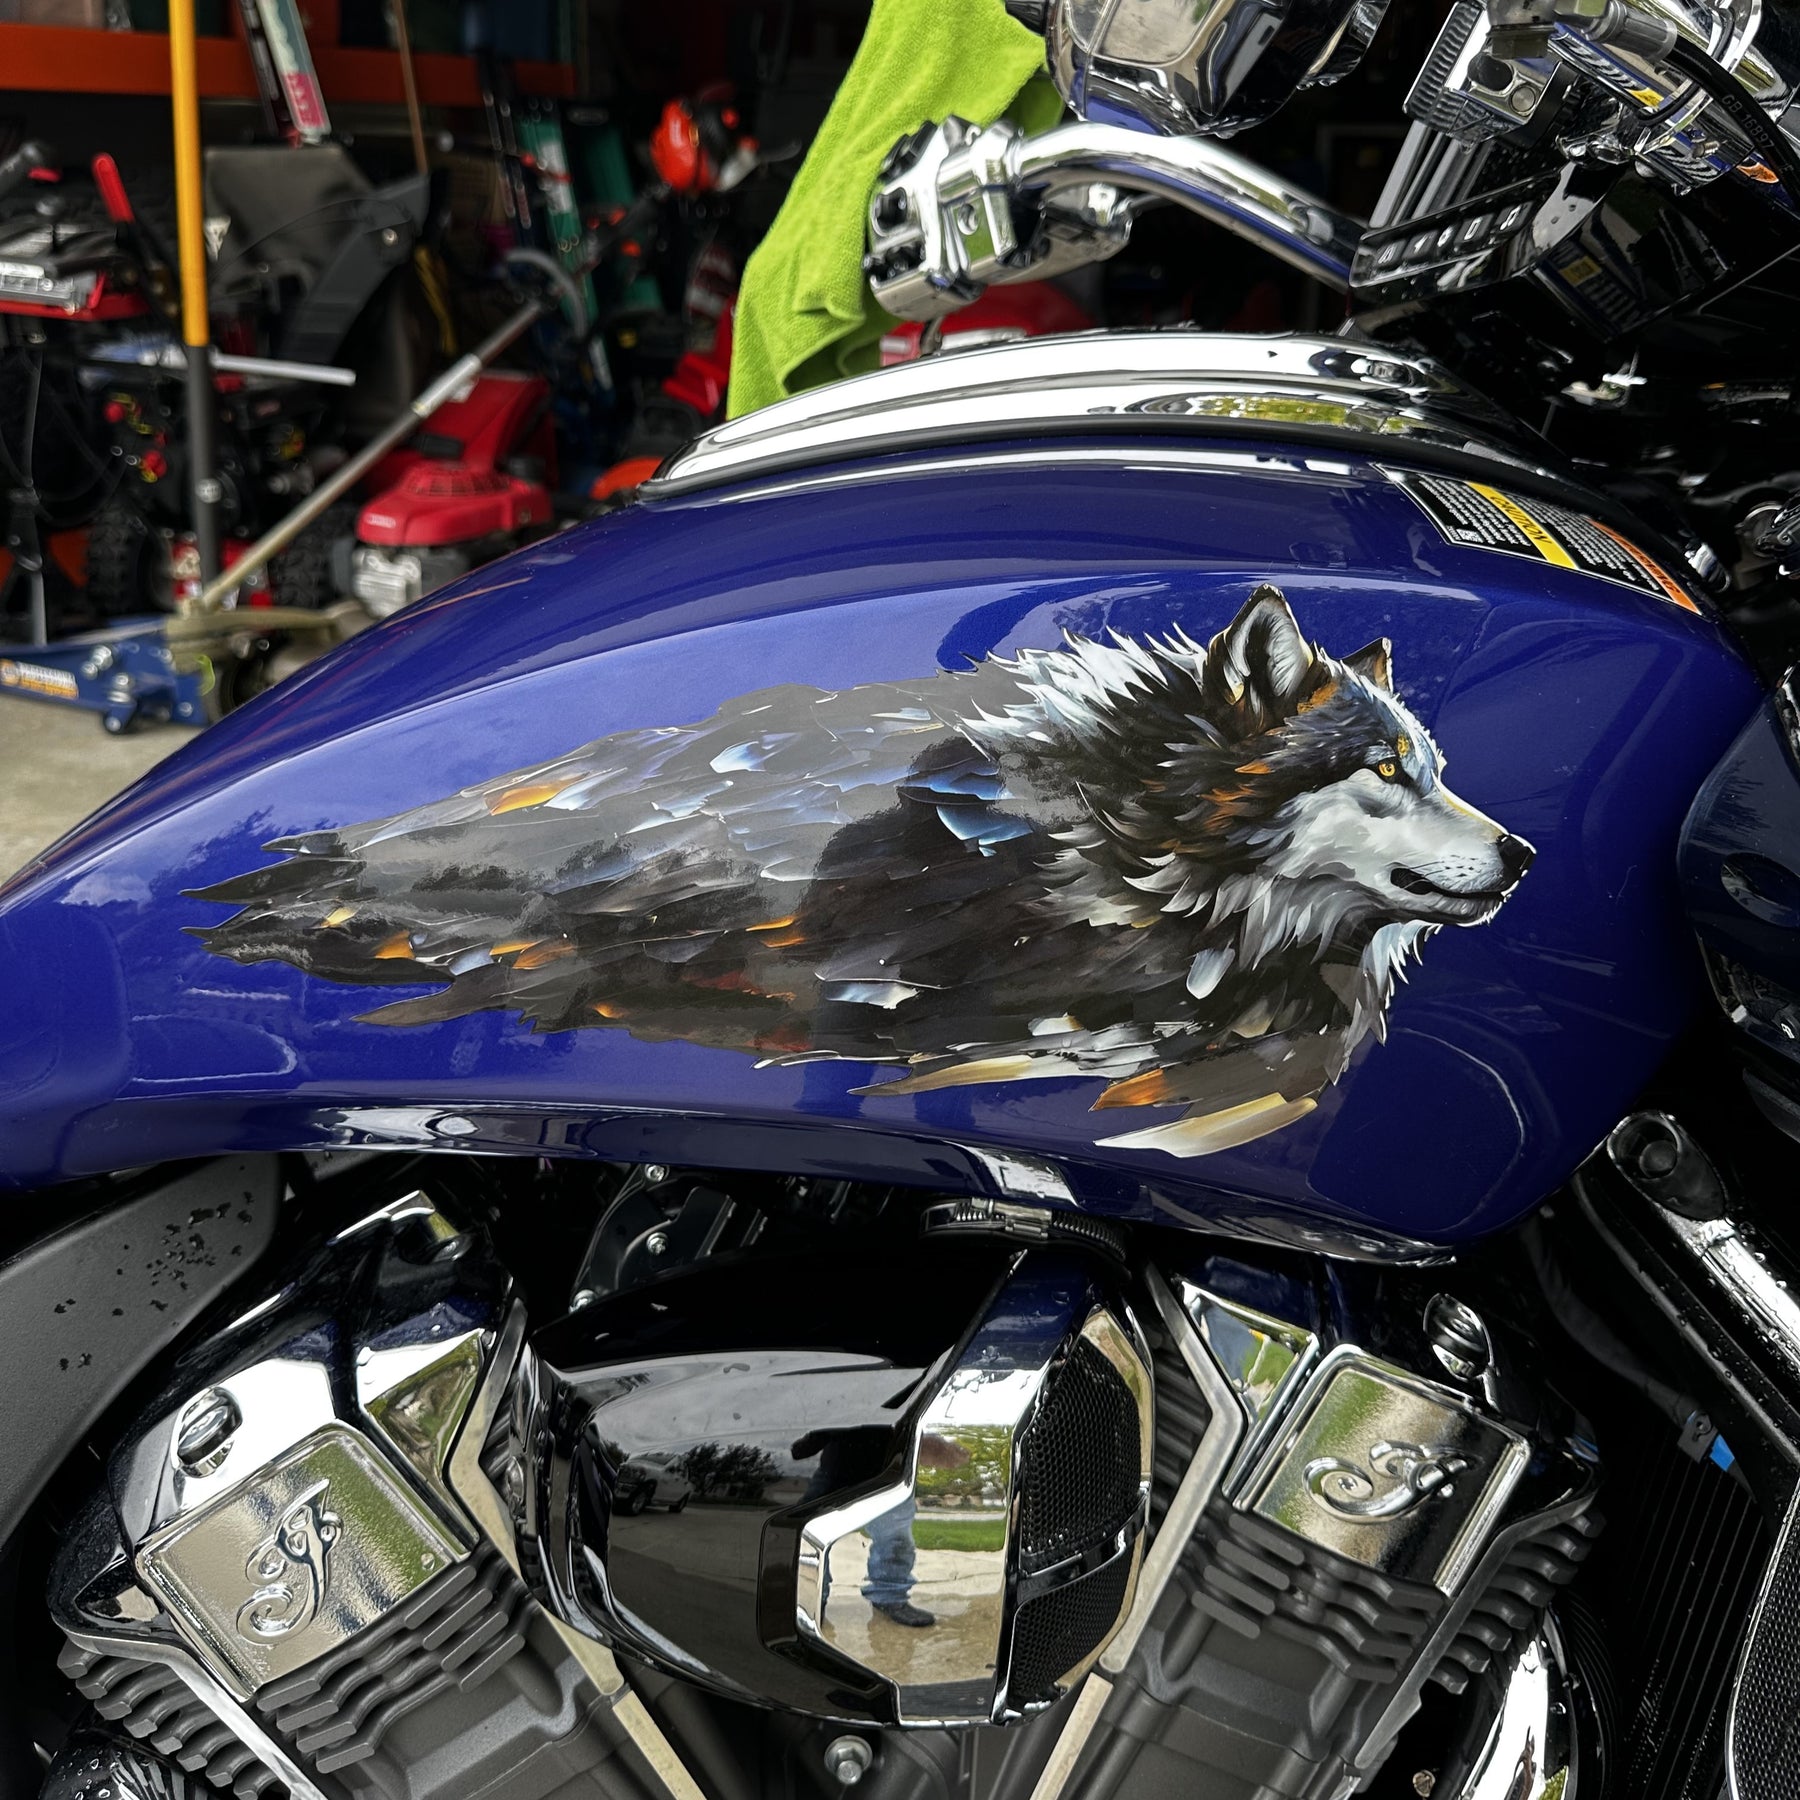
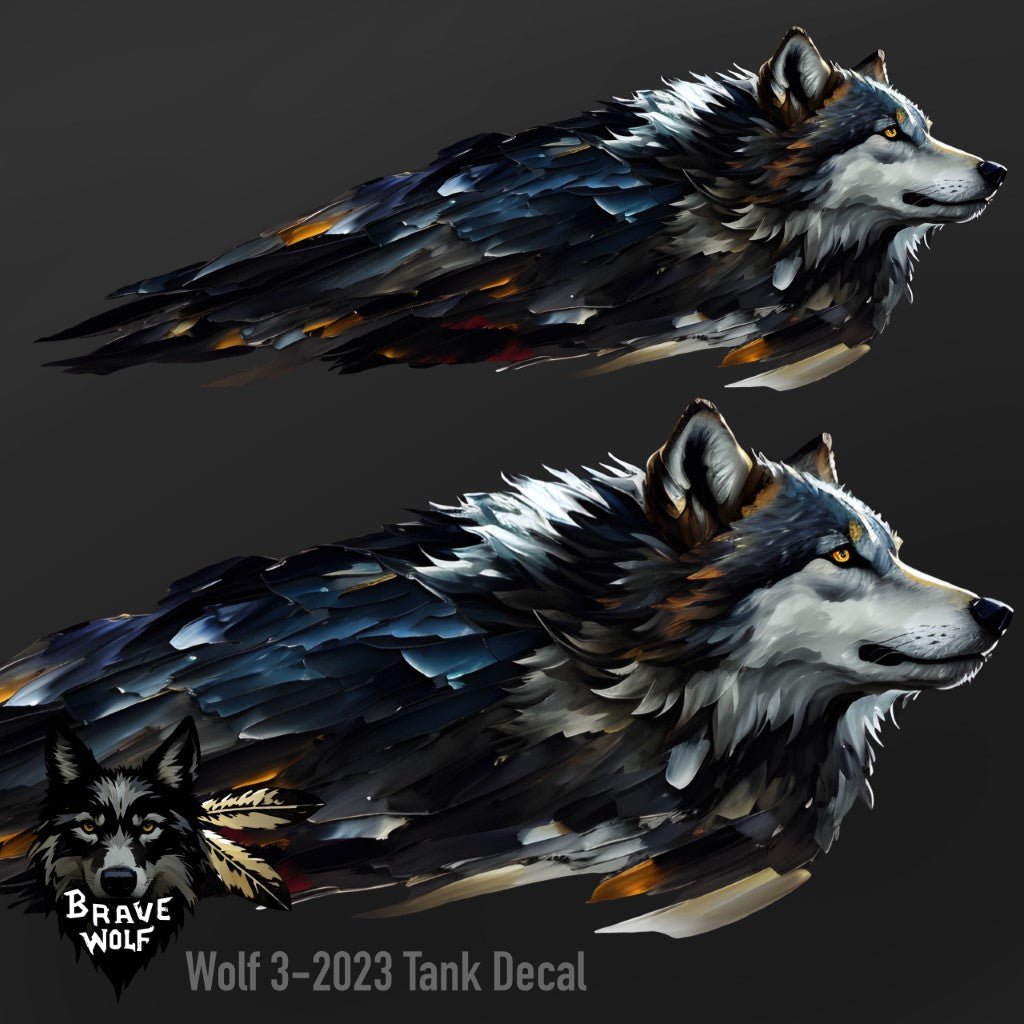
“Wolf 3-2023" Universal Tank Decals for all Brands and Models of Motorcycles
These decals were designed to cover the original headdress on Indian Motorcycles but can be used by any brand or model of bike.
If you have a 2024 or earlier model Indian Scout, we recommend purchasing one of our Scout version decal sets which are slightly smaller in order fit on the tank side without extending over the border.
Size: Will be posted soon
These decals are designed for all brands/models of motorcycles. Check the measurements to ensure a proper fit on your bike before ordering. If your tank already has a graphic, we can’t guarantee these decals will cover it completely. To verify fit and coverage, print out the template below, cut it out and tape it to your tank. (Print out template will be added soon)
Weatherproof HD Gloss finish vinyl decals are self adhesive. We recommend using the wet method to install thesedecals: A spray bottle with water and dish soap can be used to wet thesurfaceand the back of the decal, allowing you to slide the decal into place. Once you have it aligned properly, use your thumbsto push the moisture out from behind the decal, working from the center outwards to the edges and it will adhere to your bike. Using the wet method allows the decal surface to evenly distribute over the curved surface. A hair dryer to apply heat will make the process easier since the vinyl becomes more soft and flexible when warm.
Stock Notice - Usually in stock (may take approximately 2-3 weeks before shipping if not in stock at time of order)
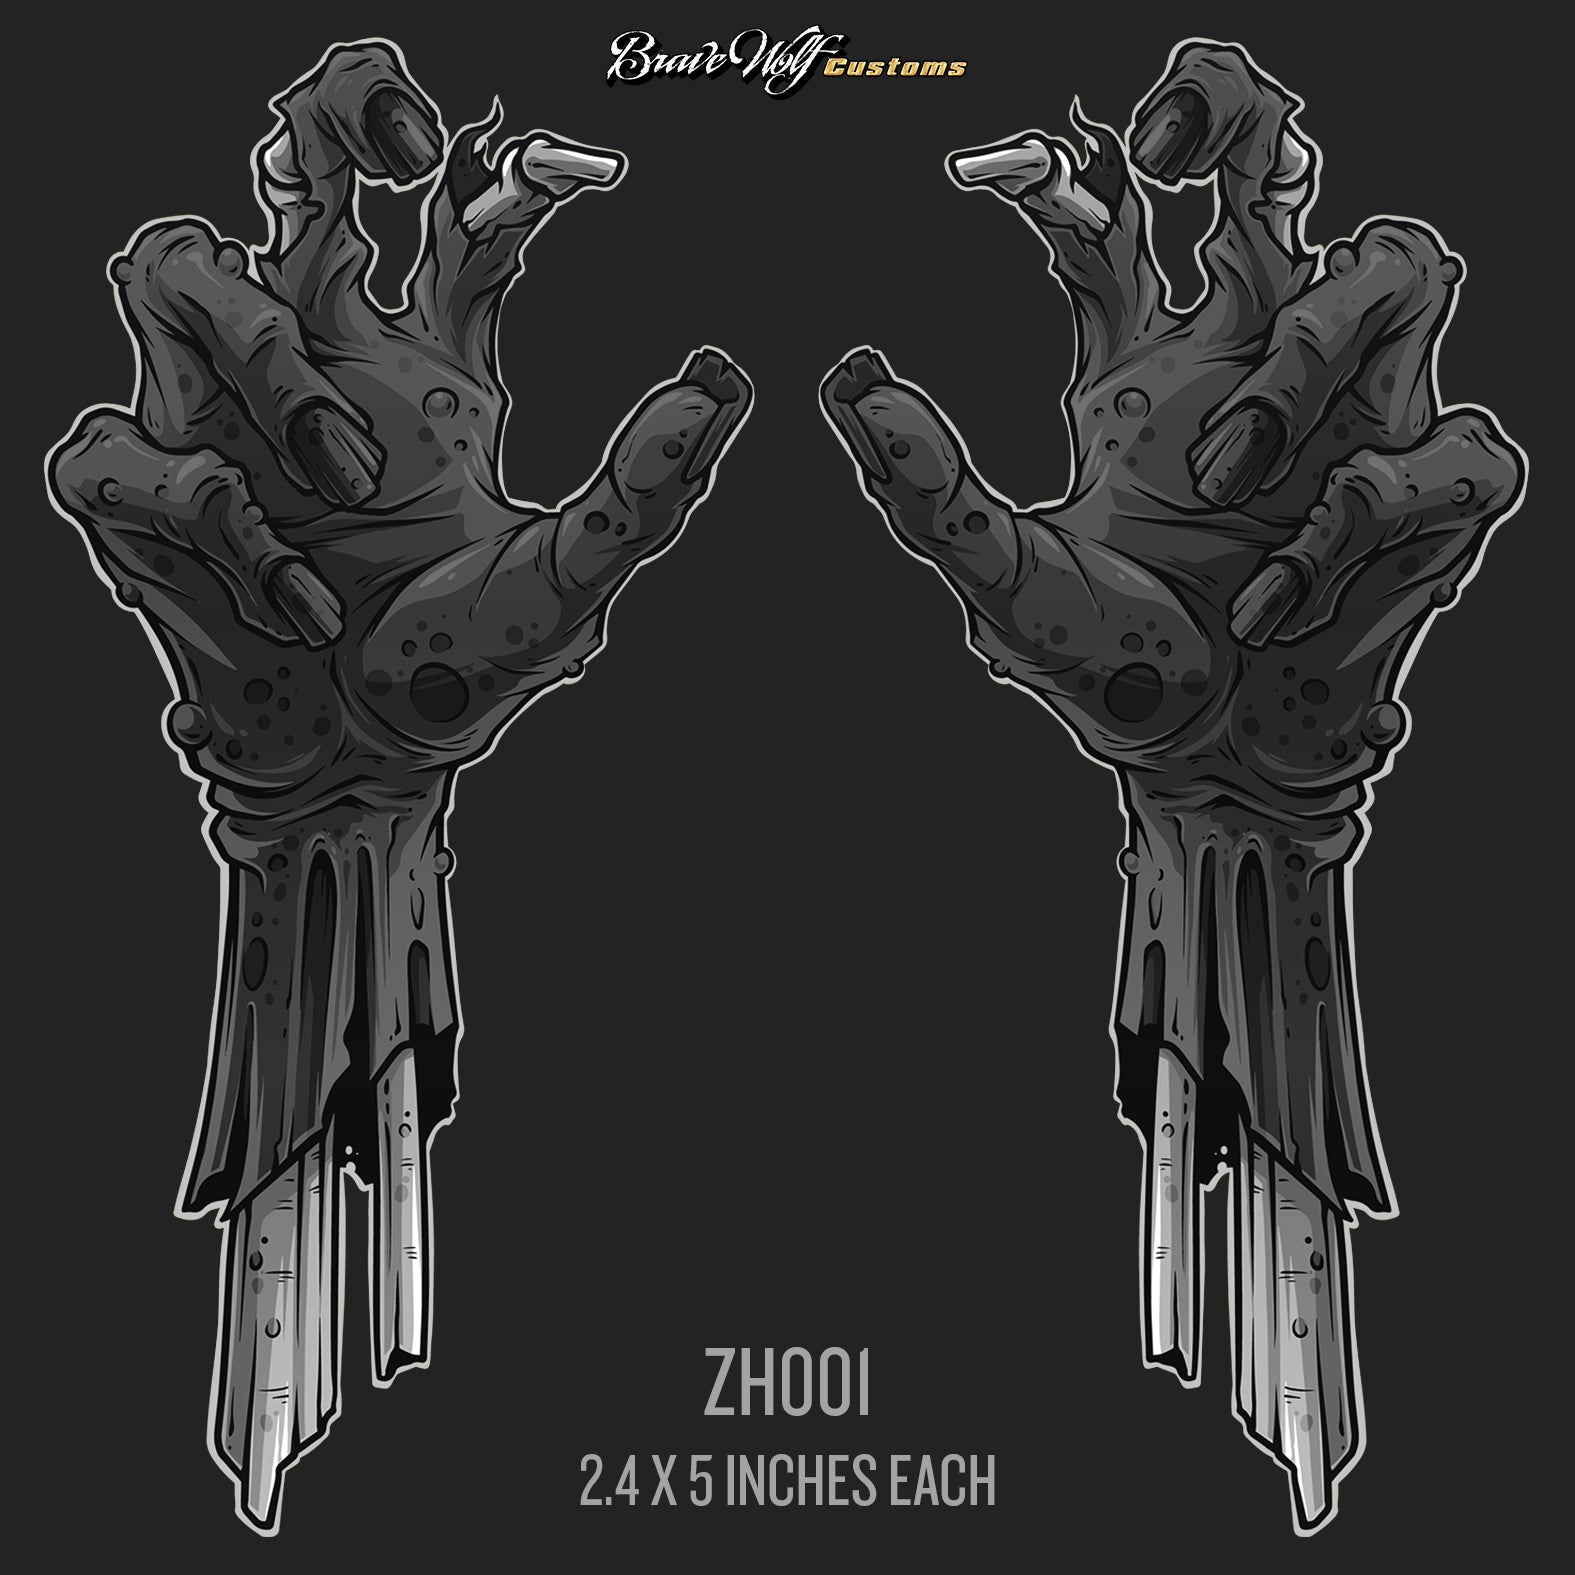
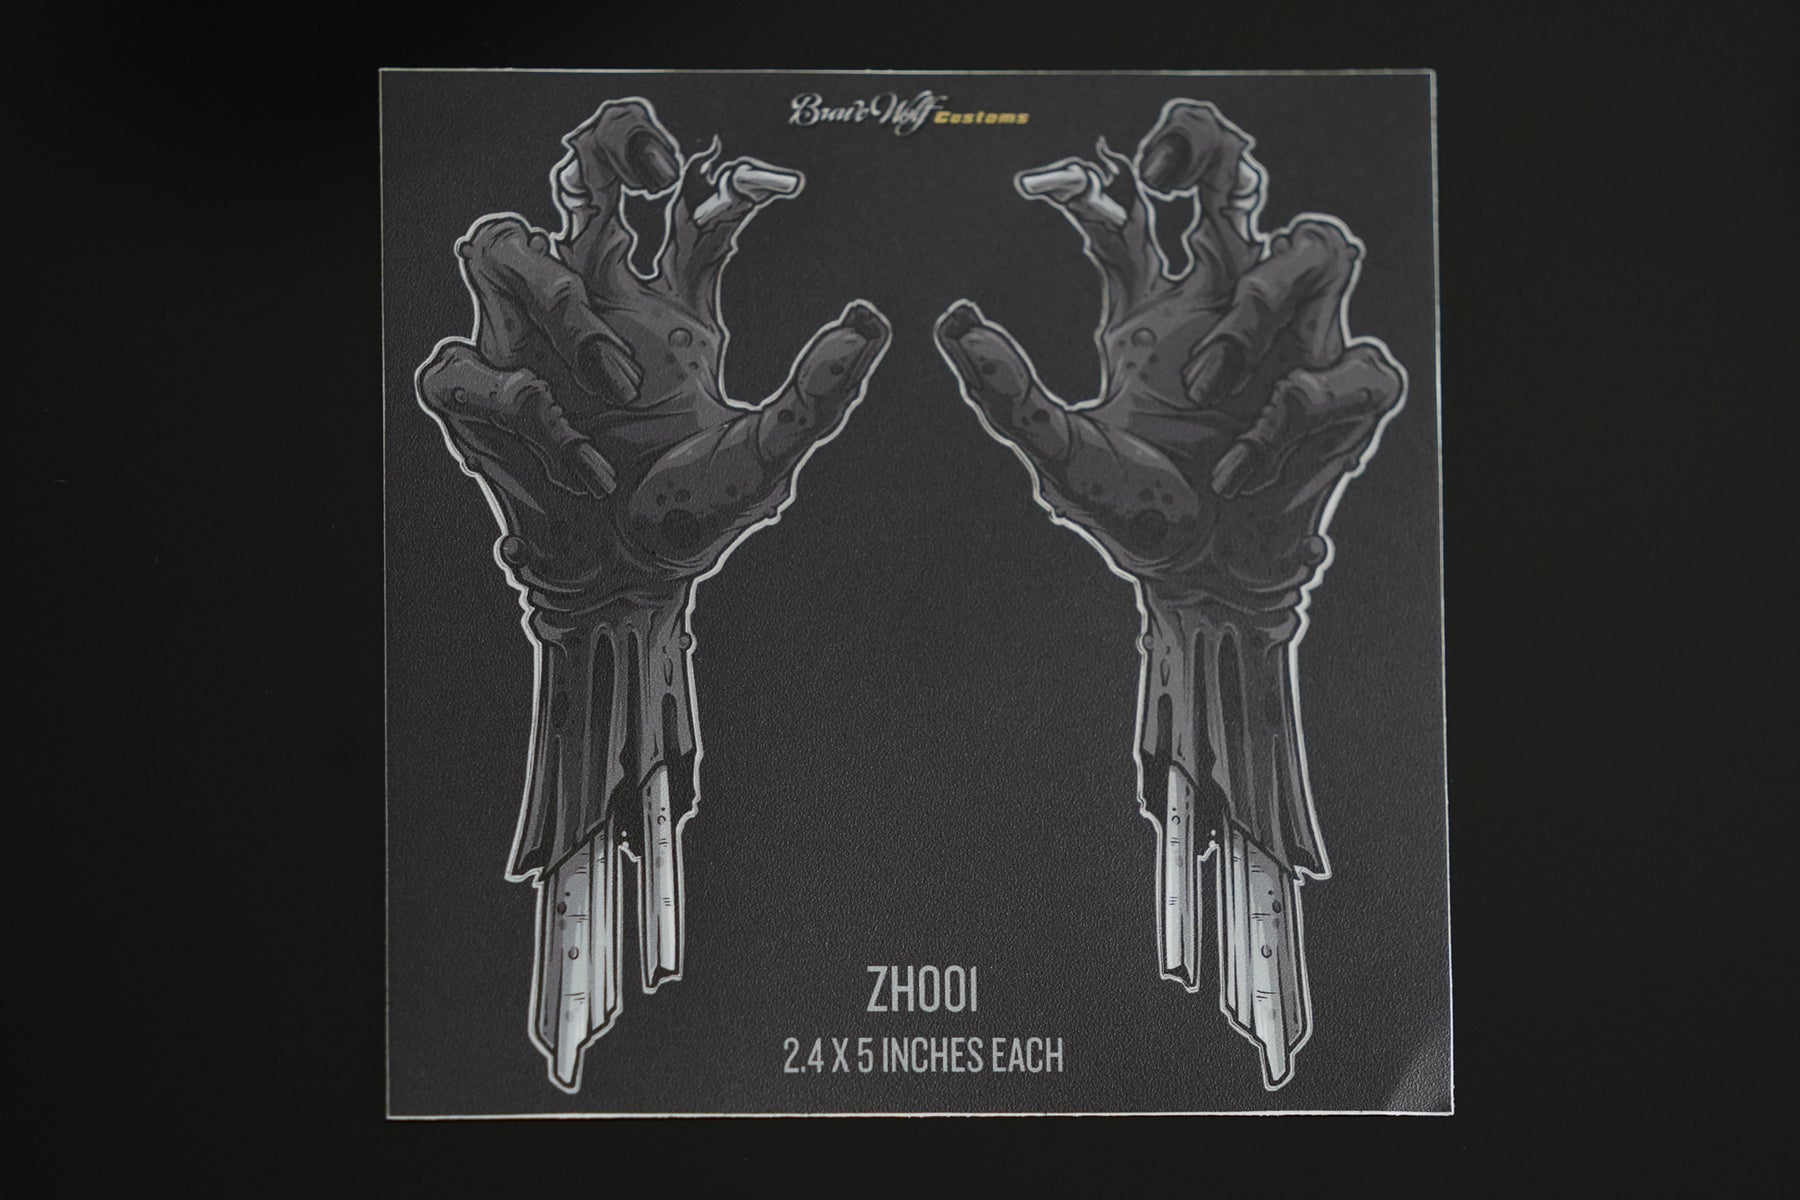
“Zombie Hands 001” Anywhere Decal Set
These decals are meant to be used anywhere. We wanted to provide more options that allow you to customize the look of your bike while using the same high-quality materials we use for our tank and saddlebag decals.
Size: 2.4 x 5 Inches each (set of left and right decals)
Matte finish pictured above
Weatherproof laminated decals are self adhesive. We recommend using the wet method to install thesedecals: A spray bottle with water and dish soap can be used to wet thesurfaceand the back of the decal, allowing you to slide the decal into place. Once you have it aligned properly, use your thumbsto push the moisture out from behind the decal, working from the center outwards to the edges and it will adhere to your bike. Using the wet method allows the decal surface to evenly distribute over the curved surface. A hair dryer to apply heat will make the process easier since the vinyl becomes more soft and flexible when warm.
Powerplus V-Cover Decal - Esadowa
Regular price
$20.00
Sale price
$10.00
Save $10.00
We usually have this product in stock and can ship right away but there can be a wait if it sells out before the restock arrives.
Buy 2 and get an automatic 10% off both v-covers
Fits the Indian Powerplus engine found on the Challenger, Pursuit, Powerplus Chieftain, and Powerplus Roadmaster models.
This premium finish badge cover takes minutes to install and provides a completely custom look. They fit both the left and right v-cover so if you haven't removed the right side cover for another intake, don't forget to grab two!
The v-cover decals are heavy-duty 12 mil laminated gloss vinyl that flow over the curves of the badge for a bespoke custom look.
These self-adhesive decals are applied by hand to the 1901 badge. If you've already removed the badge, you can use poster putty to fill in the embossed letters before applying our decal over it.
Installation: Be sure your v-cover badge is clean before installing the decal. Peel the decal off of the backing sheet, careful not to touch the adhesive side of the decal too much. Carefully align it to a centered position (the decal is slightly smaller than the badge). Press the decal firmly down in the center to stick it in place, then use your thumbs to push out from the center to the edges. Repeat this process until you've stretched/pressed it firmly down around the curves. And that's it!
We usually have this product in stock and can ship right away but there can be a wait if it sells out before the restock arrives.
Buy 2 and get an automatic 10% off both v-covers
Fits the Indian Powerplus engine found on the Challenger, Pursuit, Powerplus Chieftain, and Powerplus Roadmaster models.
This premium finish badge cover takes minutes to install and provides a completely custom look. They fit both the left and right v-cover so if you haven't removed the right side cover for another intake, don't forget to grab two!
The v-cover decals are heavy-duty 12 mil laminated gloss vinyl that flow over the curves of the badge for a bespoke custom look.
These self-adhesive decals are applied by hand to the 1901 badge. If you've already removed the badge, you can use poster putty to fill in the embossed letters before applying our decal over it.
Installation: Be sure your v-cover badge is clean before installing the decal. Peel the decal off of the backing sheet, careful not to touch the adhesive side of the decal too much. Carefully align it to a centered position (the decal is slightly smaller than the badge). Press the decal firmly down in the center to stick it in place, then use your thumbs to push out from the center to the edges. Repeat this process until you've stretched/pressed it firmly down around the curves. And that's it!
How-to Video:
Chief Warbonnet Universal Tank Decal Set - CWB-729 Bronze
Stock Notice: (may take approximately 3-4 weeks before shipping if we don't have it in stock at the time of your order)
“Chief Warbonnet CWB-729" Universal Tank Decals for all Brands and Models of Motorcycles
These decals were designed to cover the original headdress on Indian Motorcycles but can be used by any brand or model of bike.
Fits over INDIAN OEM headdress logo
These decals are designed for all brands/models of motorcycles. Check the measurements to ensure a proper fit on your bike before ordering. If your tank already has a graphic, we can’t guarantee these decals will cover it completely. To verify fit and coverage, check the dimensions above.
Our heavy-duty laminated weatherproof vinyl decals are hi-tac self-adhesive. We recommend using the wet method to install thesedecals: A spray bottle with water and dish soap can be used to wet thesurfaceand the back of the decal, allowing you to slide the decal into place. Once you have it aligned properly, use your thumbsto push the moisture out from behind the decal, working from the center outwards to the edges and it will adhere to your bike. Using the wet method allows the decal surface to evenly distribute over the curved surface. A hair dryer to apply heat will make the process easier since the vinyl becomes more soft and flexible when warm.
May take 2-3 weeks before shipping if not in stock at the time of your order
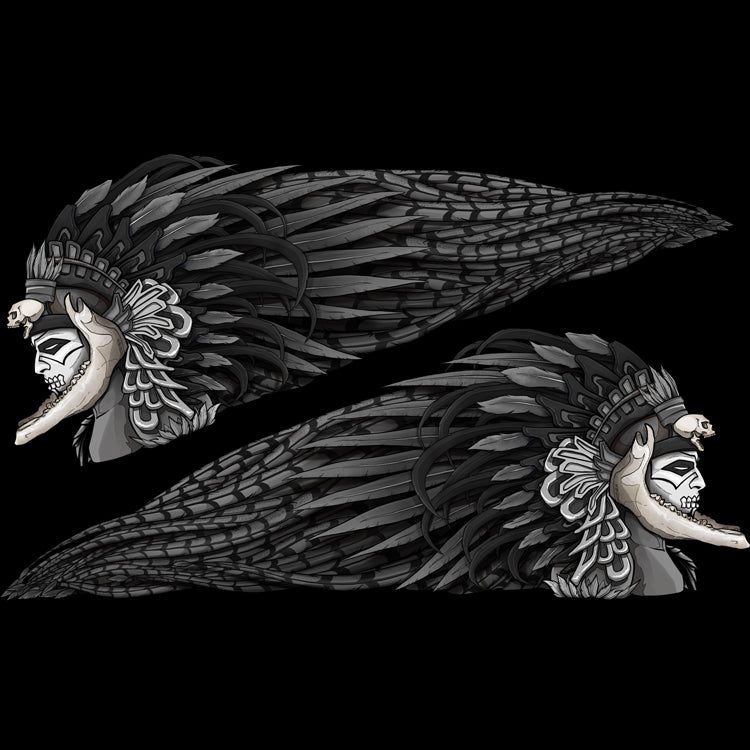
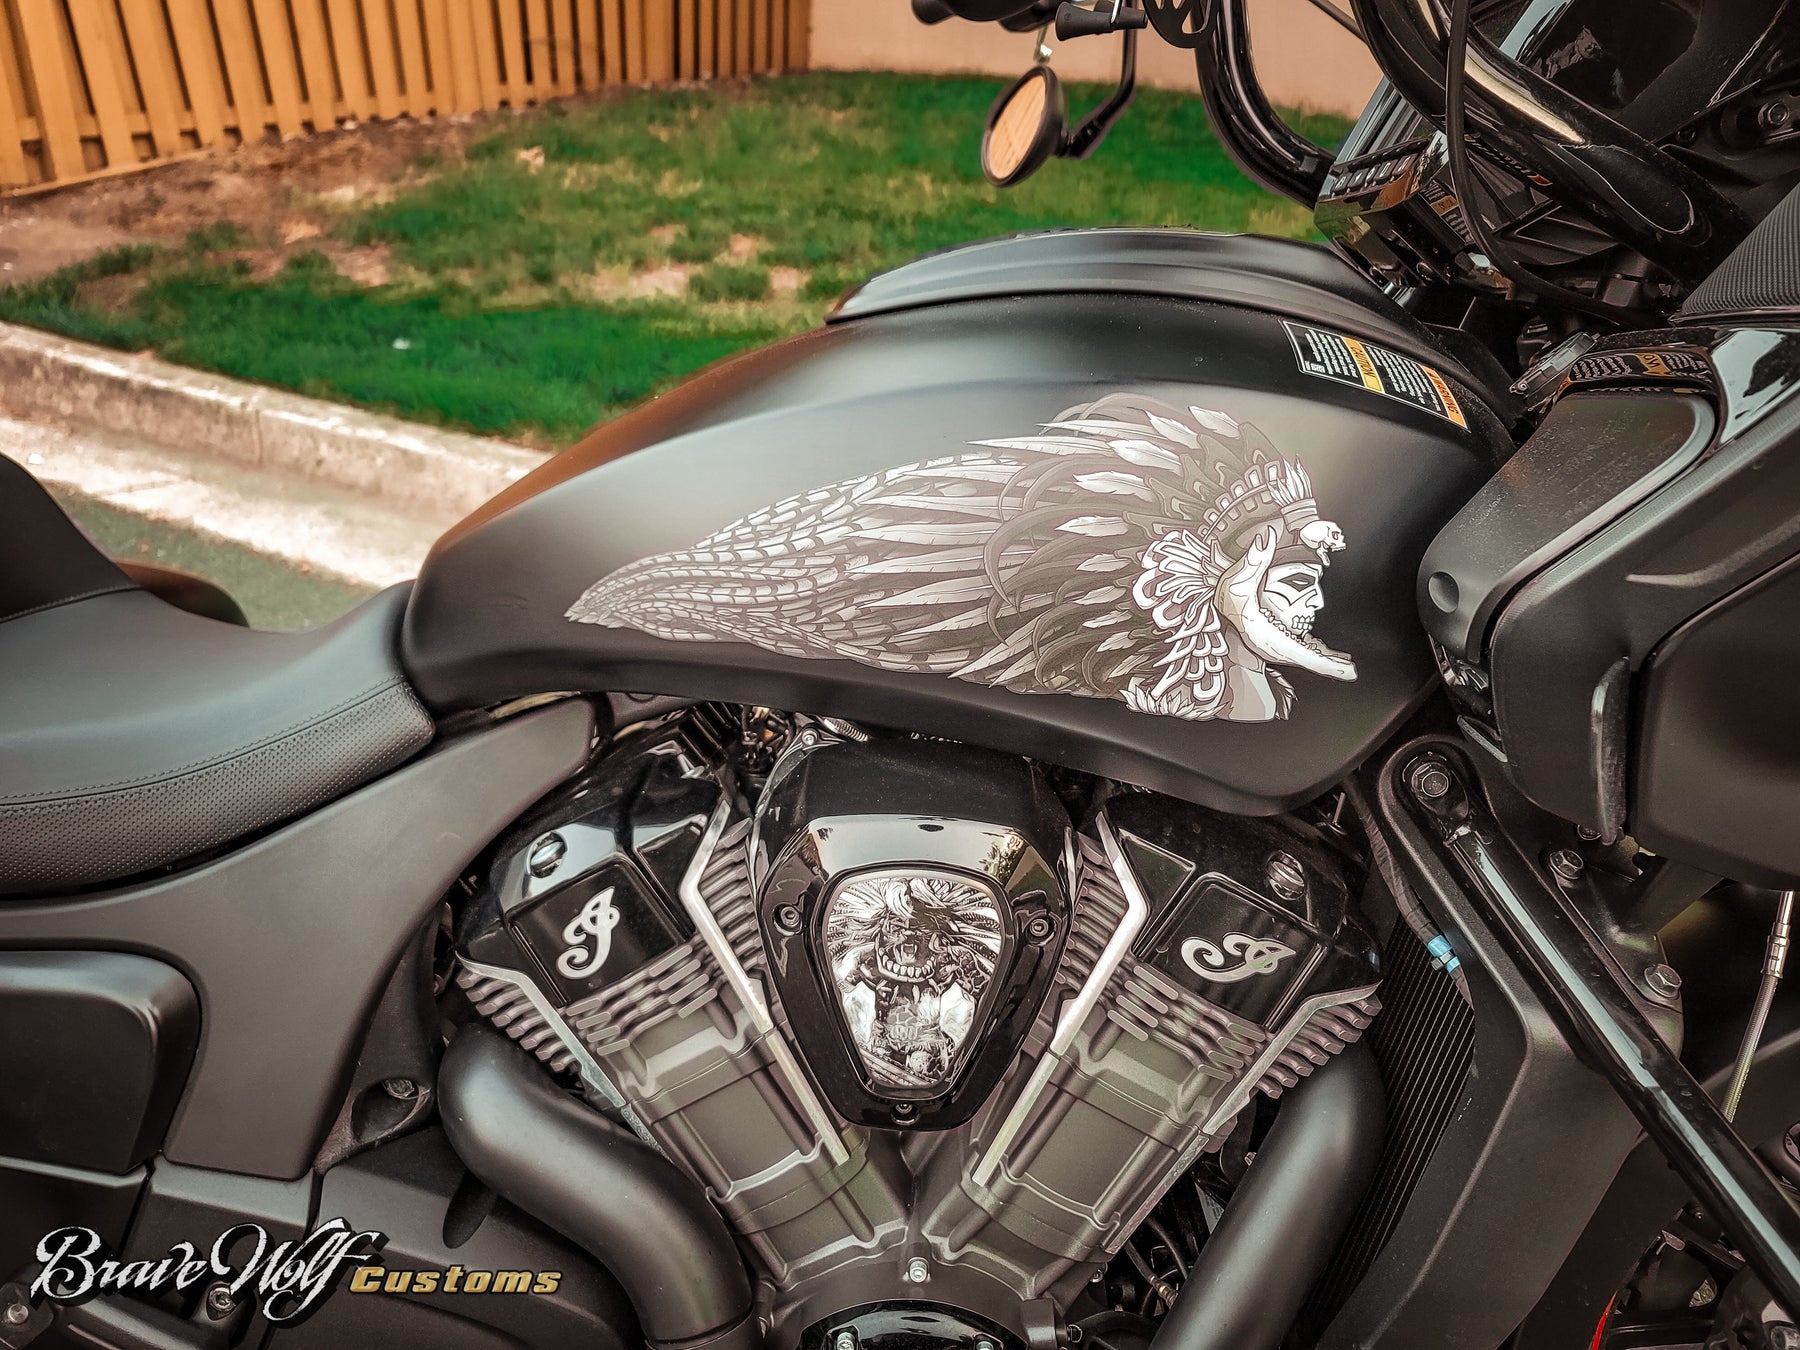
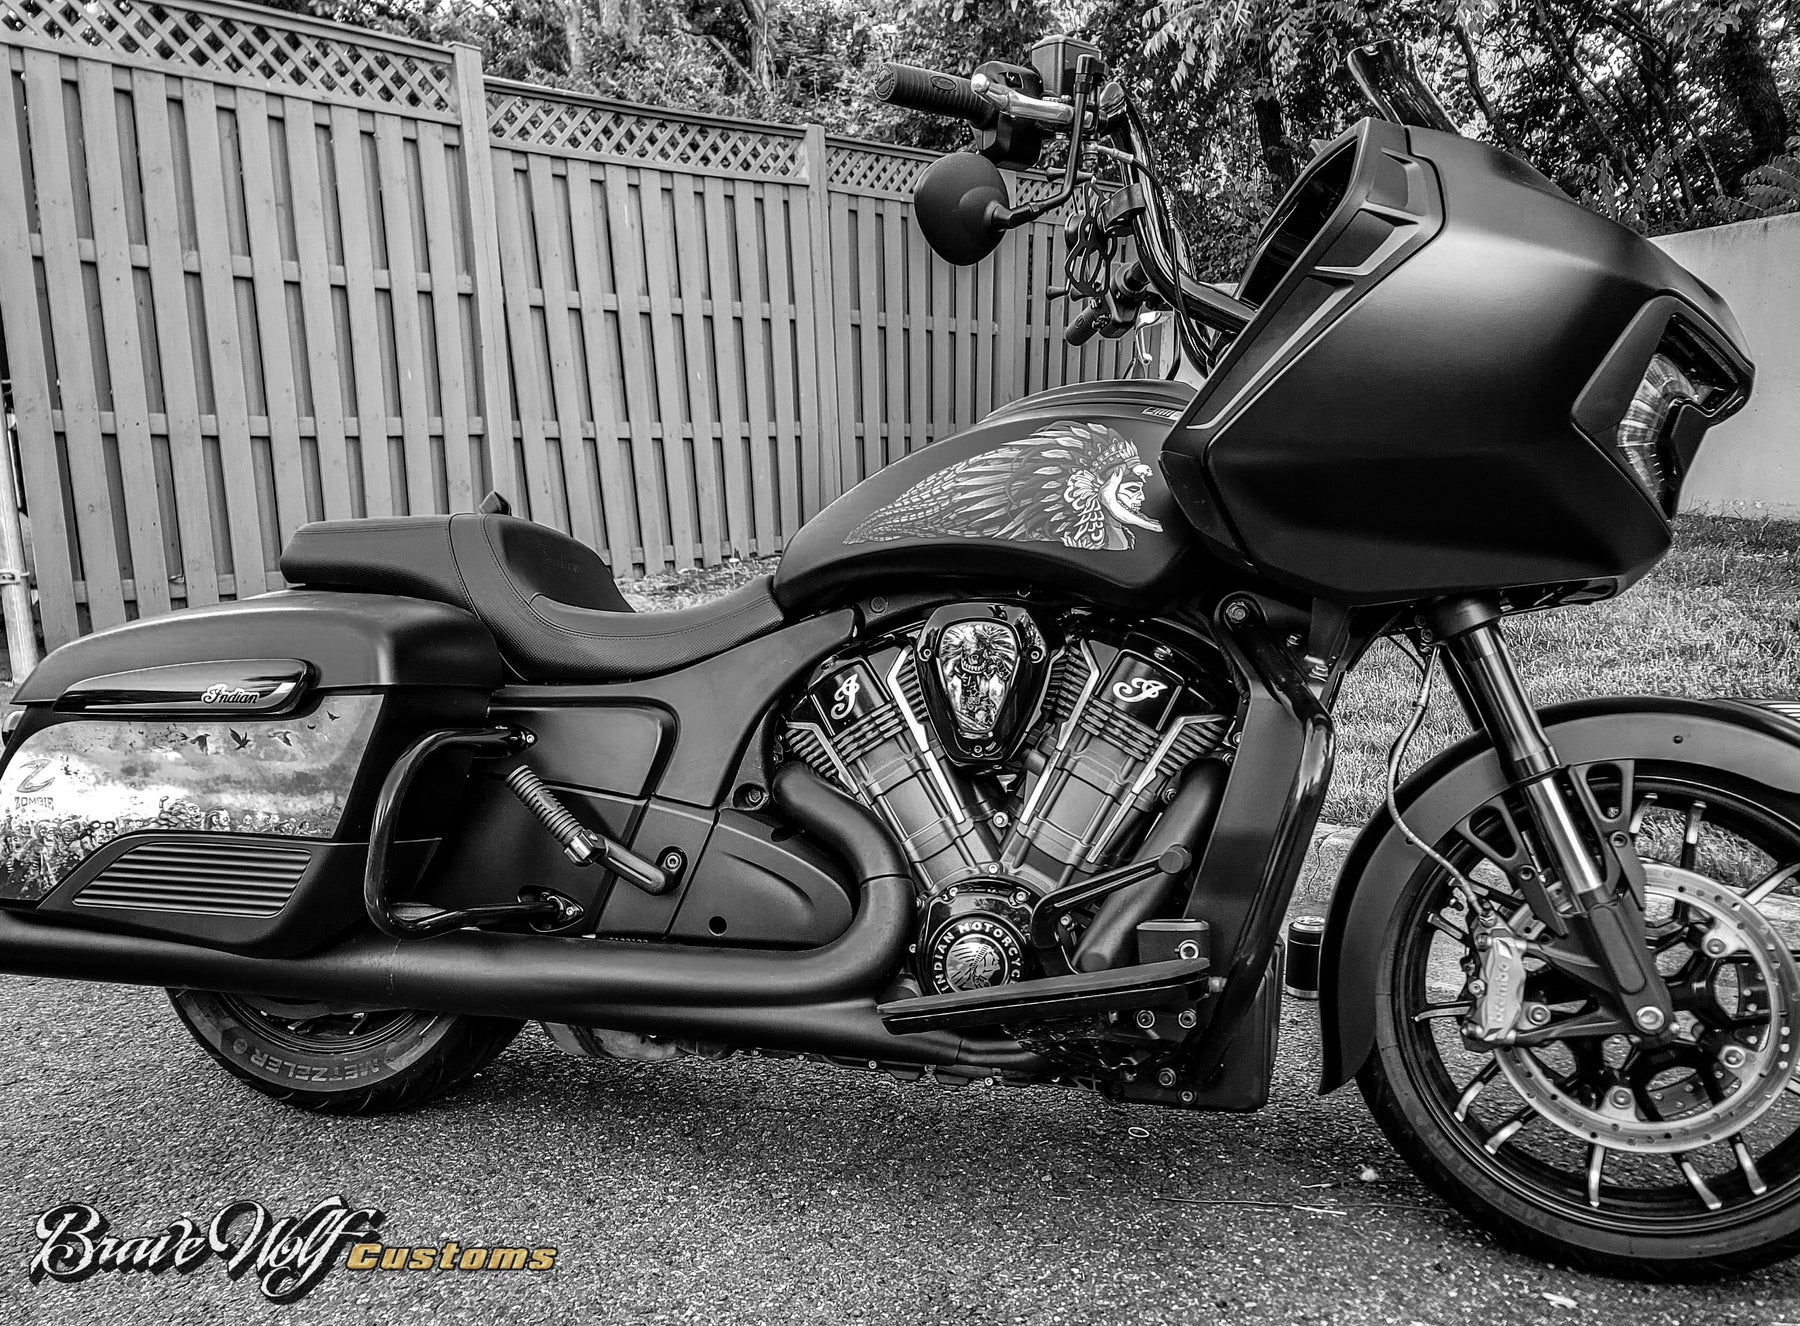
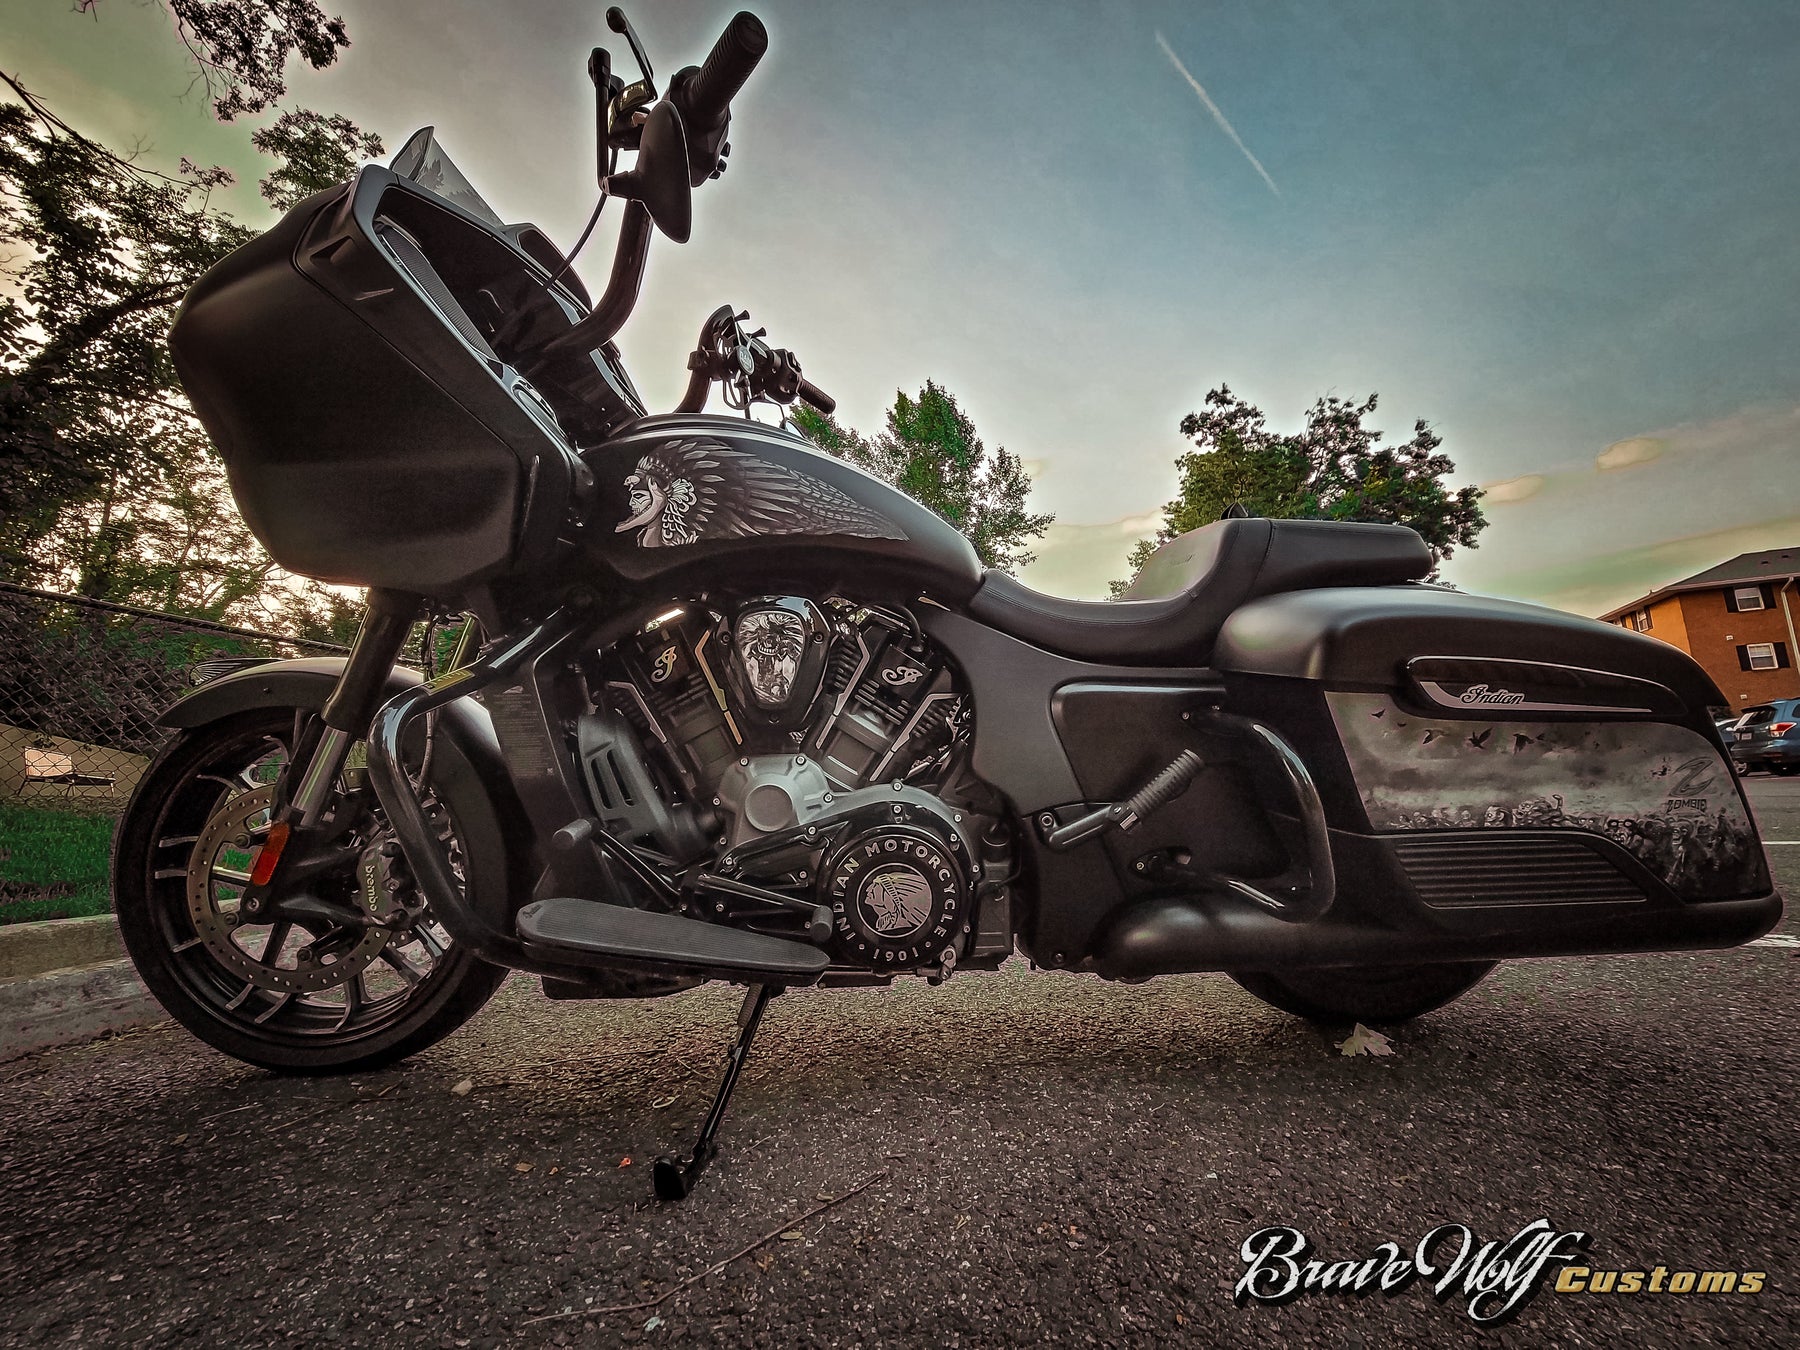
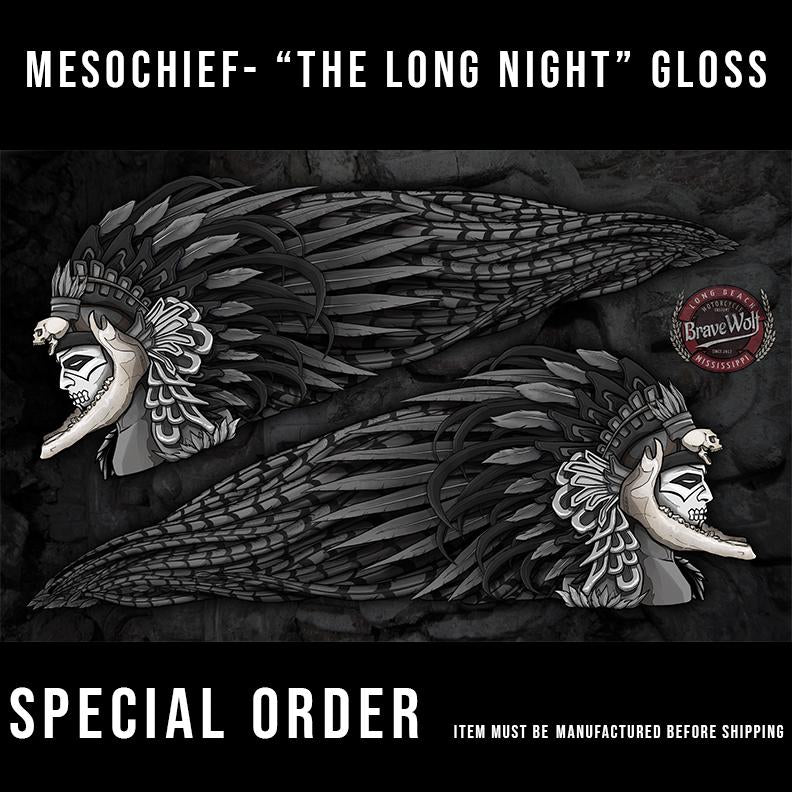
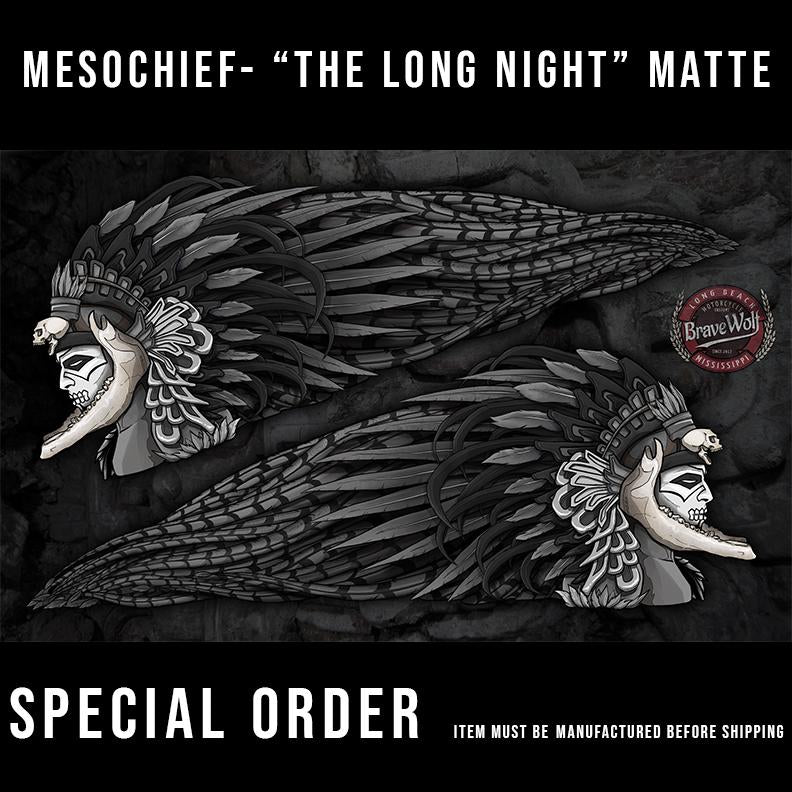
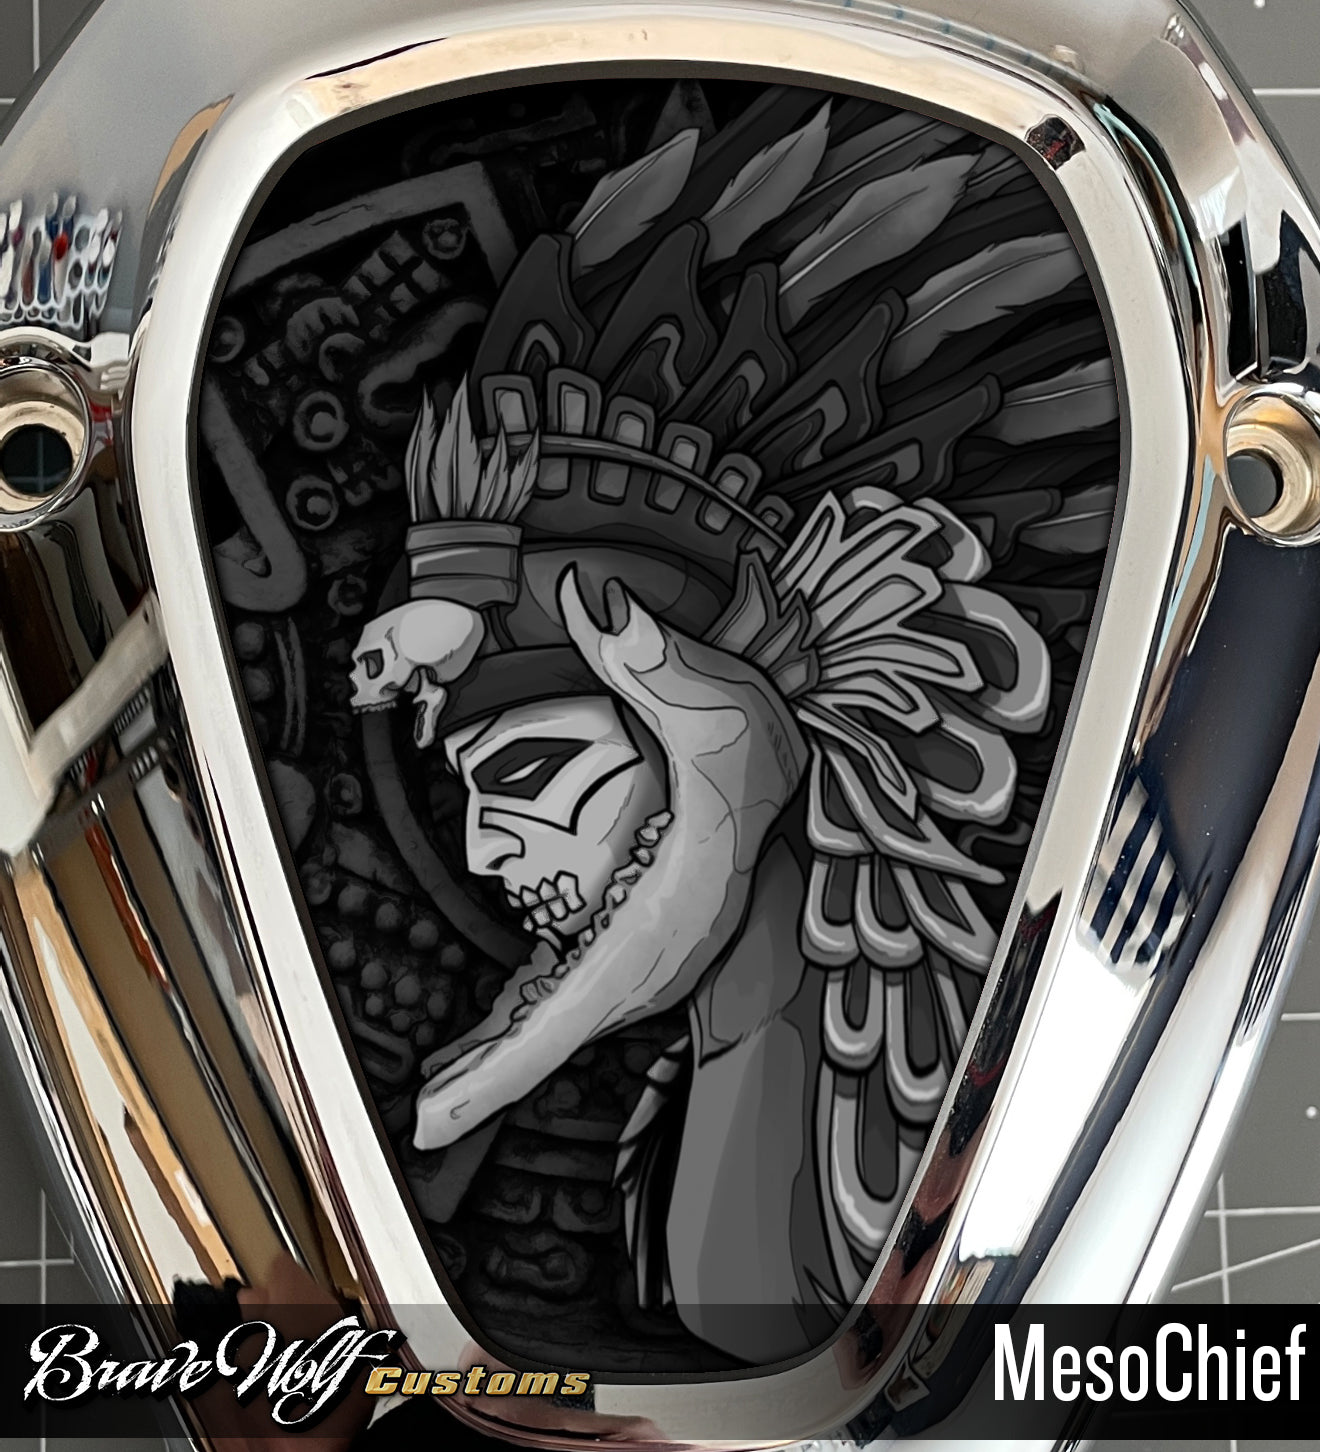
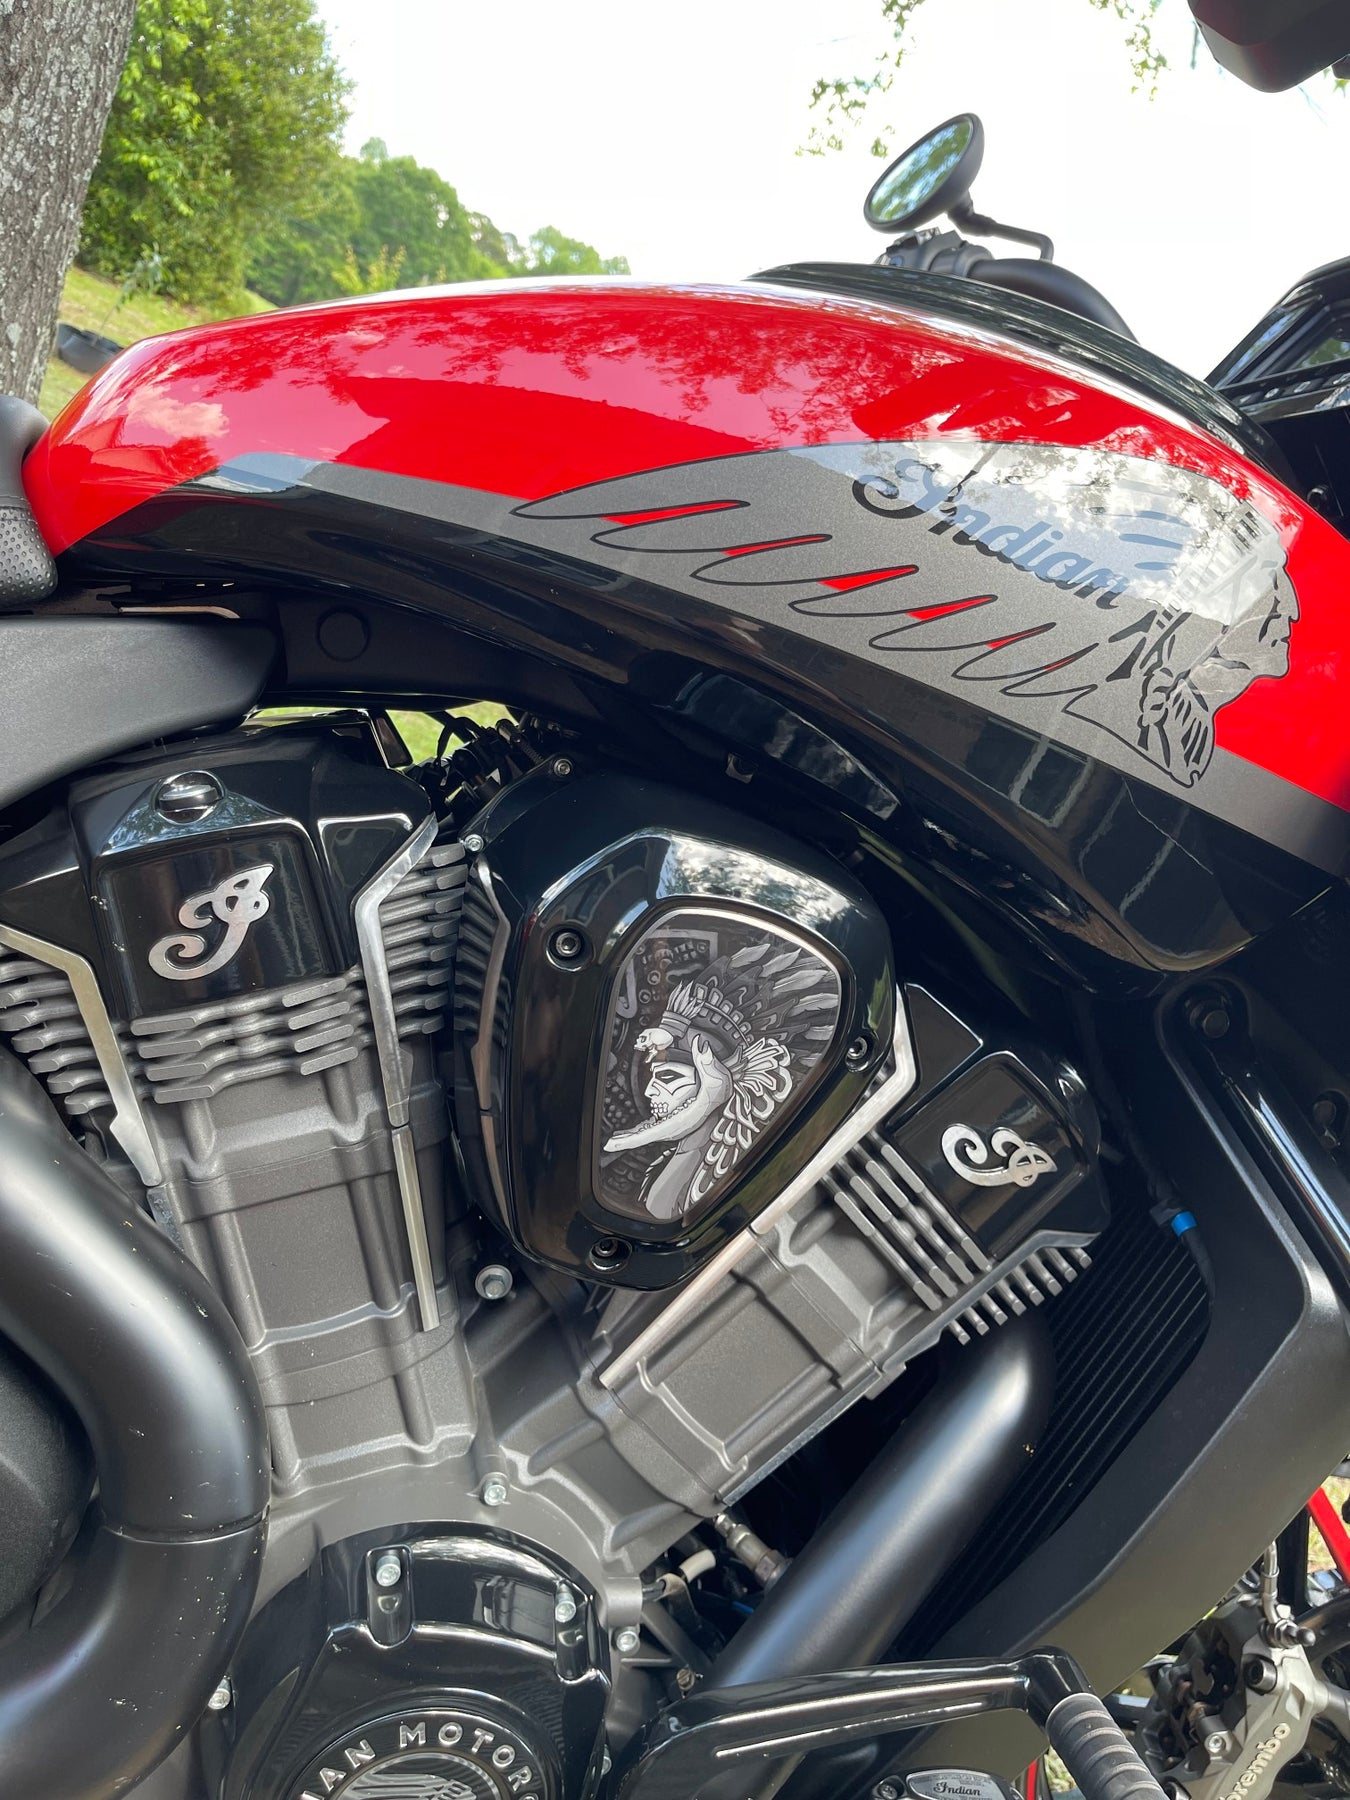
With a blend of Aztec, Mayan, and Inca, the MesoChief represents Mesoamerican culture and tradition. A decorative feather headdress is trailed by plume of pheasant feathers for that authentic styling that's so recognizable in that part of the world.
Size: 16.15 inches length by 5.89 inches tall (Indian Scout owners should purchase the Scout version of this artwork. It is a different product)
For that minimalist straight to the point highway bar club style look. Could save your ride. Replaceable Delrin slider ends, so your bike slides instead of grabs. Installs in minutes, no drilling or cutting required
35" wide
*Recommended 15-20 ft. lbs. (20.33 - 27.11 NM) of torque for the slider puck bolts
*Check that all hardware is tight before riding with your newly installed parts
*Thread lock is recommended
Chief Warbonnet Tank Decal set for Indian Powerplus lineup - CWB-729 Bronze
Stock Notice: (may take approximately 3-4 weeks before shipping if not in stock at time of order)
Tank Decal set for Indian Challenger/Pursuit, Powerplus Chieftain, Powerplus Roadmaster
Our new CWB-729 Chief Warbonnet decals were created in the same style as our best-selling SWB-729 Skull Warbonnet decals. We created them to fill the gap for those riders who aren't into skulls and are looking for the more traditional approach.
Size: Covers a large portion of the tank side and should be centered during application for greatest appeal.
We recommend using the wet method to install larger decals: A spray bottle with water and dish soap can be used to wet the tank and the back of the decal, allowing you to slide the decal into place. To get the proper soap/water mix, start with a squirt of soap into your spray bottle. Shake it up and then spray it on your hand. Rub your finger tips together. You should feel the slipperiness of the soap. If it just feels like water, add more soap and try again. Once you have it aligned properly, use a squeegee or some non-abrasive tool (even your fingers) to push the moisture out from behind the decal and it will adhere to your tank. A plastic putty scraper with a thin cloth wrapped around it will work great and prevent scratching your decals.
Chief Warbonnet Tank Decal set for Indian Powerplus lineup - CWB-729 Dark
Stock Notice: (may take approximately 3-4 weeks before shipping if not in stock at time of order)
Tank Decal set for Indian Challenger/Pursuit, Powerplus Chieftain, Powerplus Roadmaster
Our new CWB-729 Chief Warbonnet decals were created in the same style as our best-selling SWB-729 Skull Warbonnet decals. We created them to fill the gap for those riders who aren't into skulls and are looking for the more traditional approach.
Size: Covers a large portion of the tank side and should be centered during application for greatest appeal.
We recommend using the wet method to install larger decals: A spray bottle with water and dish soap can be used to wet the tank and the back of the decal, allowing you to slide the decal into place. To get the proper soap/water mix, start with a squirt of soap into your spray bottle. Shake it up and then spray it on your hand. Rub your finger tips together. You should feel the slipperiness of the soap. If it just feels like water, add more soap and try again. Once you have it aligned properly, use a squeegee or some non-abrasive tool (even your fingers) to push the moisture out from behind the decal and it will adhere to your tank. A plastic putty scraper with a thin cloth wrapped around it will work great and prevent scratching your decals.
In stock and ready to ship- Limited Quantity. When sold out, no more are available
Engine accent kits for Indian Challenger and Pursuit, Powerplus Chieftain, and Powerplus Roadmaster.
Our UV DTF 3D PermaSticker Engine Accent kits combine the latest UV DTF technology with exceptional adhesive properties, ensuring that your accents will stick around for the long haul. With unparalleled durability, remarkable adhesive properties, and heat resistance capable of direct contact with your engine, they're the perfect material to add a custom touch to your bike.
Kit includes a total of 41 pieces. All the accents you need to do both sides of your engine AND plenty of extras in case you make a mistake during installation. + 2 Brave Wolf logos. The kit comes on a 17.5" backing sheet with with a transfer layer on top.
We're offering these in a stunning 20 different color combination styles, but if we don't have the combo you want, consider purchasing multiple sets to mix-and-match and you'll save 20% on each. We've priced them affordably so this should be an option.
Material Finish: an enamel-like finish. I wouldn't classify it as gloss or matte. Similar to egg-shell finish.
Installation:
These accents will need to be installed on a warm, clean, and dry engine. Do not attempt to install them cold or with condensation on the surface. You can run your bike to get the engine warm, but not hot, or use a hair dryer/heat gun. Installing these in winter months will be more difficult. Use scissors to separate each individual piece from the sheet. A pair of tweezers can be helpful to hold the accents in proper placement during installation. Once in place, use a firm object to press/rub over the full surface before peeling off the top transfer layer. Go slow while peeling the transfer layer. If the accent peels up without separating from the transfer, place it back down and press it more firmly into place. Because the surface is curved, the “I” will be the most challenging piece, so cut out around it as closely as possible to make it easier to position.
"Surtr" (B&W) Tank Decal Set for Indian Powerplus lineup
We recommend using the wet method to install larger decals: A spray bottle with water and dish soap can be used to wet the tank and the back of the decal, allowing you to slide the decal into place. To get the proper soap/water mix, start with a squirt of soap into your spray bottle. Shake it up and then spray it on your hand. Rub your finger tips together. You should feel the slipperiness of the soap. If it just feels like water, add more soap and try again. Once you have it aligned properly, use a squeegee or some non-abrasive tool (even your fingers) to push the moisture out from behind the decal and it will adhere to your tank. A plastic putty scraper with a thin cloth wrapped around it will work great and prevent scratching your decals.
"Surtr" (color) Tank Decal Set for Indian Powerplus lineup
We recommend using the wet method to install larger decals: A spray bottle with water and dish soap can be used to wet the tank and the back of the decal, allowing you to slide the decal into place. To get the proper soap/water mix, start with a squirt of soap into your spray bottle. Shake it up and then spray it on your hand. Rub your finger tips together. You should feel the slipperiness of the soap. If it just feels like water, add more soap and try again. Once you have it aligned properly, use a squeegee or some non-abrasive tool (even your fingers) to push the moisture out from behind the decal and it will adhere to your tank. A plastic putty scraper with a thin cloth wrapped around it will work great and prevent scratching your decals.
"Ragnarok" (color) Tank Decal Set for Indian Powerplus lineup
We recommend using the wet method to install larger decals: A spray bottle with water and dish soap can be used to wet the tank and the back of the decal, allowing you to slide the decal into place. To get the proper soap/water mix, start with a squirt of soap into your spray bottle. Shake it up and then spray it on your hand. Rub your finger tips together. You should feel the slipperiness of the soap. If it just feels like water, add more soap and try again. Once you have it aligned properly, use a squeegee or some non-abrasive tool (even your fingers) to push the moisture out from behind the decal and it will adhere to your tank. A plastic putty scraper with a thin cloth wrapped around it will work great and prevent scratching your decals.
Stock Notice: (may take approximately 2-3 weeks before shipping if not in stock at the time of your order)
Our saddlebag decals are made from premium weatherproof hi-tack vinyl with a long lifespan that will keep them looking new for years. They are available in two finishes, heavy-duty 12 mil laminated Gloss (looks like it's painted on), or a heavy-duty sandy matte textured premium finish.
Fitment Guide: Fits the new style (squared) Indian OEM saddlebags. Also fits the Challenger & Pursuit when the plastic bag guard is removed.
Installation:
Installing our decals is easy to do yourself at home. We recommend removing all of the excess decal material (the background image) before installing the decals. This will allow you to dispose of all the small cut-out pieces so that the pieces do not get trapped underneath your decal when installing it on the bike. Once you have all of the small pieces and background removed, you can use the "wet method" to install the decals to your saddlebags. The wet method involves using a spray bottle of water with a couple drops of dish soap in the mixture and spraying the surface of your saddlebags to wet the entire surface. Then carefully remove the backing from your decal and use the spray bottle to wet the adhesive side of the decal. Now you can gently place the decal on your saddlebag. Because the surfaces are wet, you can pull the decal up to reposition it until you get it where you want it. Once it's in place, use a squeegee or other object such as a credit card wrapped in a microfiber towel to squeeze the water out from behind the decal. You can also use your hands to do this. You should take care not to use a hard/abrasive object that can scratch the decals or your bike's paint. The high-tack adhesive will begin to set/adhere to the bike as soon as the liquid is push out from behind the decal. Use caution to ensure the towel or object you are using does not catch any edges of the decal and pull it off your bike. If you take your time and be gentle during installation, it should be an easy process. A hair dryer can be used to speed up the drying process if needed.
Feel free to visit our How-To page on the website to watch a "wet method" installation video.
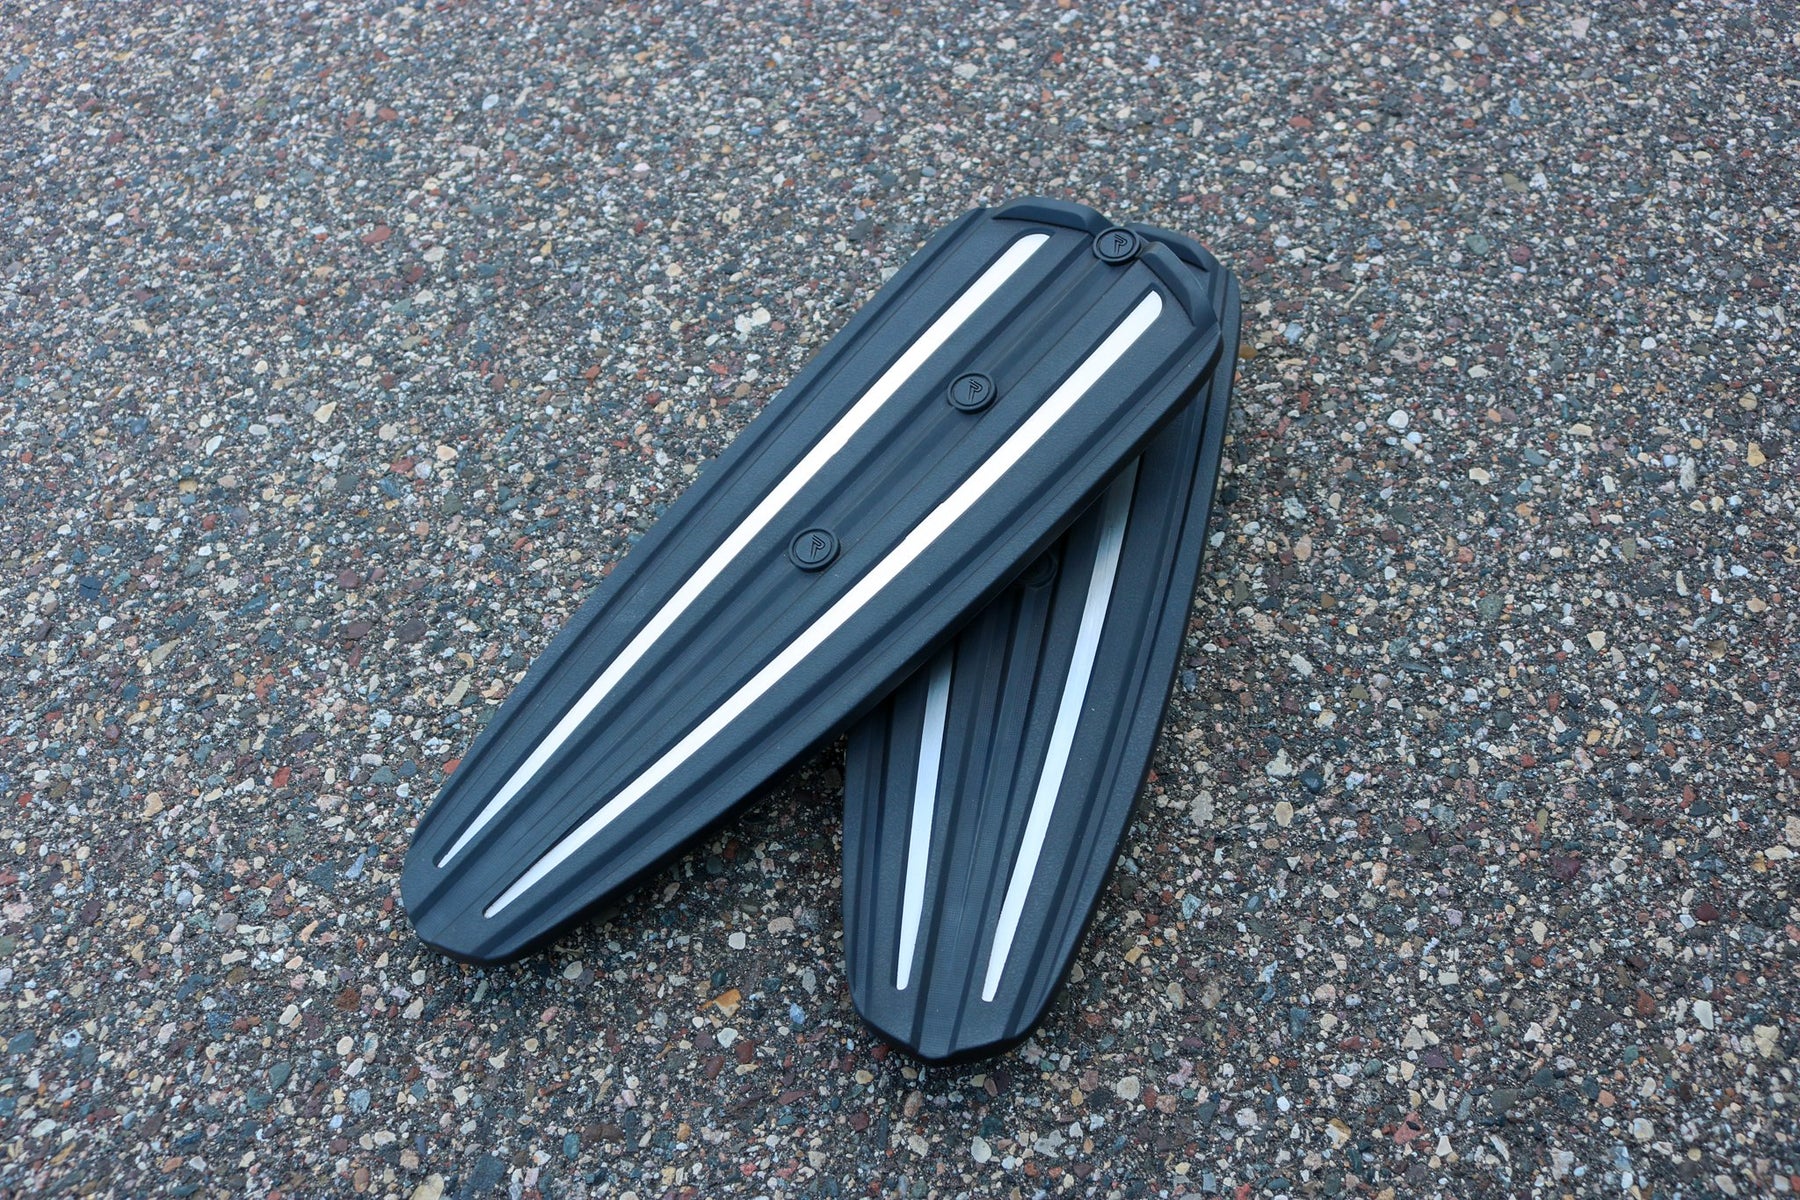
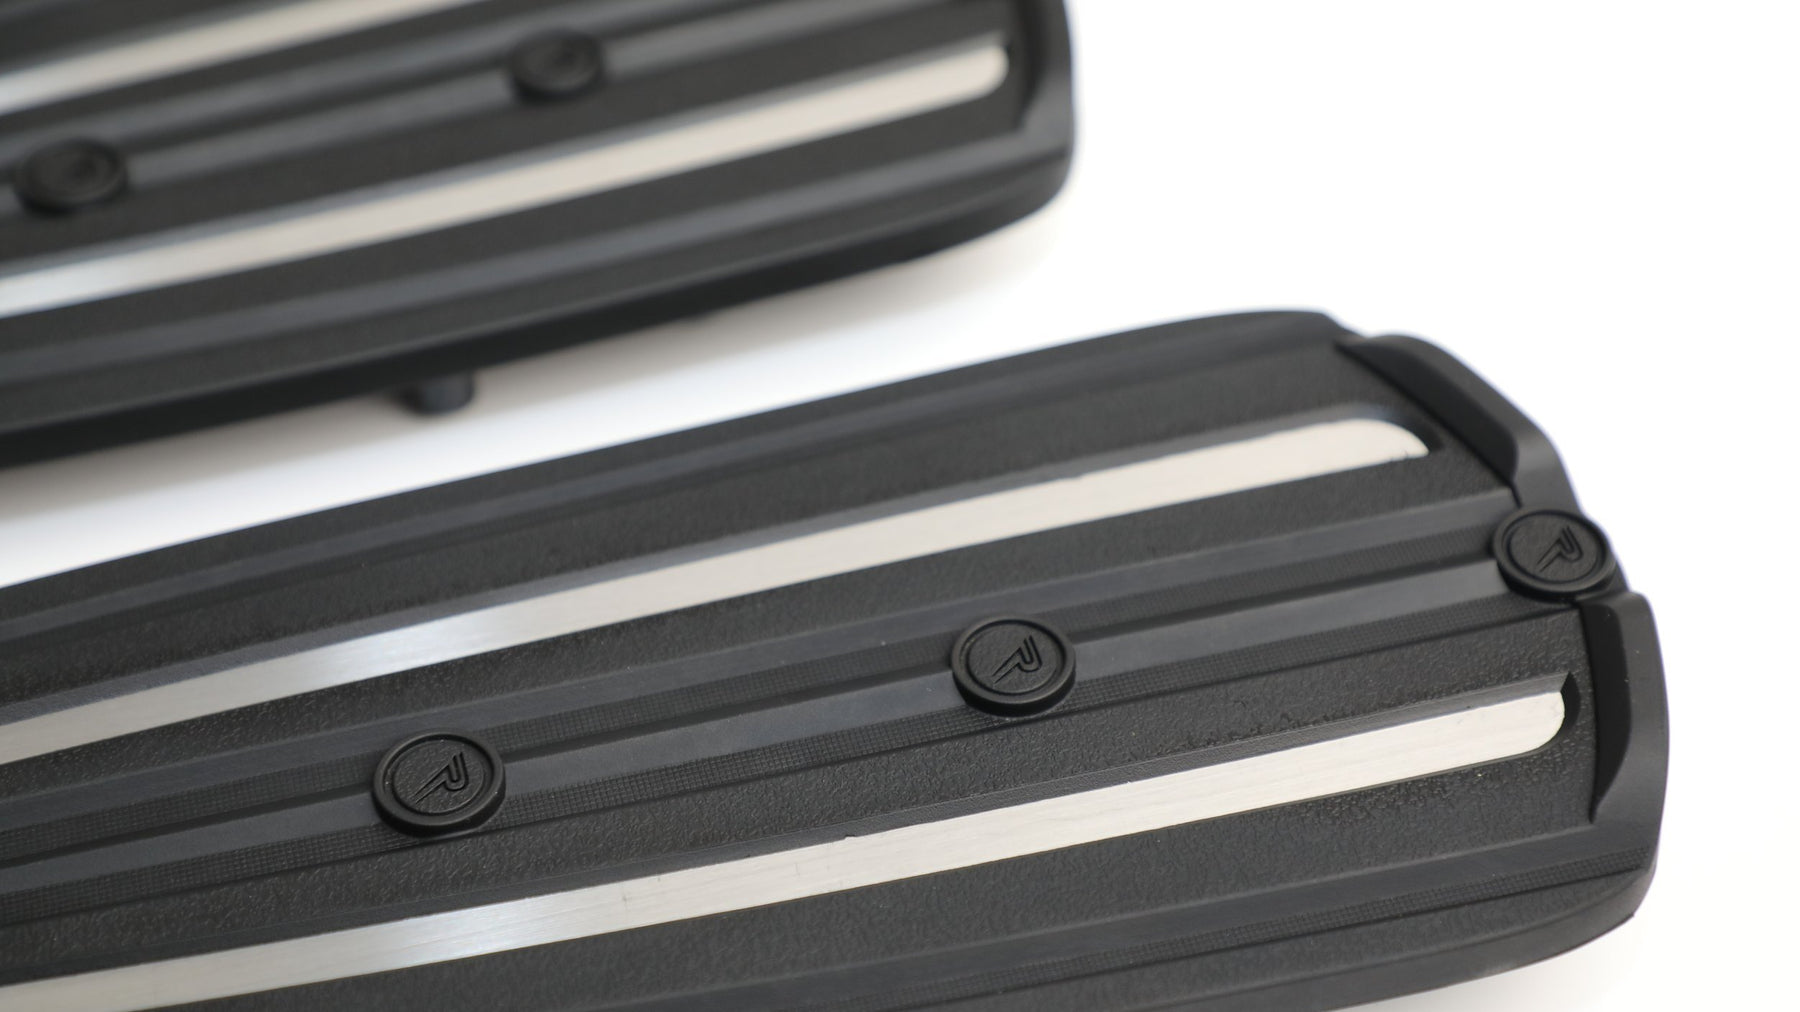
RydeCulture’s Charles Chapa Floorboards are designed with rider comfort and versatility in mind. Esthetically, it is a great looking floorboard that deviates from the flat lines and contours of the stock floorboard. The extra contours provide better feel and comfort for the rider in an many different weather conditions that you may encounter. Since RydeCulture is a Minnesota company, we are familiar with unpredictable riding conditions. We wanted to deliver a floorboard that was comfortable for long rides, reduces vibrations and provides extra grip and cushion for the unpredictability of the roads and weather.
INTERNATIONAL ORDERS - please order directly from www.RydeCulture.com
RydeCulture - Byant M1 Bag Lights - Amber with Smoked lens
RydeCulture’s Bryant M1 lights are designed to distinguish your Indian Motorcycle away from the pack in a subtle and classy manner. There’s no reason to go down the road looking like a Christmas tree. These lights accentuate the Indian Motorcycles body lines and follow the curves of the bag. The amber sequential turn signals also give your Indian a unique personal stamp.
INTERNATIONAL ORDERS - please order directly from www.RydeCulture.com
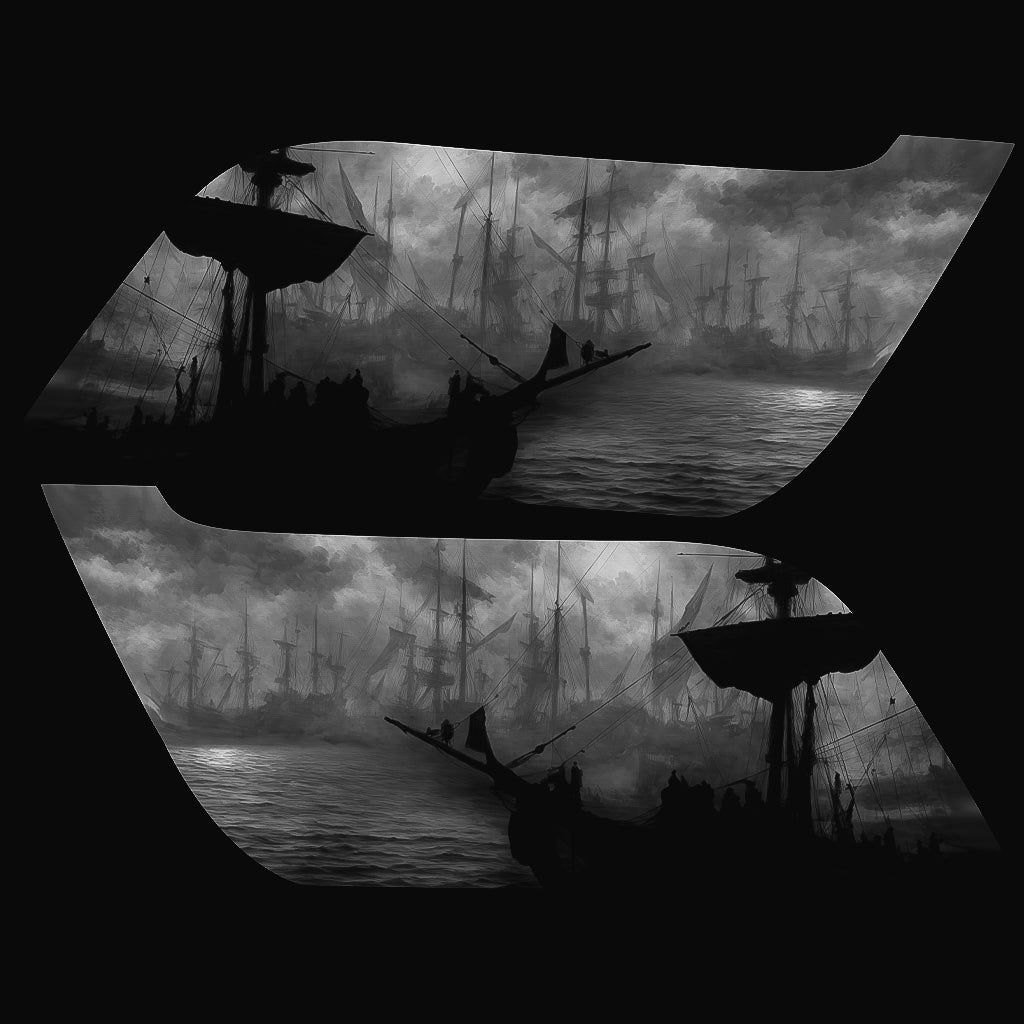
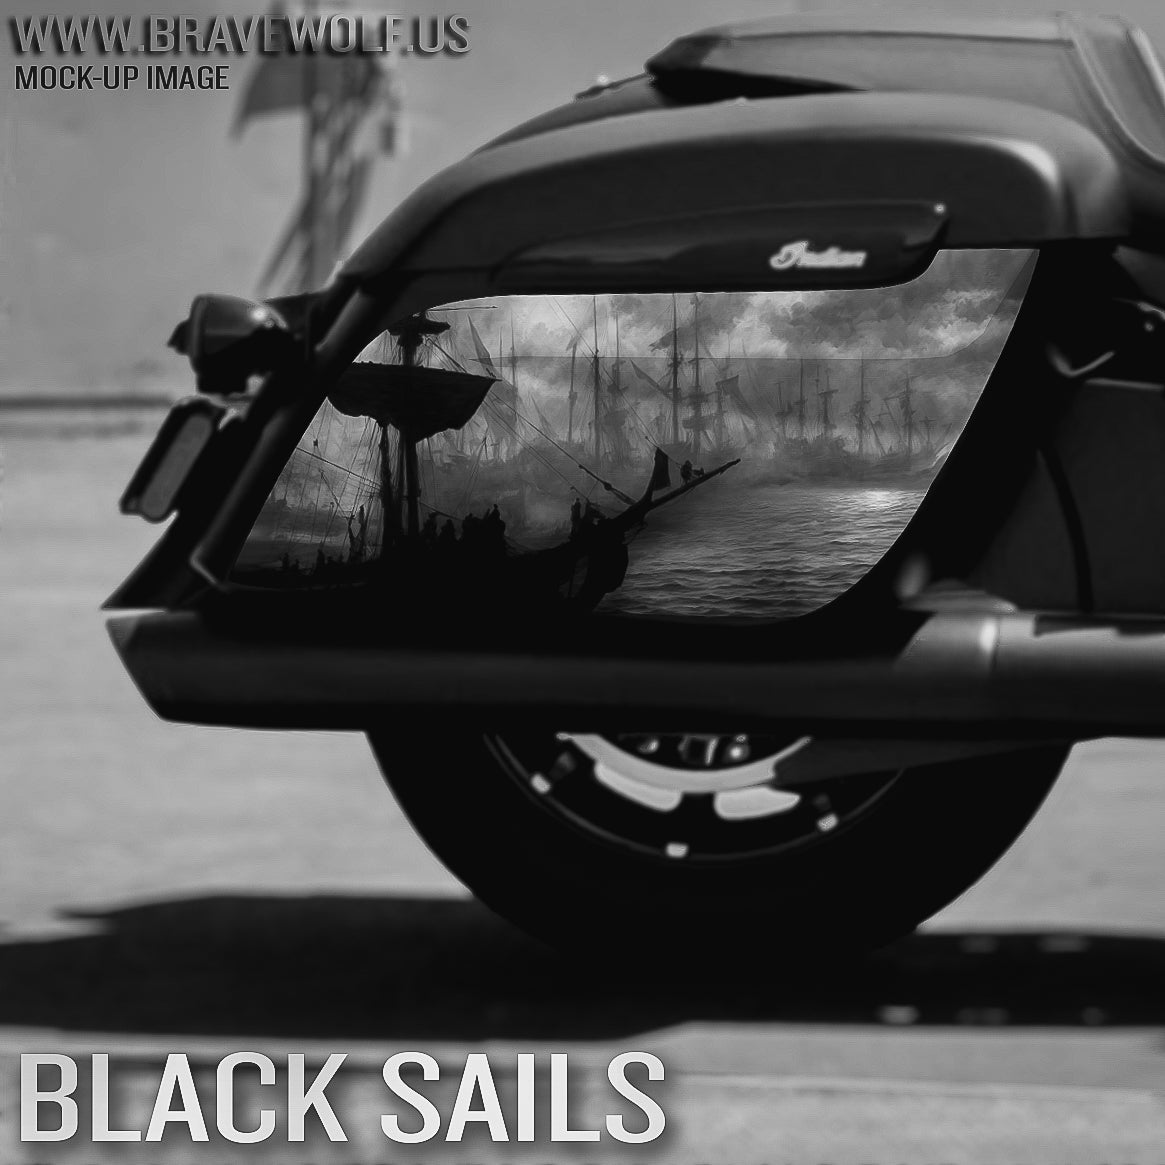
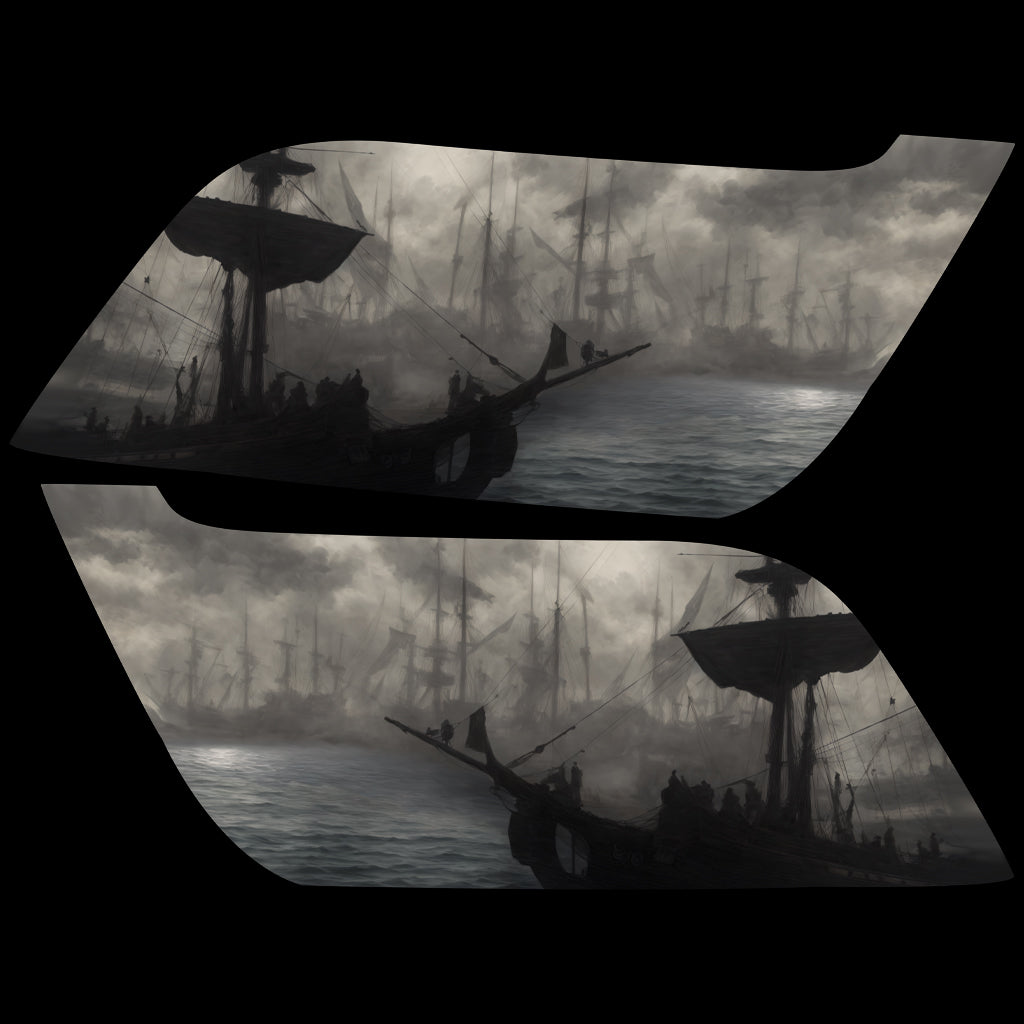
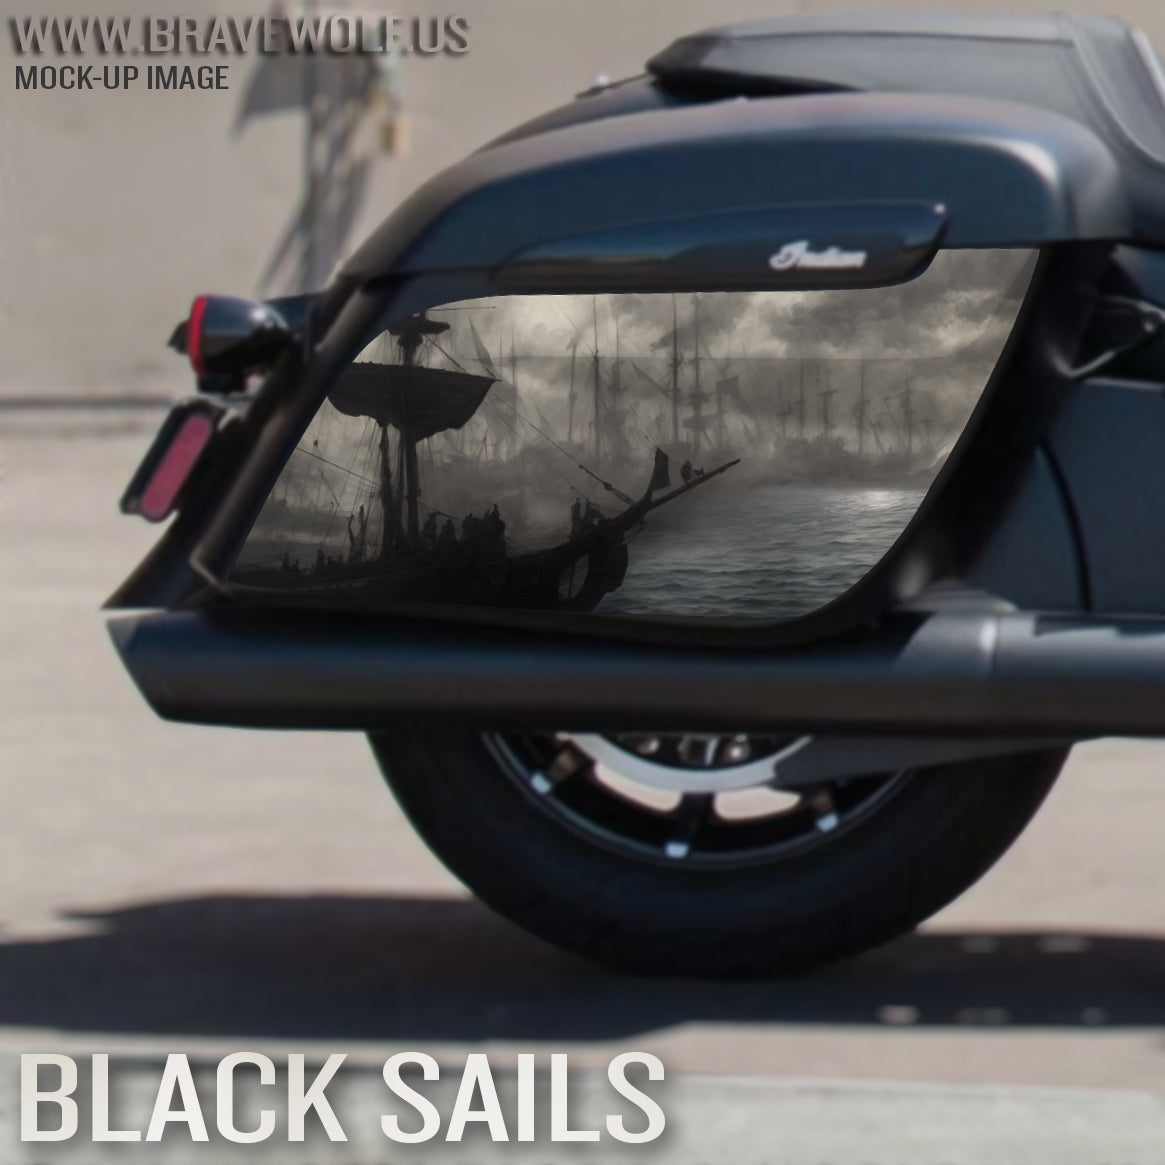
Saddlebag Decals-Black Sails-New Style Indian Bags-B&W
Stock Notice: (may take approximately 2-3 weeks before shipping if not in stock at the time of your order)
Our saddlebag decals are made from premium weatherproof hi-tack vinyl with a long lifespan that will keep them looking new for years. They are available in two finishes, heavy-duty 12 mil laminated Gloss (looks like it's painted on), or a heavy-duty sandy matte textured premium finish.
Fitment Guide: Fits the new style (squared) Indian OEM saddlebags. Also fits the Challenger & Pursuit when the plastic bag guard is removed.
Installation:
Installing our decals is easy to do yourself at home. We recommend removing all of the excess decal material (the background image) before installing the decals. This will allow you to dispose of all the small cut-out pieces so that the pieces do not get trapped underneath your decal when installing it on the bike. Once you have all of the small pieces and background removed, you can use the "wet method" to install the decals to your saddlebags. The wet method involves using a spray bottle of water with a couple drops of dish soap in the mixture and spraying the surface of your saddlebags to wet the entire surface. Then carefully remove the backing from your decal and use the spray bottle to wet the adhesive side of the decal. Now you can gently place the decal on your saddlebag. Because the surfaces are wet, you can pull the decal up to reposition it until you get it where you want it. Once it's in place, use a squeegee or other object such as a credit card wrapped in a microfiber towel to squeeze the water out from behind the decal. You can also use your hands to do this. You should take care not to use a hard/abrasive object that can scratch the decals or your bike's paint. The high-tack adhesive will begin to set/adhere to the bike as soon as the liquid is push out from behind the decal. Use caution to ensure the towel or object you are using does not catch any edges of the decal and pull it off your bike. If you take your time and be gentle during installation, it should be an easy process. A hair dryer can be used to speed up the drying process if needed.
Feel free to visit our How-To page on the website to watch a "wet method" installation video.
Saddlebag Decals-Black Sails-New Style Indian Bags-Color
Stock Notice: (may take approximately 2-3 weeks before shipping if not in stock at the time of your order)
Our saddlebag decals are made from premium weatherproof hi-tack vinyl with a long lifespan that will keep them looking new for years. They are available in two finishes, heavy-duty 12 mil laminated Gloss (looks like it's painted on), or a heavy-duty sandy matte textured premium finish.
Fitment Guide: Fits the new style (squared) Indian OEM saddlebags. Also fits the Challenger & Pursuit when the plastic bag guard is removed.
Installation:
Installing our decals is easy to do yourself at home. We recommend removing all of the excess decal material (the background image) before installing the decals. This will allow you to dispose of all the small cut-out pieces so that the pieces do not get trapped underneath your decal when installing it on the bike. Once you have all of the small pieces and background removed, you can use the "wet method" to install the decals to your saddlebags. The wet method involves using a spray bottle of water with a couple drops of dish soap in the mixture and spraying the surface of your saddlebags to wet the entire surface. Then carefully remove the backing from your decal and use the spray bottle to wet the adhesive side of the decal. Now you can gently place the decal on your saddlebag. Because the surfaces are wet, you can pull the decal up to reposition it until you get it where you want it. Once it's in place, use a squeegee or other object such as a credit card wrapped in a microfiber towel to squeeze the water out from behind the decal. You can also use your hands to do this. You should take care not to use a hard/abrasive object that can scratch the decals or your bike's paint. The high-tack adhesive will begin to set/adhere to the bike as soon as the liquid is push out from behind the decal. Use caution to ensure the towel or object you are using does not catch any edges of the decal and pull it off your bike. If you take your time and be gentle during installation, it should be an easy process. A hair dryer can be used to speed up the drying process if needed.
Feel free to visit our How-To page on the website to watch a "wet method" installation video.
If this item isn't in stock when you order it, it could take approximately 4+ weeks for us to make it for you before we can ship. Due to the custom nature of this product, that you can choose different artwork for both sides of your bike, and the fact that we make these by hand in-house, please be patient while waiting for your order. If you'd like to know which designs we have in-stock and ready to ship before you choose, please contact us.
Premium saddlebag tethers from Brave Wolf Customs are an awesome way to add character to your bike. These tethers are available with a wide variety of artwork to choose from and are sold as singles with a Left OR Right option so that you can mix and match to pick the artwork you want.
Waterproof Ottertex fabric
Premium DTF graphics
Easy installation requiring no modification to your bike
Re-uses the Mounting brackets from your OEMtethers (If you are ordering these for aftermarket bags and do not have the mounting brackets from OEM tethers, send us an email and we can print some brackets for you with impact resistant ABS-like resin) The mounting brackets in your OEM tethers are held in place with a small bit of glue that will release when you slip a flat tip screwdriver or similar object between the tether and the bracket.
Choose LEFT or RIGHT then add to cart. Don't forget to choose a design for the other bag as well.
Stock Notice - Usually in stock (may take approximately 2-3 weeks before shipping if not in stock at time of order)
“Wolf 1-2023" Universal Tank Decals for all Brands and Models of Motorcycles
These decals were designed to cover the original headdress on Indian Motorcycles but can be used by any brand or model of bike.
If you have an 2024 or earlier model Indian Scout, we recommend purchasing one of our Scout version decal sets which is slightly smaller in order fit on the tank side without extending over the border.
Size: Will be posted soon
These decals are designed for all brands/models of motorcycles. Check the measurements to ensure a proper fit on your bike before ordering. If your tank already has a graphic, we can’t guarantee these decals will cover it completely. To verify fit and coverage, print out the template below, cut it out and tape it to your tank. (Print out template will be added soon)
Weatherproof HD Gloss finish vinyl decals are self adhesive. We recommend using the wet method to install thesedecals: A spray bottle with water and dish soap can be used to wet thesurfaceand the back of the decal, allowing you to slide the decal into place. Once you have it aligned properly, use your thumbsto push the moisture out from behind the decal, working from the center outwards to the edges and it will adhere to your bike. Using the wet method allows the decal surface to evenly distribute over the curved surface. A hair dryer to apply heat will make the process easier since the vinyl becomes more soft and flexible when warm.
MesoSkull Warbonnet 2023 - Universal Tank Decal-Color
Stock Notice: (may take approximately 2-3 weeks before shipping if not in stock at the time of your order)
“MesoSkull Warbonnet 2023" Universal Tank Decals for all Brands and Models of Motorcycles
These decals were designed to cover the original headdress on Indian Motorcycles but can be used by any brand or model of bike.
If you have an Indian Scout, we recommend purchasing our Scout version which is slightly smaller in order fit on the tank side without extending over the border.
Size: Will be posted soon
These decals are designed for all brands/models of motorcycles. Check the measurements to ensure a proper fit on your bike before ordering. If your tank already has a graphic, we can’t guarantee these decals will cover it completely. To verify fit and coverage, print out the template below, cut it out and tape it to your tank. (Print out template will be added soon)
Weatherproof HD Gloss finish vinyl decals are self adhesive. We recommend using the wet method to install thesedecals: A spray bottle with water and dish soap can be used to wet thesurfaceand the back of the decal, allowing you to slide the decal into place. Once you have it aligned properly, use your thumbsto push the moisture out from behind the decal, working from the center outwards to the edges and it will adhere to your bike. Using the wet method allows the decal surface to evenly distribute over the curved surface. A hair dryer to apply heat will make the process easier since the vinyl becomes more soft and flexible when warm.
Stock Notice: (may take approximately 2-3 weeks before shipping if not in stock at the time of your order)
“Meadow 2023" Universal Tank Decals for all Brands and Models of Motorcycles
These decals were designed to cover the original headdress on Indian Motorcycles but can be used by any brand or model of bike.
If you have an Indian Scout, we recommend purchasing our Scout version which is slightly smaller in order fit on the tank side without extending over the border.
Size: Will be posted soon
These decals are designed for all brands/models of motorcycles. Check the measurements to ensure a proper fit on your bike before ordering. If your tank already has a graphic, we can’t guarantee these decals will cover it completely. To verify fit and coverage, print out the template below, cut it out and tape it to your tank. (Print out template will be added soon)
Weatherproof HD Gloss finish vinyl decals are self adhesive. We recommend using the wet method to install thesedecals: A spray bottle with water and dish soap can be used to wet thesurfaceand the back of the decal, allowing you to slide the decal into place. Once you have it aligned properly, use your thumbsto push the moisture out from behind the decal, working from the center outwards to the edges and it will adhere to your bike. Using the wet method allows the decal surface to evenly distribute over the curved surface. A hair dryer to apply heat will make the process easier since the vinyl becomes more soft and flexible when warm.
Stock Notice - Usually in stock (may take approximately 2-3 weeks before shipping if not in stock at time of order)
“Winona 2023" Universal Tank Decals for all Brands and Models of Motorcycles
These decals were designed to cover the original headdress on Indian Motorcycles but can be used by any brand or model of bike.
If you have an Indian Scout, we recommend purchasing our Scout version which is slightly smaller in order fit on the tank side without extending over the border.
Size: Will be posted soon
These decals are designed for all brands/models of motorcycles. Check the measurements to ensure a proper fit on your bike before ordering. If your tank already has a graphic, we can’t guarantee these decals will cover it completely. To verify fit and coverage, print out the template below, cut it out and tape it to your tank. (Print out template will be added soon)
Weatherproof HD Gloss finish vinyl decals are self adhesive. We recommend using the wet method to install thesedecals: A spray bottle with water and dish soap can be used to wet thesurfaceand the back of the decal, allowing you to slide the decal into place. Once you have it aligned properly, use your thumbsto push the moisture out from behind the decal, working from the center outwards to the edges and it will adhere to your bike. Using the wet method allows the decal surface to evenly distribute over the curved surface. A hair dryer to apply heat will make the process easier since the vinyl becomes more soft and flexible when warm.
Bear (Color) Tank Decal Set for Indian Powerplus lineup
We recommend using the wet method to install larger decals: A spray bottle with water and dish soap can be used to wet the tank and the back of the decal, allowing you to slide the decal into place. To get the proper soap/water mix, start with a squirt of soap into your spray bottle. Shake it up and then spray it on your hand. Rub your finger tips together. You should feel the slipperiness of the soap. If it just feels like water, add more soap and try again. Once you have it aligned properly, use a squeegee or some non-abrasive tool (even your fingers) to push the moisture out from behind the decal and it will adhere to your tank. A plastic putty scraper with a thin cloth wrapped around it will work great and prevent scratching your decals.
Powerplus V-Cover Decal - Gouyen
Regular price
$20.00
Sale price
$10.00
Save $10.00
We usually have this product in stock and can ship right away but there can be a wait if it sells out before the restock arrives.
Buy 2 and get an automatic 10% off both v-covers
Fits the Indian Powerplus engine found on the Challenger, Pursuit, Powerplus Chieftain, and Powerplus Roadmaster models.
This premium finish badge cover takes minutes to install and provides a completely custom look. They fit both the left and right v-cover so if you haven't removed the right side cover for another intake, don't forget to grab two!
The v-cover decals are heavy-duty 12 mil laminated gloss vinyl that flow over the curves of the badge for a bespoke custom look.
These self-adhesive decals are applied by hand to the 1901 badge. If you've already removed the badge, you can use poster putty to fill in the embossed letters before applying our decal over it.
Installation: Be sure your v-cover badge is clean before installing the decal. Peel the decal off of the backing sheet, careful not to touch the adhesive side of the decal too much. Carefully align it to a centered position (the decal is slightly smaller than the badge). Press the decal firmly down in the center to stick it in place, then use your thumbs to push out from the center to the edges. Repeat this process until you've stretched/pressed it firmly down around the curves. And that's it!
We usually have this product in stock and can ship right away but there can be a wait if it sells out before the restock arrives.
Buy 2 and get an automatic 10% off both v-covers
Fits the Indian Powerplus engine found on the Challenger, Pursuit, Powerplus Chieftain, and Powerplus Roadmaster models.
This premium finish badge cover takes minutes to install and provides a completely custom look. They fit both the left and right v-cover so if you haven't removed the right side cover for another intake, don't forget to grab two!
The v-cover decals are heavy-duty 12 mil laminated gloss vinyl that flow over the curves of the badge for a bespoke custom look.
These self-adhesive decals are applied by hand to the 1901 badge. If you've already removed the badge, you can use poster putty to fill in the embossed letters before applying our decal over it.
Installation: Be sure your v-cover badge is clean before installing the decal. Peel the decal off of the backing sheet, careful not to touch the adhesive side of the decal too much. Carefully align it to a centered position (the decal is slightly smaller than the badge). Press the decal firmly down in the center to stick it in place, then use your thumbs to push out from the center to the edges. Repeat this process until you've stretched/pressed it firmly down around the curves. And that's it!
How-to Video:
Join our mailing list
We promise not to bombard you with spam, AND, we'll send you exclusive discount codes to save you money when you shop our store! Be the first to know when we launch exciting new products!